5
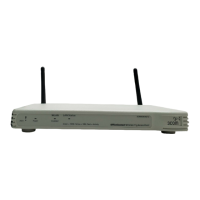
5. Checking the LED Indicators
When the Access Point is connected to power, LEDs indicate activity as described in the following
table. A steady lit LED indicates connection; a blinking LED indicates activity.
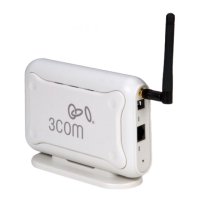
6. Configuring the Access Point
The CD shipped with your Access Point includes software to help you set up and administer the
Access
Point. Perform the following steps to configure your Access Point for the first time:
1 Insert the 3Com Access Point CD into your PC's CD-ROM drive. Your PC must be on your
wired network to set up the Access
Point.
2 When the OfficeConnect Installation screen appears, click Run Discovery Application.
If the Installation screen does not appear automatically, launch the program by typing
d:\setup.exe (where “d” is the drive letter for your PC’s CD-ROM drive).
3 Follow the Setup Wizard’s instructions on the screen.
4 (Optional) Change the default settings.
The Access Point is preconfigured with common default parameters. If you want to change
these settings, use your Web browser to configure the Access
Point using its Web-based
interface.
The default wireless settings for the Access Point are:
LED Color Indicates
Power Green The Access Point is powered up and
operating normally.
Off The Access Point is not receiving power
or there is a fault with the power supply.
WLAN Green If the LED is on it indicates that wireless
networking is enabled. If the LED is
flashing, the link is OK and data is being
transmitted or received.
Off No wireless link is present.
LAN Green If the LED is on, the Ethernet link
between the port and the next piece of
network equipment is OK. If the LED is
flashing, the link is OK and data is being
transmitted or received.
Off No Ethernet link is present.
Password: admin
SSID: 3Com
Channel: 11-2.462GHz
Power
WLAN
LAN
 Loading...