33
Special Set-Up Procedure (Continued)
7. Place blocks or floor jack under crossbar that
connects lower columns together at bottom.
8. Slide bolt hole cover plate on outer column up
and remove four M8 socket head capscrews
(each column) with 6 mm hex key wrench from
"A" and "B" positions on lower column
assemblies and nut plates.
Figure 5-5B
9. Raise outer columns approximately 110 mm [4-
1/4 inches] (jack or block up). Line up holes "B"
and "C" with holes on the side of machine frame
and install four M8 capscrews through column,
machine frame and into nut plate. Do not
tighten. Note if columns are difficult to
move, remove two bolts at one end of outer
column lower crossbar.
10. Using carpenters square, line up column
perpendicular to machine bed. Tighten M8
capscrews at "B" and "C" positions. Repeat this
procedure for both columns.
11. Connect/turn on air supply to machine and raise
and latch upper frame. Turn air supply "Off" and
remove blocking used to support upper frame.
12. Install center cover and side covers removed in
Steps 2 and 3.
13. Turn air supply "On", unlatch upper frame and
allow frame to return to its rest position.
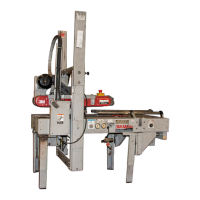
Figure 5-5 Column Re-positioning

 Loading...