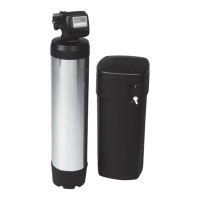
Parts and Materials Included:
1. Mounting Bracket
2. Two Mounting Screws, Four Washers,
Two Nuts, And Two Self-tapping Screws
3. System Head
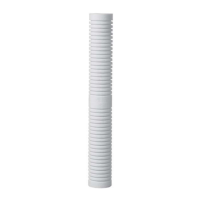
4. Sump
5. AP217 Cartridge
Tools and Parts Required
(not included):
• Two3/8”PipeThreadMaleConnectors
• CompressionFittings
• 3/8”SoftCopperTubing
• Drill(CordlessRecommended)
• AdjustableWrench
• PhillipsHeadScrewdriver
• RazorKnifeOrTubeCutter
• PTFETape
• Siliconebasedlubricant
Emptycontentsofpackageandidentifyallpartsas
shownindiagram.Readallinstructionscarefully
beforeattemptingtostartinstallation.Theexisting
shut-offvalveremainsinplaceandstillactsasthe
cold water shut-off.
GETTING STARTED
1
2
4
3
5
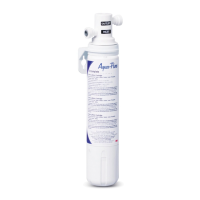
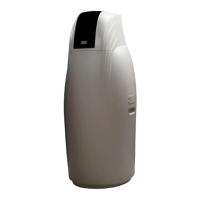
Your new Aqua-Pure
®
AP200DrinkingWaterSystemwillreducechlorinetasteandodor,andsedimentfromyourdrink-
ingwater.Thesysteminstallsunderthesinkonthecoldwaterline.Theinstallationprocedurecoveredinthismanual
requirestheremovalofasectionofthecoldwatertube.Softcoppertubingandcompressionfittingsshouldbepur-
chased locally to complete the installation.
1. Positionthefilterbyholdingitagainstthesideofthecabinetwallunderneath
thesink.Allowatleast71/2”beneaththefiltertoinstallcartridge.Determine
adesirablelocationforthefilterinstallationandinletconnection.Attachthe
mountingbrackettoappropriatemountingbossesonfilterheadwiththeself-
tappingscrews.(Figure1)
2. Removedrawerfromcabinet(ifneeded)anddrilltwo7/32”diameterholes
throughcabinetwall.Fastenfiltertowallwithnutsandboltssupplied.Use
washersonbothsidesofthewall.Mountingtothecabinetsidewallgivesthe
filtergood,rigidsupport.(Figure2)
IMPORTANT INSTALLATION INSTRUCTIONS
Figure 1
CAUTION
To reduce the risk of property damage due to water leakage:
• Install on COLD water lines only.
• Mount lter in such a position as to prevent it from being struck by
other items.
• Do not install near water pipes which will be in path of a drilling tool
when selecting the position to mount the bracket.
IMPORTANT NOTES
• Allow a minimum of 7 1/2” (19.5 cm) clear space under lter to facilitate
cartridge change.
WARNING
To reduce the risk associated with a hazardous voltage due to an
installer drilling through existing electric wiring or water pipes in the
area of installation:
• Do not install near electric wiring or piping which may be in the path of
a drilling tool when selecting the position to mount the filter bracket.
Figure 2
71/2”
Cabinet
Side Wall
Washers
Nuts
Washers
Screws
 Loading...