176 Maintenance
1. Stop the drive and disconnect it from the AC power line. Obey the instructions in
section Electrical safety precautions on page 128. Turn the main switch-disconnector
[Q1.1] handle to the open position or secure the main circuit breaker [Q1] to the
disconnected position (racked out) if the cabinet is equipped with corresponding
equipment. If the disconnecting equipment is located outside the cabinet, make sure
that it is in the disconnected position.
2. Open the cubicle door.
3. Remove the shrouds (if any).
4. Unplug the wiring on the front of the module. Unplug the connector (X50) at the top of
the module. Move the wires aside.
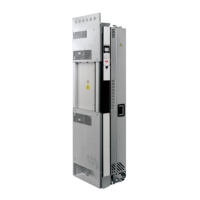
5. Use a module pull out ramp or other lifting device to remove the module from the
cabinet. If the ramp is used, install it by placing the hooks of the ramp between the
bottom plate and Rittal frame.
6. Remove the module fastening screws on the top part of the module.
7. Remove the module fastening screws on the lower part of the module.
8. Pull the module carefully out of the cabinet along the ramp or use any other lifting
device to remove the module.
9. Replace the module:
• Push the module back in and fasten. Be careful not to break the locking screws:
tighten the fastening screws of the module to 22 N·m (16.2 lbf·ft) and fastening
bolts of the DC input busbars to 70 N·m (51.6 lbf·ft).
• Reconnect connector X50 at the top of the module.
• Reconnect the wiring and fiber optic cables to their respective terminals on the
front of the module.
• Remove the module pull-out ramp, attach the shrouds (if any) and close the
cabinet doors.

 Loading...