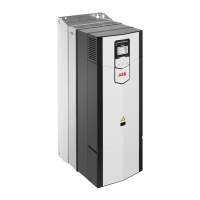
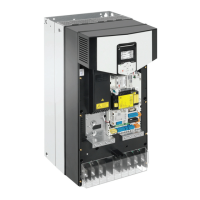
Replacing the drive module (frames R6 to R8)
Required in this replacing procedure: preferably two persons, lifting chains, lifting device, a
set of screw drivers and torque wrench with extension bar. A lifting device is available from
ABB. For its installation and use, see Converter module lifting device for drive cabinets
hardware manual (3AXD50000210268 [English]).
WARNING!
Obey the safety instructions of the drive. If you ignore them, injury or death,
or damage to the equipment can occur.
WARNING!
Make sure that the cabinet is secured to the floor. If not, the cabinet can topple
over when the heavy drive module is slid forward in front of the cabinet. This can
cause injury or death, and damage to the equipment.
1.
Stop the drive and do the steps in section Electrical safety precautions (page 18) before
you start the work.
2. For drives with options +L505 and +L506: Remove the shroud.
3. For drives with options +L505 and +L506: Remove the Pt100 and thermistor relay
mounting plate by loosening the two mounting screws and lifting the mounting plate up.
4.
Remove the drive module main fan (see page 168).
5. Undo the screws on the right-hand side of the swing-out frame.
6. Undo the hinge screw at the top and bottom of the swing-out frame to enable the frame
to open aside far enough.
7. Unplug the control wire terminals at the right-hand side of the cabinet.
8. See the warning below. Remove the mounting plate above the “door” fan by loosening
the mounting screws and lifting the plate up.
WARNING!
For drives with options +G300, +G301, +G307 and +G313: Before you remove
the mounting plate, disconnect the external power sources that supply the
options. Unplug the control cable terminals at the back side of the mounting
plate.
9. Unplug the control cable terminals from the control unit. Disconnect the control cables
from the option modules on the control unit.
176 Maintenance
 Loading...
