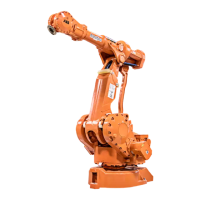
Refitting, upper arm
The procedure below details how to refit the complete upper arm to the robot.
Info/IllustrationAction
DANGER
Turn off all:
• electric power supply
• hydraulic pressure supply
• air pressure supply (do not turn off for
Foundry Prime robots!)
to the robot, before entering the robot work-
ing area.
1
CAUTION
The robot upper arm weighs 180 kg.
All lifting accessories used must be sized
accordingly!
2
Shown in the figure Location of upper arm
on page 161.
Fit the sealings and the outer ring of the
bearings in the upper arm, if removed.
The bearing must be completely filled with
grease.
3
Part no. is specified in Required equip-
ment on page 162.
Lower the upper arm into mounting position.4
Shown in the figure Location of upper arm
on page 161.
Refit both shaft ends.5
Part no. is specified in Required equip-
ment on page 162.
Shown in the figure Location of upper arm
on page 161.
Insert both screws.6
2 pcs, tightening torque: 470 Nm.
Art. no. is specified in Required equip-
ment on page 162.
xx0300000130
If the bearing is removed, the inner ring of
the bearing is fitted as follows:
• Fit the holding-on tool (part A of the
mounting tool) on the right side of the
upper arm (seen from behind).
• Fit the inner ring (C) of the bearing on
the left side of the upper arm, using
the press tool (part B of the mounting
tool).
• Remove the holding-on tool and fit the
inner ring also on that side.
7
• A: Holding-on tool
• B: Press tool
• C: Inner ring
Locking liquid specified in Required
equipment on page 162
Apply locking liquid on the threads of the KM
nut.
8
Shown in the figure Required equipment
on page 162.
Continues on next page
164 Product manual - IRB 4400
3HAC022032-001 Revision: Q
© Copyright 2004-2018 ABB. All rights reserved.
4 Repair
4.4.1 Replacement of complete upper arm
Continued

 Loading...