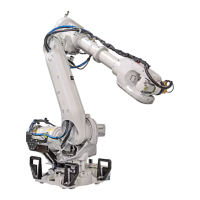
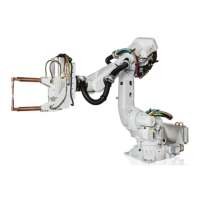
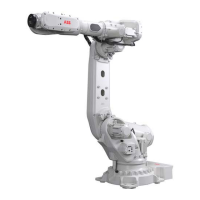
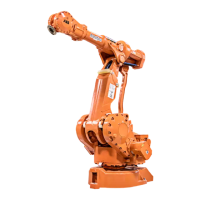
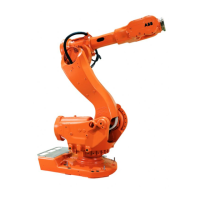
Removing the lower arm
Use these procedures to remove the lower arm.
Preparations before removing the lower arm
NoteAction
Decide which calibration routine to use,
and take actions accordingly prior to begin-
ning the repair procedure.
1
DANGER
Turn off all:
• electric power supply
• hydraulic pressure supply
• air pressure supply
to the robot, before entering the robot
working area.
2
Remove all equipment fitted to upper and
lower arms.
3
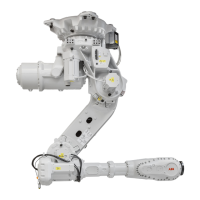
Position of the robot in the continued process
NoteAction
Jog the robot to:
• Axis 1: 0°
• Axis 2: 0°
• Axis 3: 0°
• Axis 4: 0°
• Axis 5: +90°
• Axis 6: 0°
1
24 VDC power supply
xx1200001081
Connect the 24 VDC power supply, release
the brakes and move the axis 5 manually
into +90°.
Connect to R2.MP5-connector:
• + = pin 2
• - = pin 5
2
DANGER
Turn off all:
• electric power supply
• hydraulic pressure supply
• air pressure supply
to the robot, before entering the robot
working area.
3
Continues on next page
380 Product manual - IRB 6700
3HAC044266-001 Revision: N
© Copyright 2013 - 2018 ABB. All rights reserved.
4 Repair
4.5.5 Replacing the lower arm
Continued
 Loading...
