©ABB 2021 All Rights Reserved.
Subject to change without notice
WWW.CYLON.COM
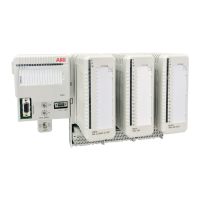
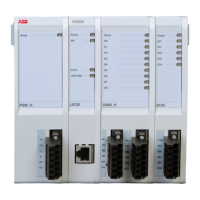
DIN RAIL MOUNTING
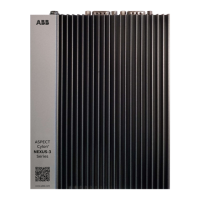
Step 1: Decide if the Nexus-3 is to be
Edge
or
Back
mounted.
• If it is to be Back mounted, attach the plastic DIN
rail clips to the supplied wall mounting brackets,
and attach the wall mounting brackets to the
Nexus-3 chassis.
• If it is to be Edge mounted, attach the supplied
Edge DIN rail mounting brackets to the Nexus-3
chassis
Step 3: Clip system to the DIN Rail
DIN Rail Edge Mounting DIN Rail Back Mounting
WALL MOUNT
Step 1: Attach the supplied wall mounting brackets to the
Nexus-3 chassis
Step 2: Mark and prepare holes in the surface to which the
device is to be mounted using these brackets as a template
Step 3: Fasten the device to the mounting surface using
suitable wall fixings
For further information on installing and configuring the NEXUS-3 device see
the NEXUS-3 Series Installation manual:
https://share.library.abb.com/api/v4?cid=Root&q=MAN0151
 Loading...