- 2 - 2-F128-01C
When configure the RAID mode on fresh new drives or existing used drives, you can run
Windows or Mac GUI (download available from our website, ableconn.com) for software
setting or use hardware J1 Jumper and follow procedure for hardware jumper setting.
J1 Pin 5-6 : Hardware or Software Configure
1) Install 2x M.2 B-M Key SATA SSD to M2_1 & M2_2 M.2 B Key sockets, then tighten
screw and retain M.2 SSDs.
2) If use GUI software for RAID Configuration, NC Pin 5-6 of H/W J1 jumper, then run
GUI utility software for desired RAID mode (R0, R1, SP, PM)
3) If use hardware J1 jumper Pin 1-2 & Pin 3-4 for RAID Configuration, short Pin 5-6 of
H/W J1, then Configure the desired RAID mode (R0, R1, SP, PM) by adjusting H/W
J1 Pin 1-2 & 3-4.
4) Connect 22Pin SATA data signal & power cable to SATA1 22Pin socket.
5) Turn on computer power system.
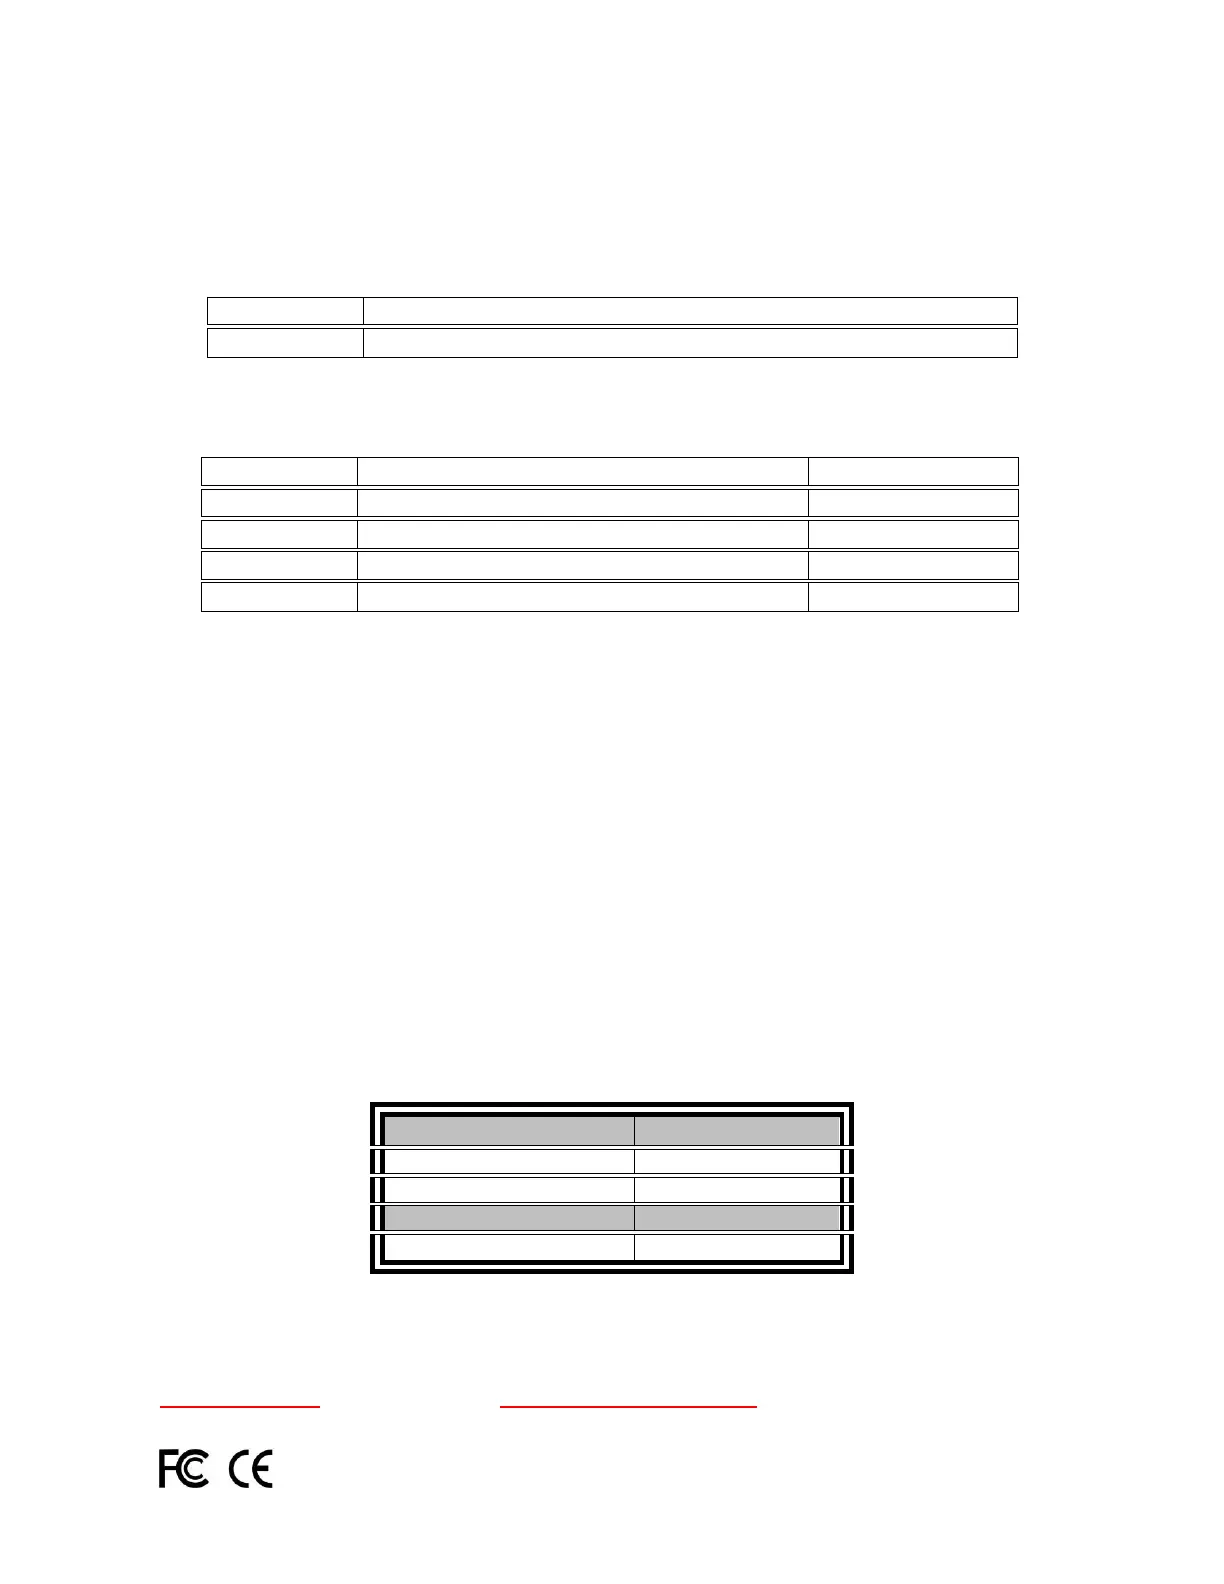
3. LED Indication
SSD Active LED Indication
* The GUI Configuration Software for Mac and Windows are available from our website,
ableconn.com. Please contact support@ableconn.com if you have questions.