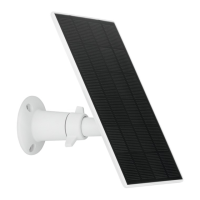
1 3
2
9
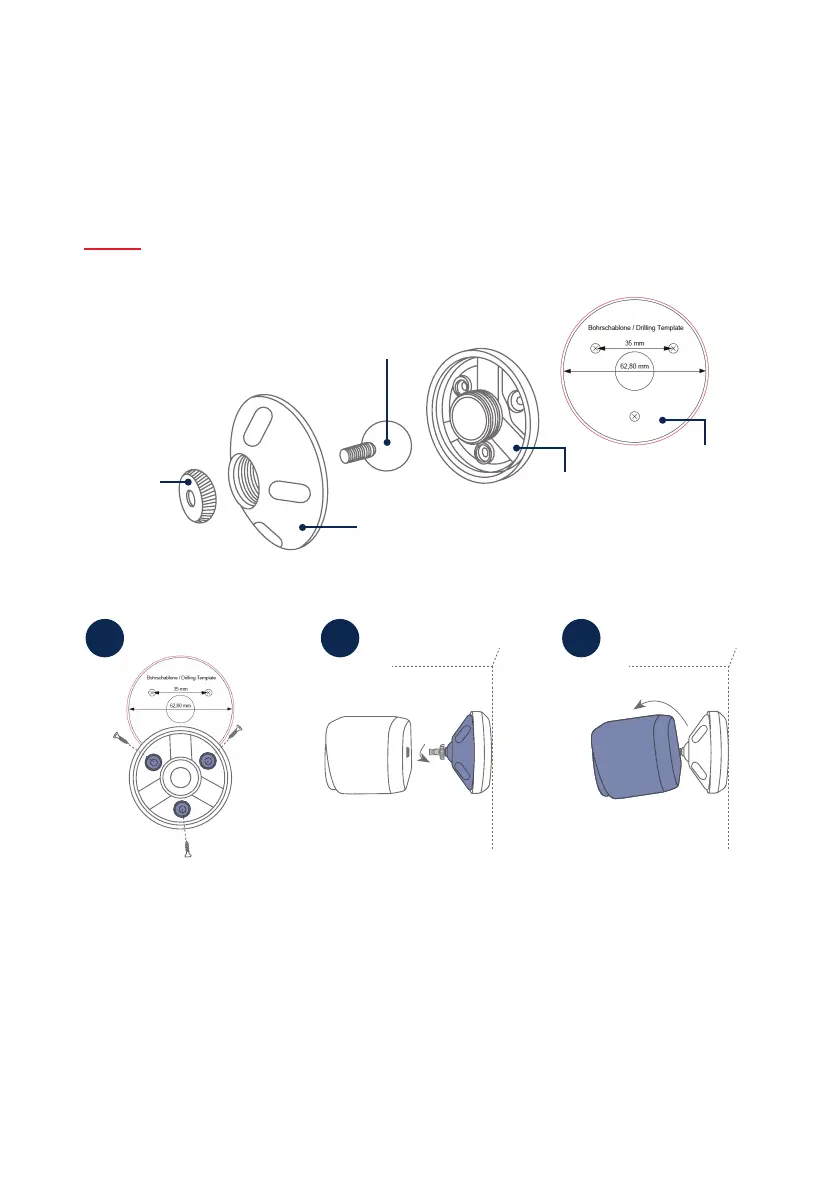
Percer des trous de xation
(foret de 6 mm nécessaire) à
l’aide d’un gabarit de perçage
dans la surface plane du mur,
puis xer la plaque arrière à
l’aide du matériel de montage
joint.
Drill xing holes (6mm drill
required) onto the at wall
surface with the aid of the
drilling template and fasten
the back panel using the
installation material provided.
Installer un joint à rotule,
mettre le couvercle en place
et tourner. Installer ensuite
la bague de xation puis
serrer légèrement.
Insert the ball joint, position
thecover and tighten. Then
position the xing ring and
tighten gently.
Visser la caméra et la diriger sur
la zone de détection souhaitée.
Serrer la bague de xation a n
de bloquer la caméra dans cette
position.
Unscrew the camera and align
it according to the desired
recording area. Tighten the
xing ring in order to secure
the camera in this position.
Joint à rotule
Ball joint
Plaque
arrière
Back panel
Couvercle
Cover
Bague de
xation
Fixing ring
Gabarit de
perçage
Drilling template
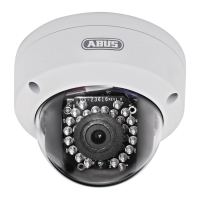
Installation de la caméra avec fi xation murale
Installing the camera with a wall bracket