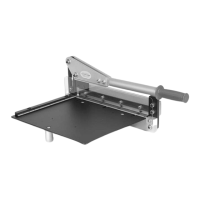
Accu Cutter Company
160 Stover Drive, P O Box 1170, Carlisle, Pennsylvania 17013 800-345-0062 (Fax) 717-241-2350
2 “If it doesn’t say Accu Cutter, it isn’t!”
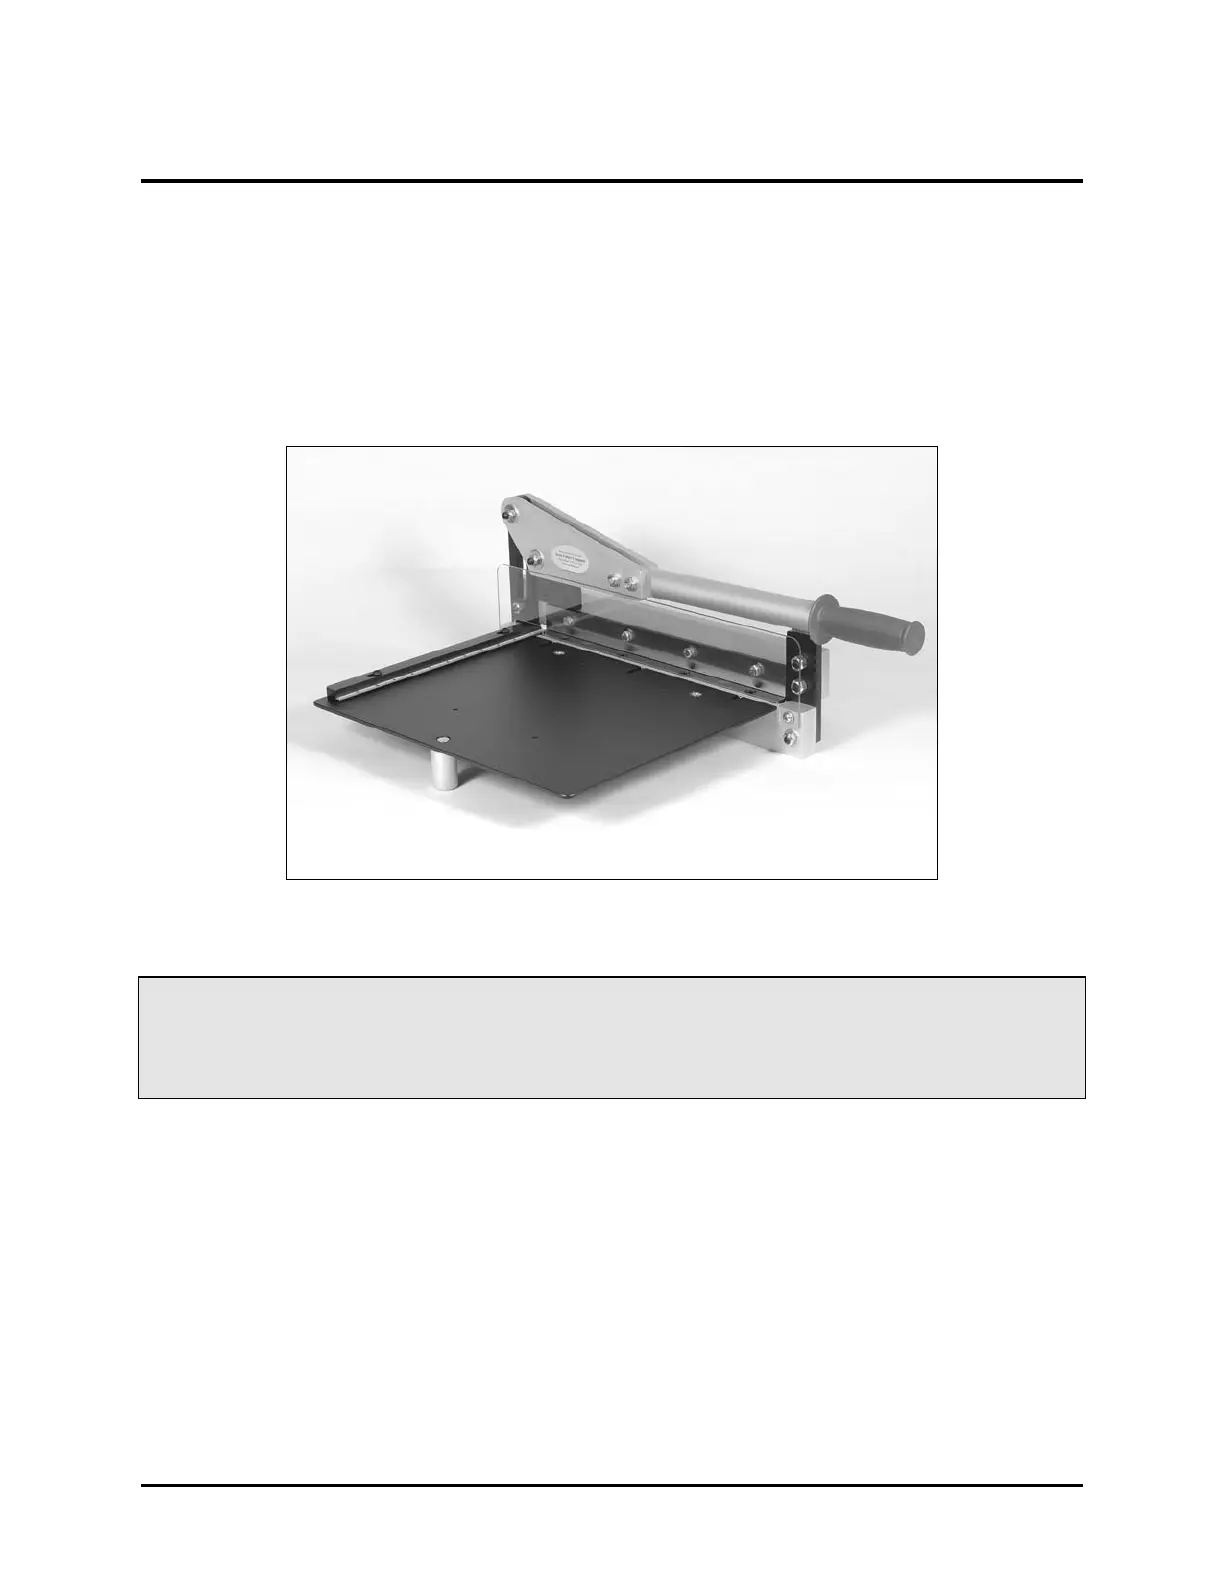
2. If removed, install the Safety Shield. The safety shield attaches to the left side of the
bottom blade carrier. (Figure 1.) The safety shield is attached with two pan head screws, one at each
end of the shear. Hold the safety shield with the notched end down and toward the ruler. You will
see the two pan head screws in the bottom blade carrier. Remove and use these screws to install the
safety shield. To facilitate installing the safety shield, turn the body of the shear so the side with the
blades is farthest away from you and tilt the body of the shear away from you.
Figure 1.
Now that the 2001EVO Shear has been assembled,
you must verify the setup before using the shear.
Proper Setup of the 2001EVO Shear.
Prior to shipping, the shear was examined and tested. It was in good working order. How-
ever, shipping can sometimes be eventful, so it is necessary to perform some tests on the shear before
you place it in regular service.
1. The Blades. The blades should be examined for nicks or other damage that may have oc-
curred during shipping. If there is any damage, call Accu Cutter immediately. If the blades appear
okay, you should next check the shear action.
2. Testing the Shear Action. Slowly lift the handle until the blades are open fully. There
should be some resistance or stiffness in the action of the shear, and the shear handle should remain
 Loading...