ACE BOILER INC.
Page 19
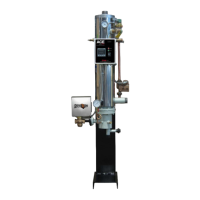
4. Complete the seal by crossing the ends near a bolt hole. Cross one end over the other about 1"
and cut (as shown in VIEW "B").
VIEW
"B"
5. Assemble the flanged joints and torque the bolts as follows.
a) Run up all the nuts, finger tight.
b) Develop the required bolt stress in a minimum of about three equal steps, following a
tightening sequence (as shown in VIEW "C"). The gasket material is highly compressible,
but has little resilience; so gradual tightening is necessary to form a gasket of uniform
thickness. Use a torque wrench to get recommended torque rating on
Page 8.
VIEW
"C"
Tube Bundle And Bonnet Installation
Caution: It is recommended that you wear proper eye protection.
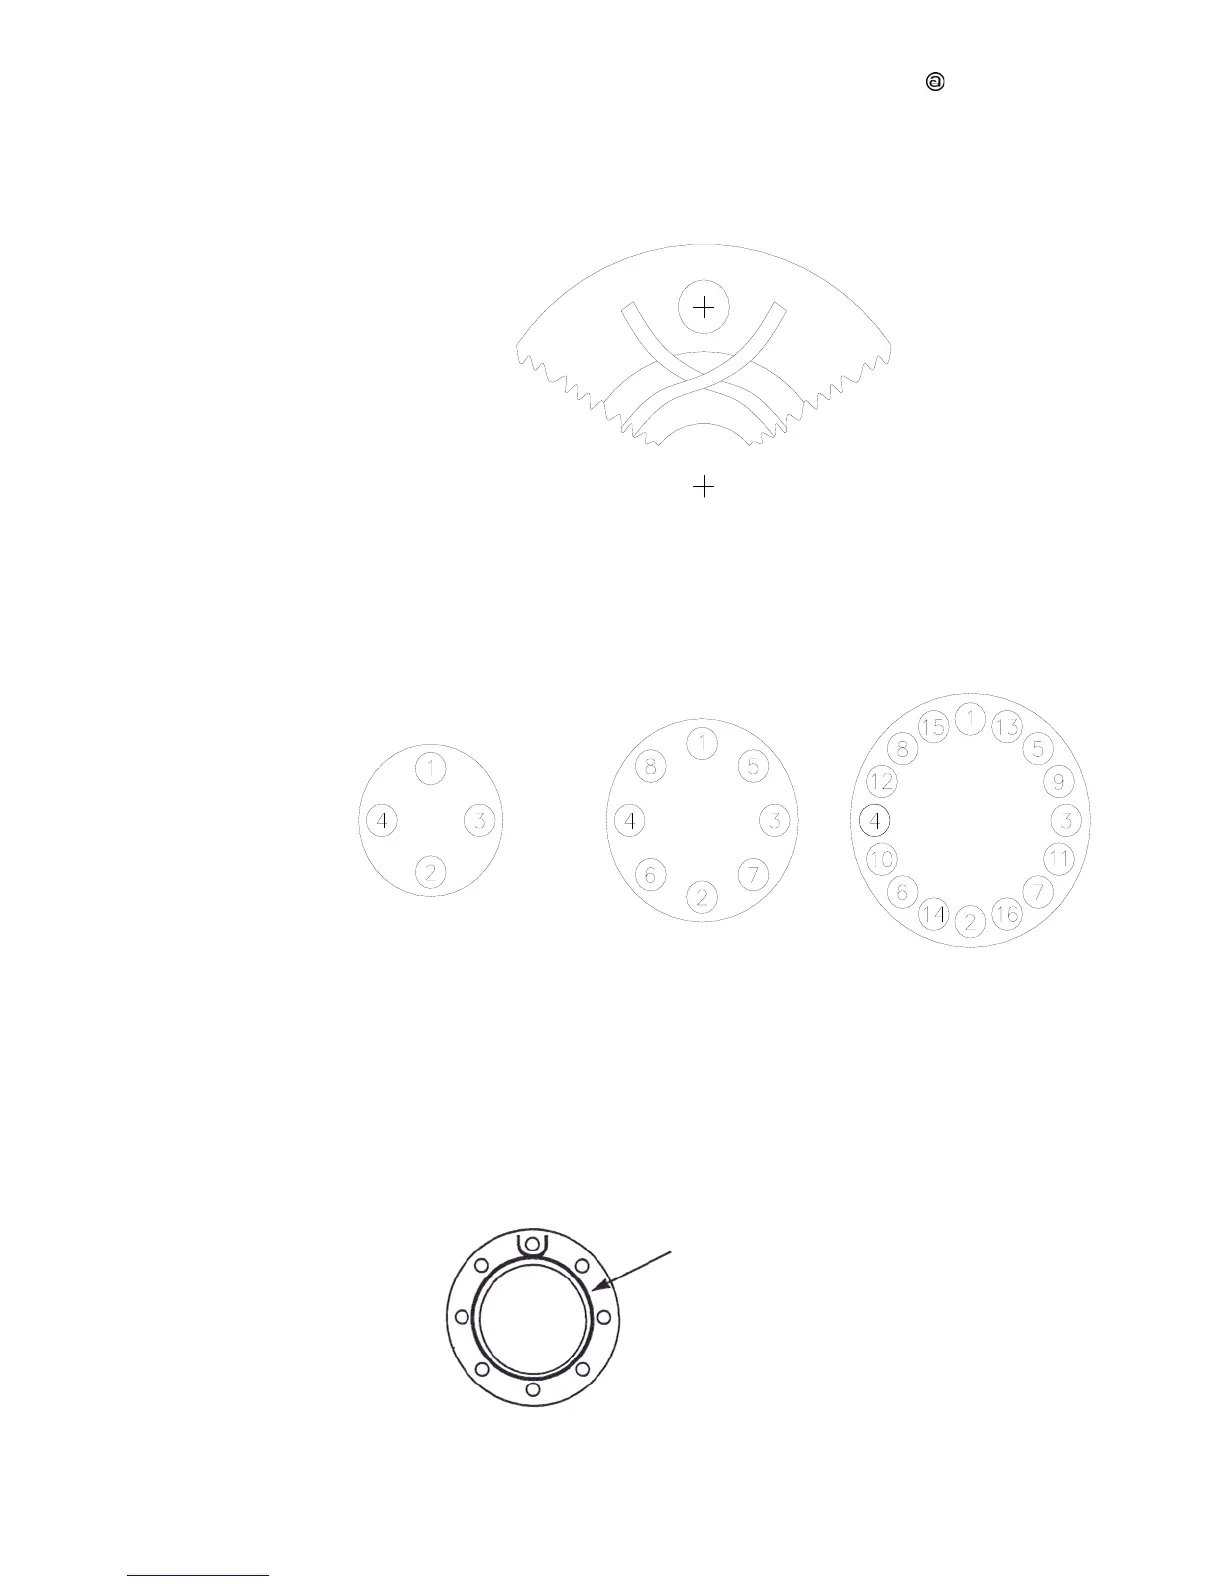
1. Flange and tube sheet preparation: Thoroughly clean the gasket surface of foreign matter and
scratches. Dirt and scale provide leakage paths.
2. Apply gaskets: Install gasket material on stationary flange with adhesive side down. See Step #3
from Gasket Installation above on Page 18.
a) Overlap material at top of flange.
b) Overlapped ends should protrude out of flange, with one end on each side of top bolt.
c) Make sure gasket does not extend into bore.
Gasket Material
 Loading...