37
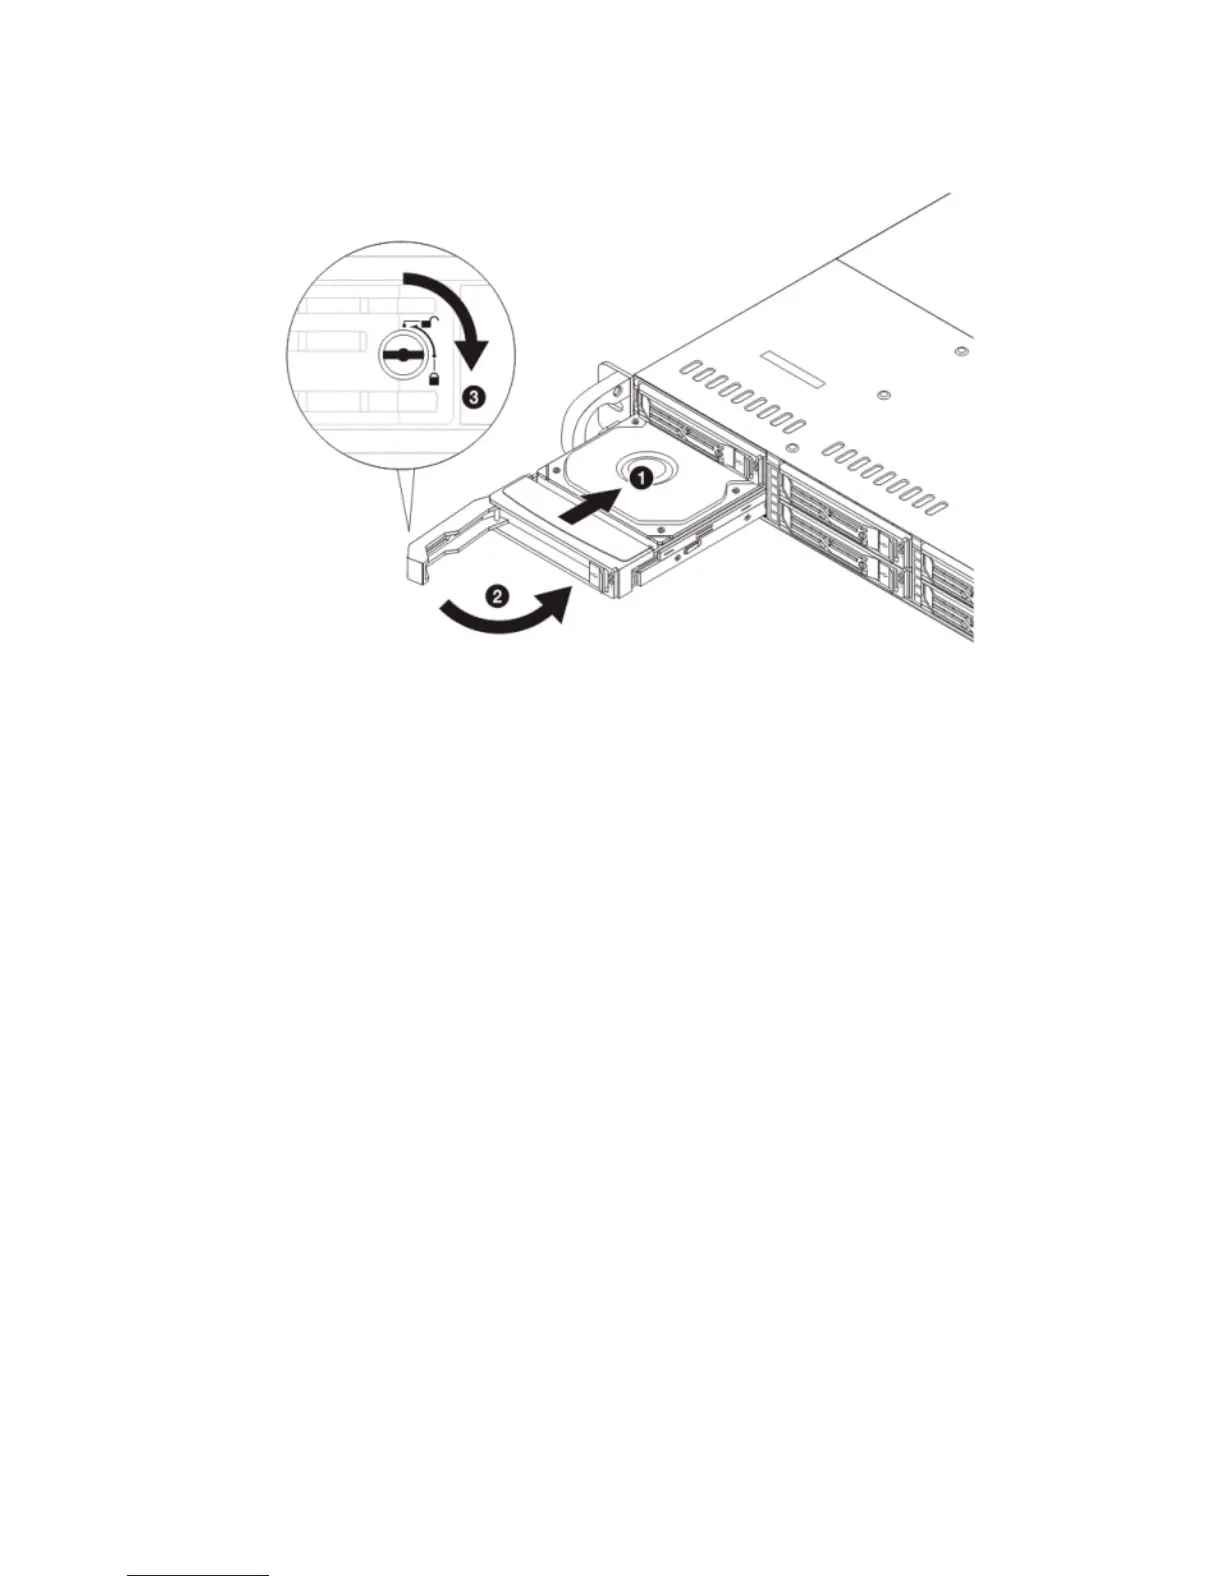
3 Lock the HDD carrier.
Observe the post-installation instructions described on page 28
Removing the 2.5” Carrier Cage
1 Observe the ESD precautions described on page 27.
2 Observe the Pre-installation instructions on page 27.
3 Unplug the power and data cables from the cage drives.
4 Remove the four screws of the HDD cage (1).
5 Slide the HDD cage out of the system chassis (2).
6 Observe the post-installation instructions described on page 28.
Removing and installing an optical drive
The system supports a slim SATA optical drive.
Removing an optical drive
1 Observe the ESD precautions described on page 27.
2 Observe the Pre-installation instructions on page 27.
3 Unplug the power and data cables from the drive (1),(2).
4 Locate the locking tab at the rear of the drive.
 Loading...