HUD Display User Manual
2540101
4
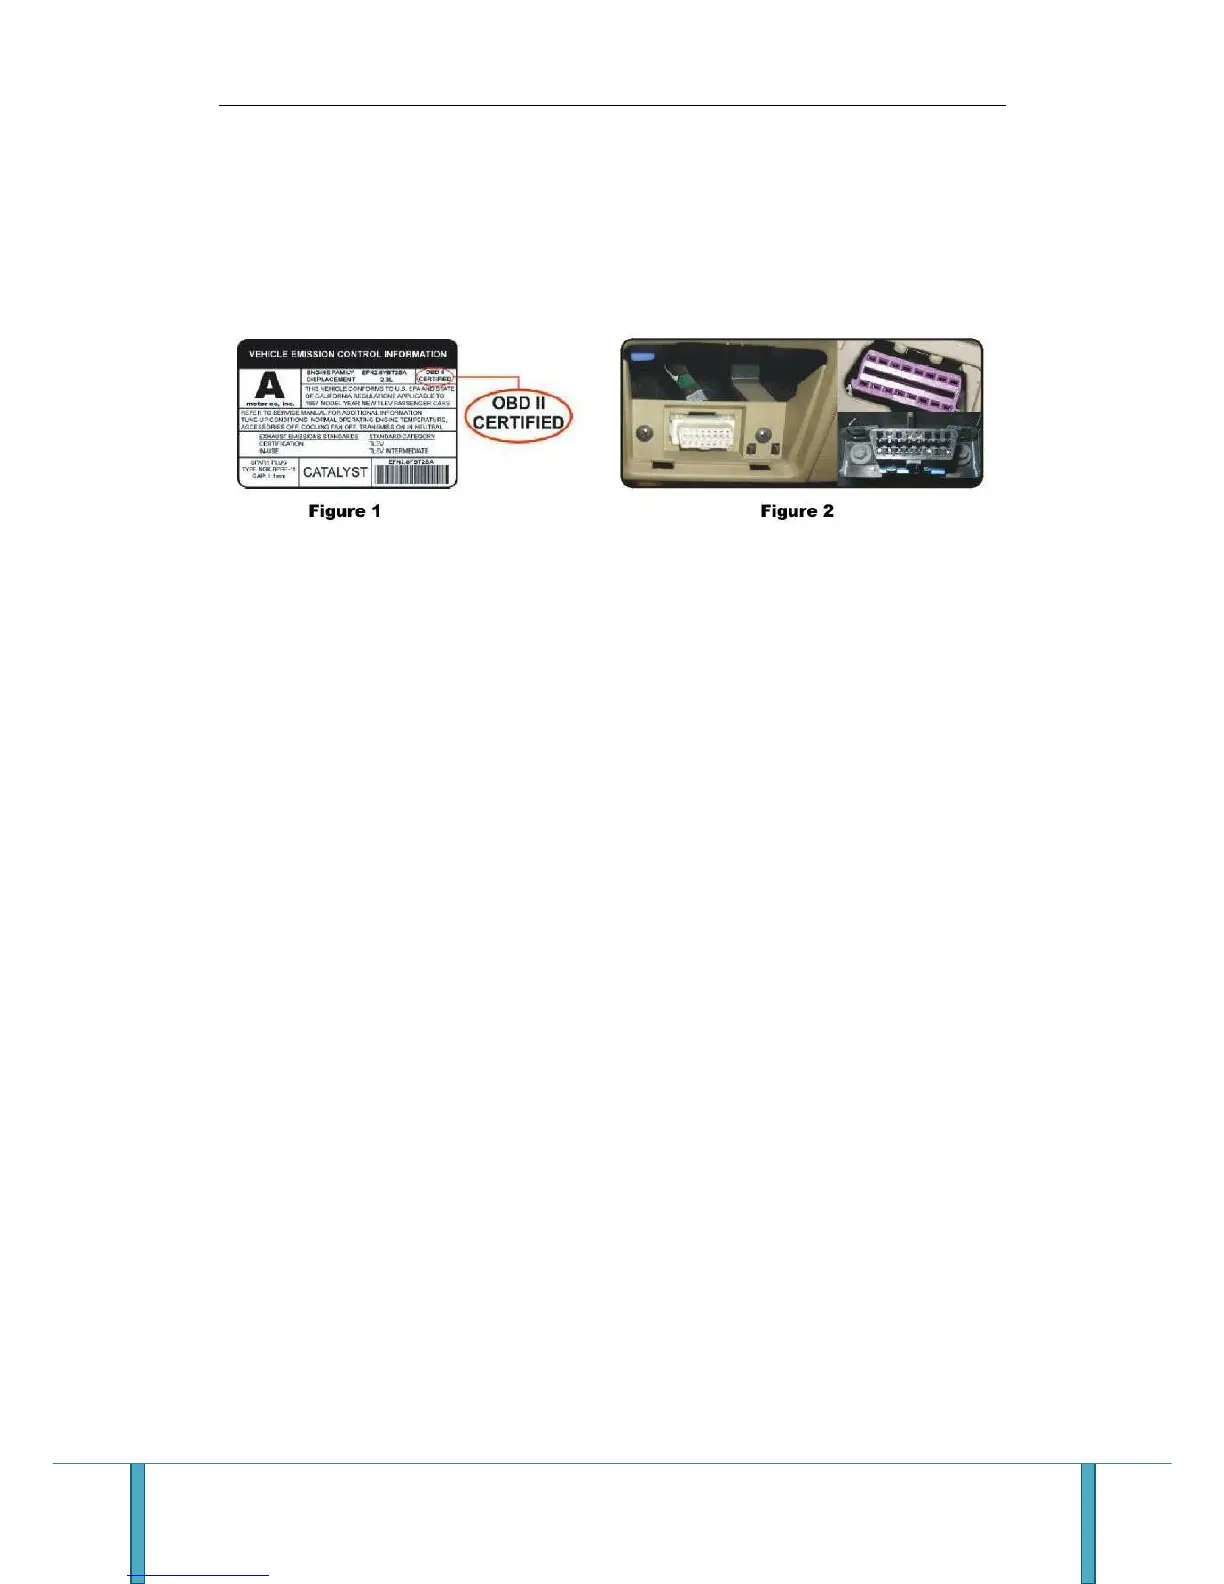
3. Identify the car’s 16-pin diagnostic socket(Figure 2), connecting the OBD II cable to
the 16-pin diagnostic socket if it has this socket.
4. Put the non-slip pad onto the instrument pane, then put HUD on the non-slip pad. You
can adjust the angle an positon.
5. The reflective film may be affixed to the forward position of HUD and stick to the front
windshield, ensure that the information, such as car speed can be projected to the
reflective film,
You can also be installed by the staff of the authorized distributors.
Some Basic Methods Of Using The Reflective Film
A. Spray on some water to the position where you stick the reflective film
B. Tear the protective layer of the reflective film and Spray some water on it and then
stick it to the corresponding position of the front windshield,
C. After adjusting the position, Calibrating the reflective film using scraper or smooth
object and scraping the water until there is no water or bubble.
D. A few minutes later, when the water is dry, gently wipe off the water droplets and dust
6. Starting the car and open the HUD, then displaying the voltage and search for the car
computer version, this indicates that the product has been installed successfully.
HUD Settings
HUD display value is the value of the car computer. Because the value of the car
instrument display may be a little different from the car computer, you can fine-tune the
HUD display value to make them the same.
We will make adjustments in accordance with the general test value before selling


 To Next Page