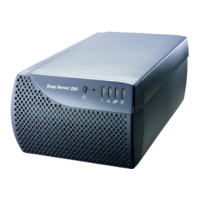
This guide shows you how to connect your Snap Server 110 or 210 to your network and confi gure it using the
Guardian OS. The instructions consist of 5 steps:
Step 1: Verify the contents of your shipping package.
Step 2: Connect power and network cables.
Step 3: Turn on the Snap Server.
Step 4: Connect to the Snap Server for the fi rst time.
Step 5: Start Using your Snap Server.
Step 1: Verify the Contents of the Shipping Package
Before you begin installation, check the contents of your Ship Kit to make sure you have all the components
Hardware Features
section.
Hardware Features
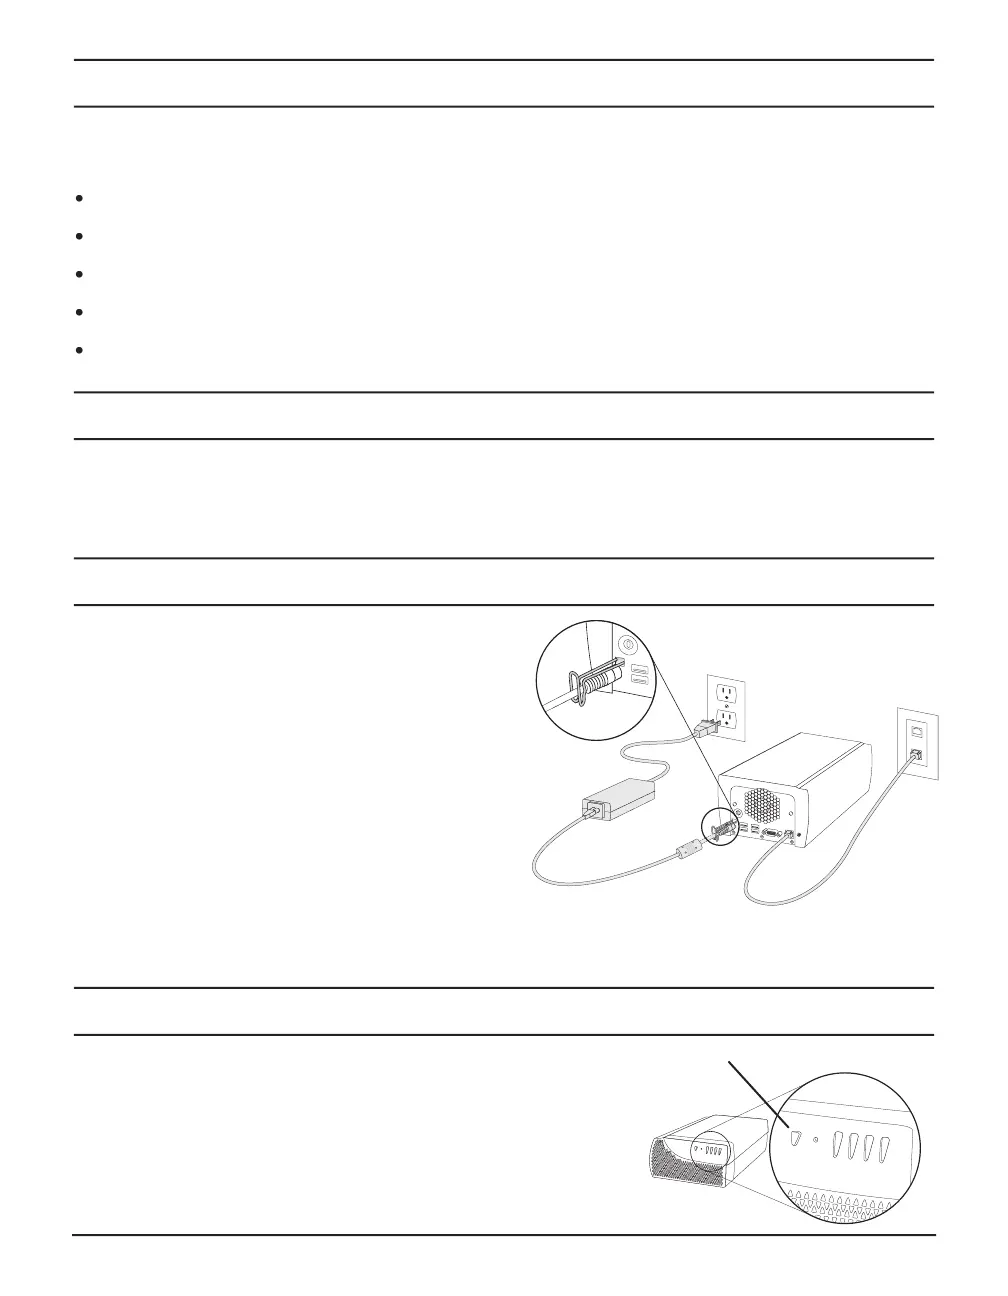
Step 2: Connect Power and Network Cables
Use the provided ethernet cable to connect your Snap
Insert the retention clip into the divets above the power
connector (see illustration).
Connect the power supply to the server, inserting the cord
Connect the power cord to a UPS and/or electrical
Snap Servers are designed to work with an APC-
brand, USB- or network-based UPS device to automatically
shut down cleanly in the event of an extended power failure.
You must confi gure the APC unit in the Administration Tool and in the APC user interface.
Step 3: Turn on the Snap Server
To turn on the server, press the power button on the front of the server.
The server will take a few minutes to initialize. When the Status light
begins to blink steadily (about once per second), your Snap Server is
 Loading...