STEP 5:
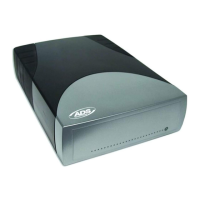
Connect the at ribbon cable to the drive.
NOTE: The red line on the ribbon must be
facing toward the power connector of the
drive and for the end connected to the drive
kit, the red line must be on the side closest
to the outside casing of the drive kit.
STEP 6:
With the provided screws, mount the hard drive or CD-ROM in place. For a hard drive, this
would be done from the bottom of the Drive kit. For CD-ROM’s, you need to secure it with
the supplied screws from the sides of the drive kit.
STEP 7:
Replace the metal protective shield on the top of the Drive Kits' internal module by sliding it
towards the front of the drive case. Secure the metal plate with the supplied screws.
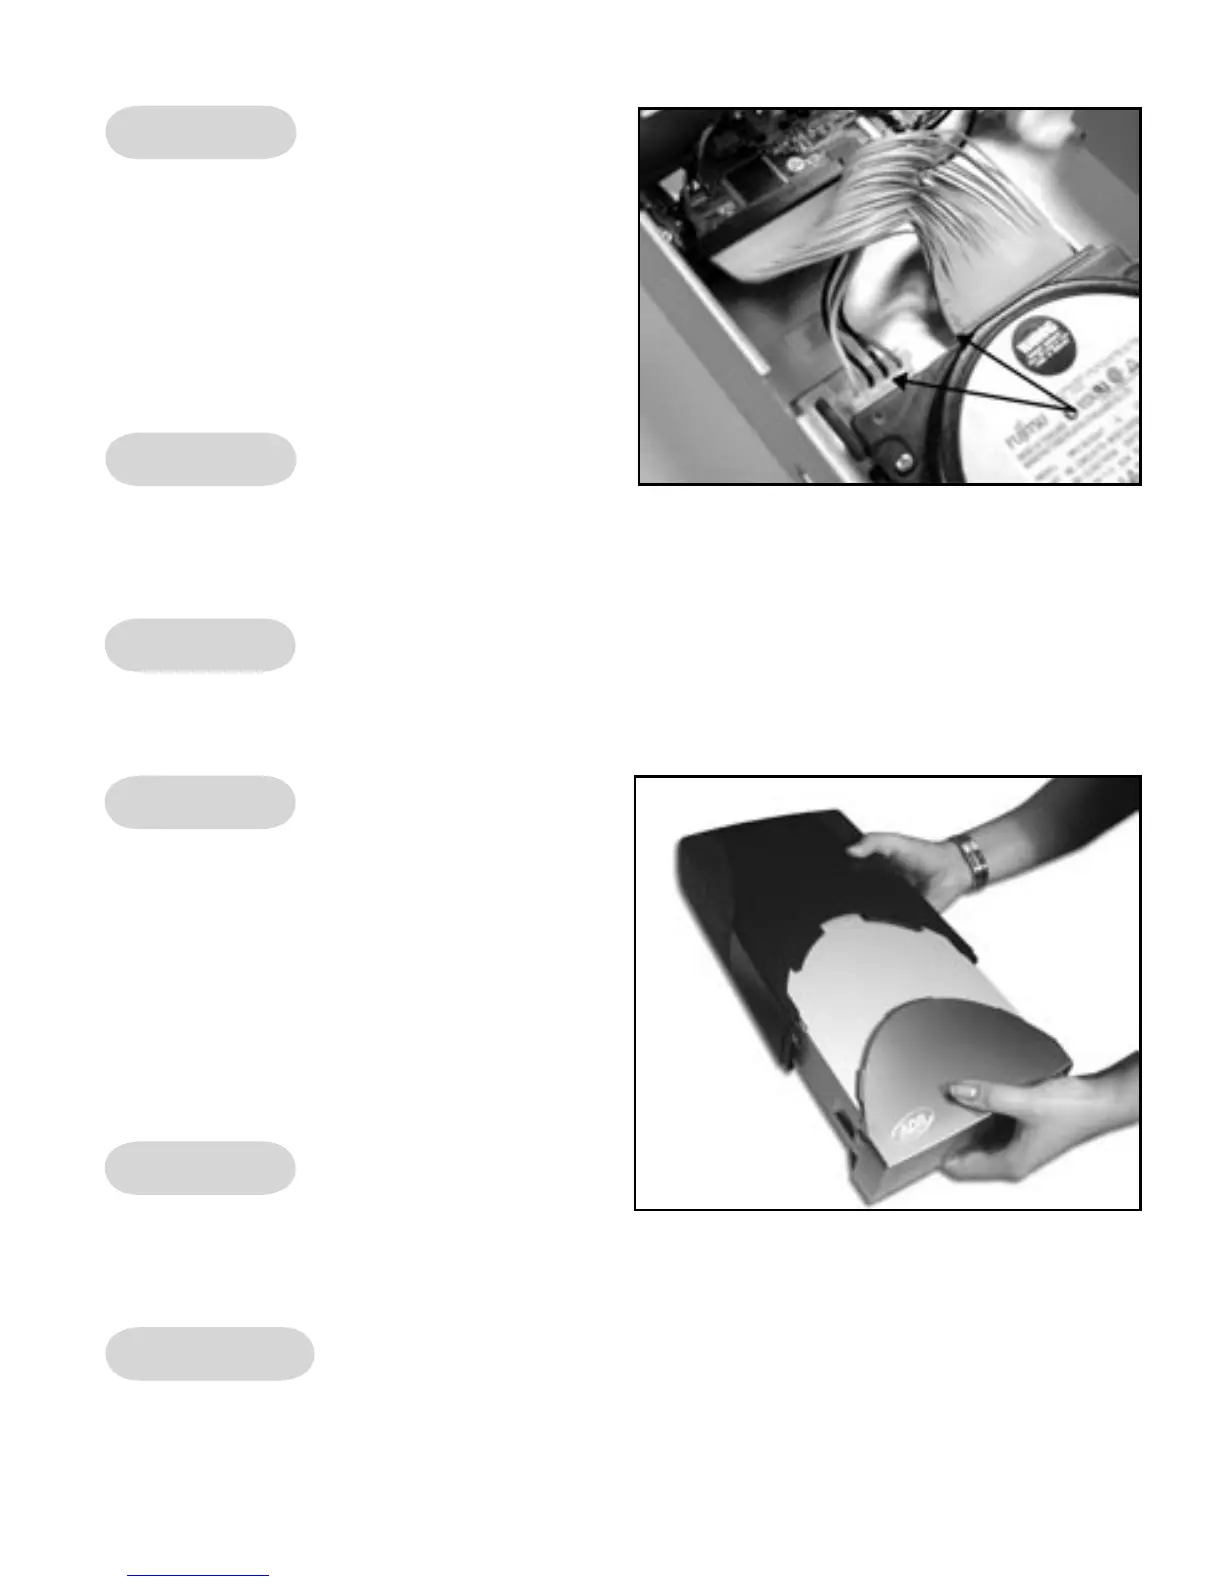
STEP 8:
Replace the shell on the Drive Kit case
by sliding in the black/grey plastic. Please
secure it with the screws supplied.
Plug the power cable to the Drive Kit case. After you have done this, plug the remaining
end of the cable into a surge protected power source. Take note of the green on/off switch
in the back of the Drive Kit.
STEP 9:
STEP 10:
The physical assembly of your drive kit is complete. Read the instructions below to install
the software before you connect the USB 2.0 or FireWire cable between your computer
and your drive kit for the rst time. Now insert the Drive Kit CD.
3
 Loading...