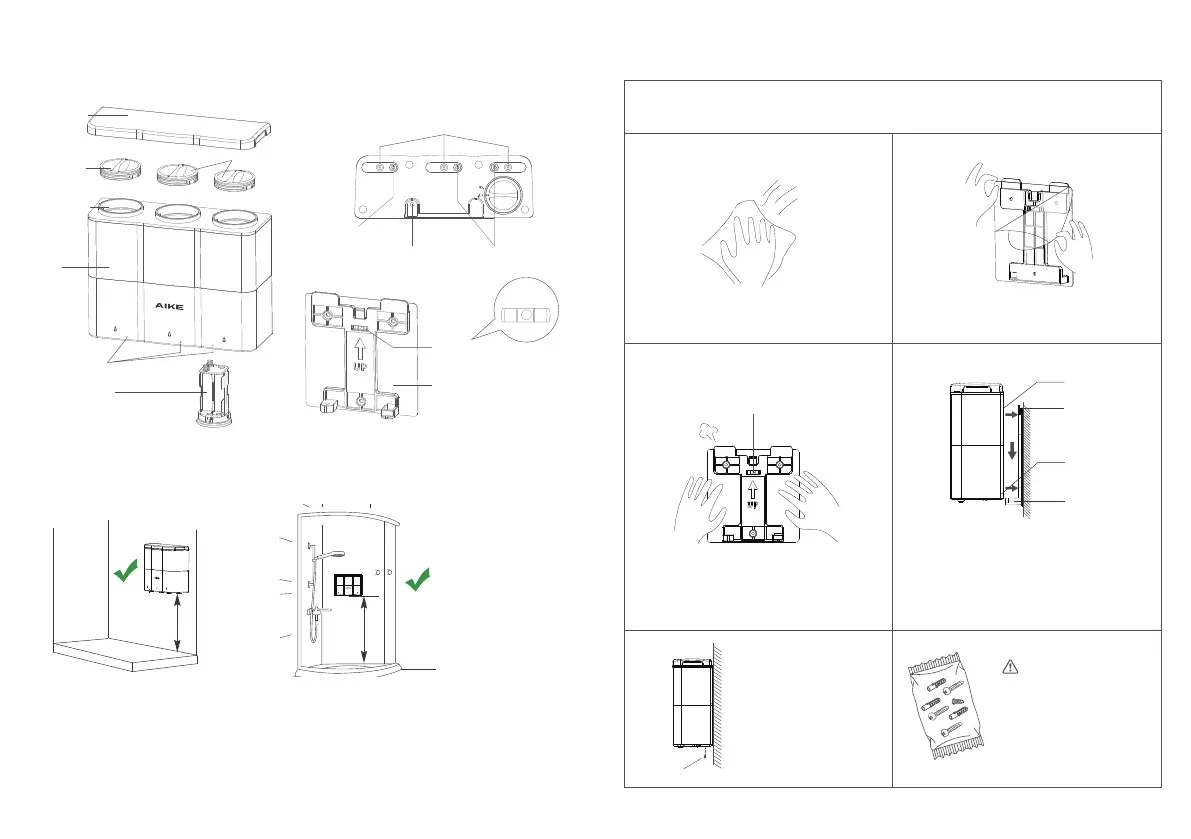
Wipe the wall clean and keep it dry.
If the wall is smooth and flat (such as tiles, glass, wood, etc.), you can mount the dispenser using
the self-adhesive mounting plate. Follow the instructions below:
Remove the protective film.
Use the included level meter to calibrate the
level of the mounting plate, then attach the
mounting plate to the wall and press to elim-
inate any air.
Align the hooks of the mounting plate with
the slots on the back of the dispenser and
attach the dispenser to the mounting plate
by sliding it down until both clips snap into
place.
① ②
⑤ ⑥
③ ④
Install the anti-theft
screw to complete
the installation.
User Guide How to install your dispenser
1 2
EN EN
Installation height notes
Battery replacement reminder
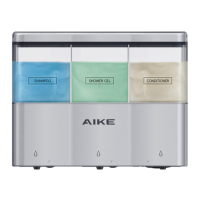
Flashing of the indicator light is a sign to replace batteries. Make sure to replace all four AA
alkaline batteries for every battery replacement.
Magnetic
top cover
Twist cap
Twist cap
Filling port
Shell
Battery holder
Upper slot
Upper clip
Lower slot
Lower clip
Anti-theft screw
Power button
indicator triangle
Anti-theft
screw hole
Power button
Power button
Dispensing nozzle
Bottom diagram
Self-adhesive
mounting plate
Level meter
≥35cm
(13.78 inches)
Recommended dispenser
installation height in the
shower room: 1.1-1.3m
(42.31-51.18 inches)
Note:
If the wall does not meet the
conditions mentioned above,
please use the screws included
in the package to install your
dispenser.
When the bubble in the level meter is at the
center, it indicates that the mounting plate
is in a horizontal position.
 Loading...