Page4 Page5 Page6
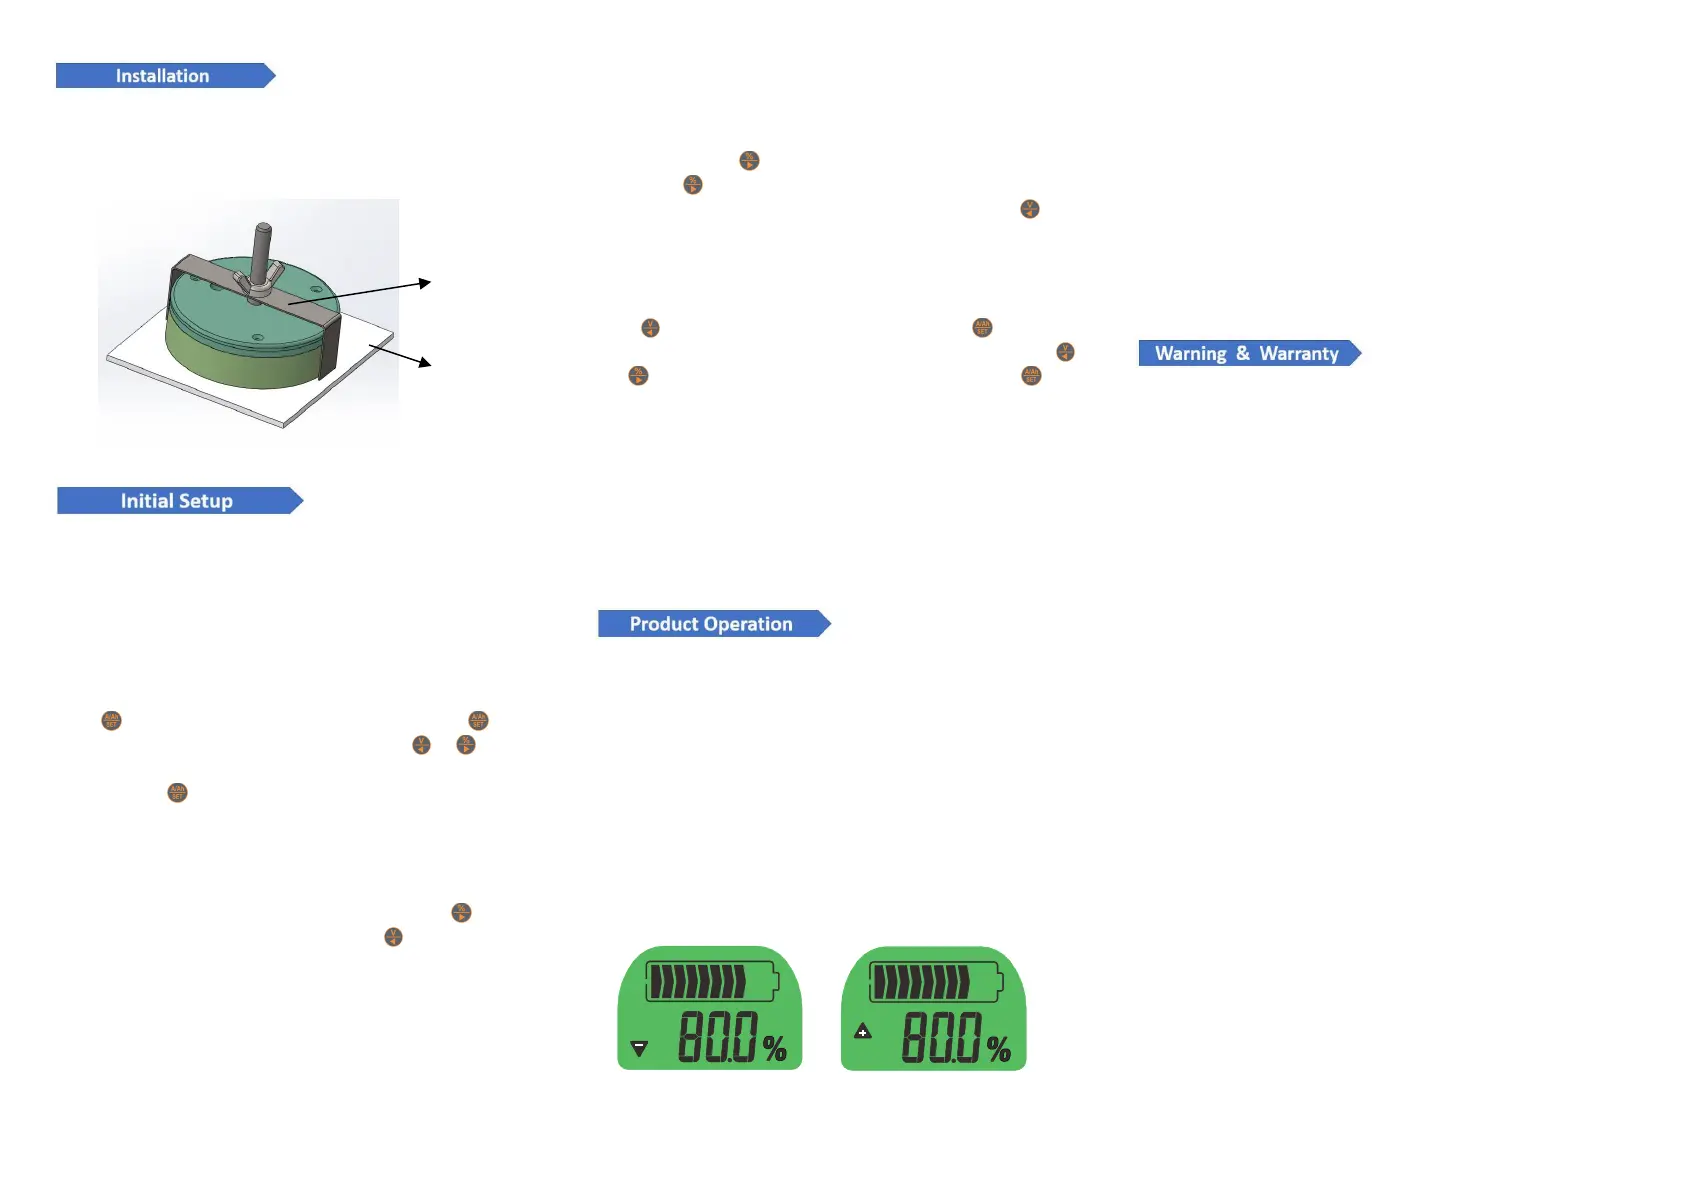
Cut a round opening (ø54.50mm) to suit the display dimensions.
Insert the Coulometer from the front of the panel,Then fix the
Coulometer with bracket. As shown below:
1. Set the rated capacity:
Determine the rated capacity of battery, expressed in Amp-hours,
eg. 100 Ah. If your battery does not state a amp hour rating on it,
contact the manufacture and ask them what it is, or use this meter
to measure actual capacity by yourself (Please refer to below Note
section).
Press key to capacity reading interface, hold the key for 3
seconds and enter capacity setting mode, press or key to
increase or decrease the value, set the capacity equal to rated
capacity, press to complete the setting.
Note: If you find the rated capacity doesn’t match the actual
battery capacity, you can measure the actual capacity by this
meter: Set the rated capacity as high as possible, for example
100Ah. Then discharge the battery totally, press key to
percentage reading interface, hold the key for 3 seconds to
set the capacity to zero. Next, charge the battery fully, then the
displayed capacity is the actual capacity. Finally set the rated
capacity equal to the displayed capacity (Please refer to above
section).
2. Capacity initialization:
At first use, the percentage and capacity displayed is not the
actual correct value, you should initialize the capacity:charge the
battery fully, press key to percentage reading interface, and
hold the key for 3 seconds to set the capacity full.
Alternatively, discharge the battery totally and hold the key
for 3 seconds to set capacity zero. The coulometer is now
calibrated, no need to repeat this except if you replace the battery.
3. Preset voltage setting (capacity automatic zero resetting):
Press key to voltage reading interface, press key for 3
seconds to enter zero capacity voltage setting interface, click
or key to increase or decrease the value, press to
complete the setting. When the voltage is lower than this value,
the Ah and percentage reading will be reset to 0 and the
back-light will turn off.
Note: It is not mandatory to set this voltage values. The default is
0V, which is the invalid / not set value. If you want to set this values,
please ensure you understand the actual charge and discharge
voltages of the batteries before proceeding.
1. When charging or discharging, the coulometer must be
operational, otherwise the capacity displayed will not be accurate.
2. Connect the load, if the discharge current is higher than
“back-light on current”, the display back-light will turn on (if
back-light is blinking, the B- and P- are inversely connected)
indicating that the load is discharging.
3. Disconnect the load, and connect the charger. When the
charge current is higher than “back-light on current”, the
back-light will be blinking (if the back-light is solidly on ,the B- and
P- are inversely connected) indicating that the battery is charging.
4. When the charge or discharge current value lower than
“back-light off current”, the coulometer enters a low power
state and back-light off. Besides, the coulometer will memory the
capacity.
5. Because of high sensitivity, when the coulometer is in
standby mode (battery has no input or output current), if it is
interfered by electromagnetic radiation (open or close inductive
loads, such as a electric motor), the back-light will shortly open.
6. When the current drastic change frequently the date
acquisition may produce error, and it will affect the accuracy.
The monitor must not be exposed to direct sunlight for long
periods of time or to an environment with large amounts of
ultraviolet radiation, particular in winter ( < -20 ℃ ) and summer
(>60℃), otherwise it will shorten the life of LCD display.
AiLi® warrants each AiLi® branded Battery Capacity Monitor sold by
AiLi® or any of its authorized dealers or distributors worldwide, to be
free of defects from the date of sale for 12 months. The warranty period
starts at the time of purchase. For further warranty details refer to our
website.

 Loading...