Rockwell Automation Publication 1756-IN619A-EN-P - April 2016 7
ControlLogix Power Supply
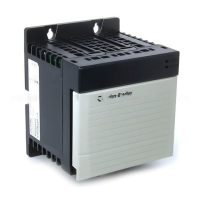
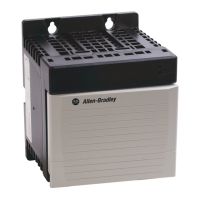
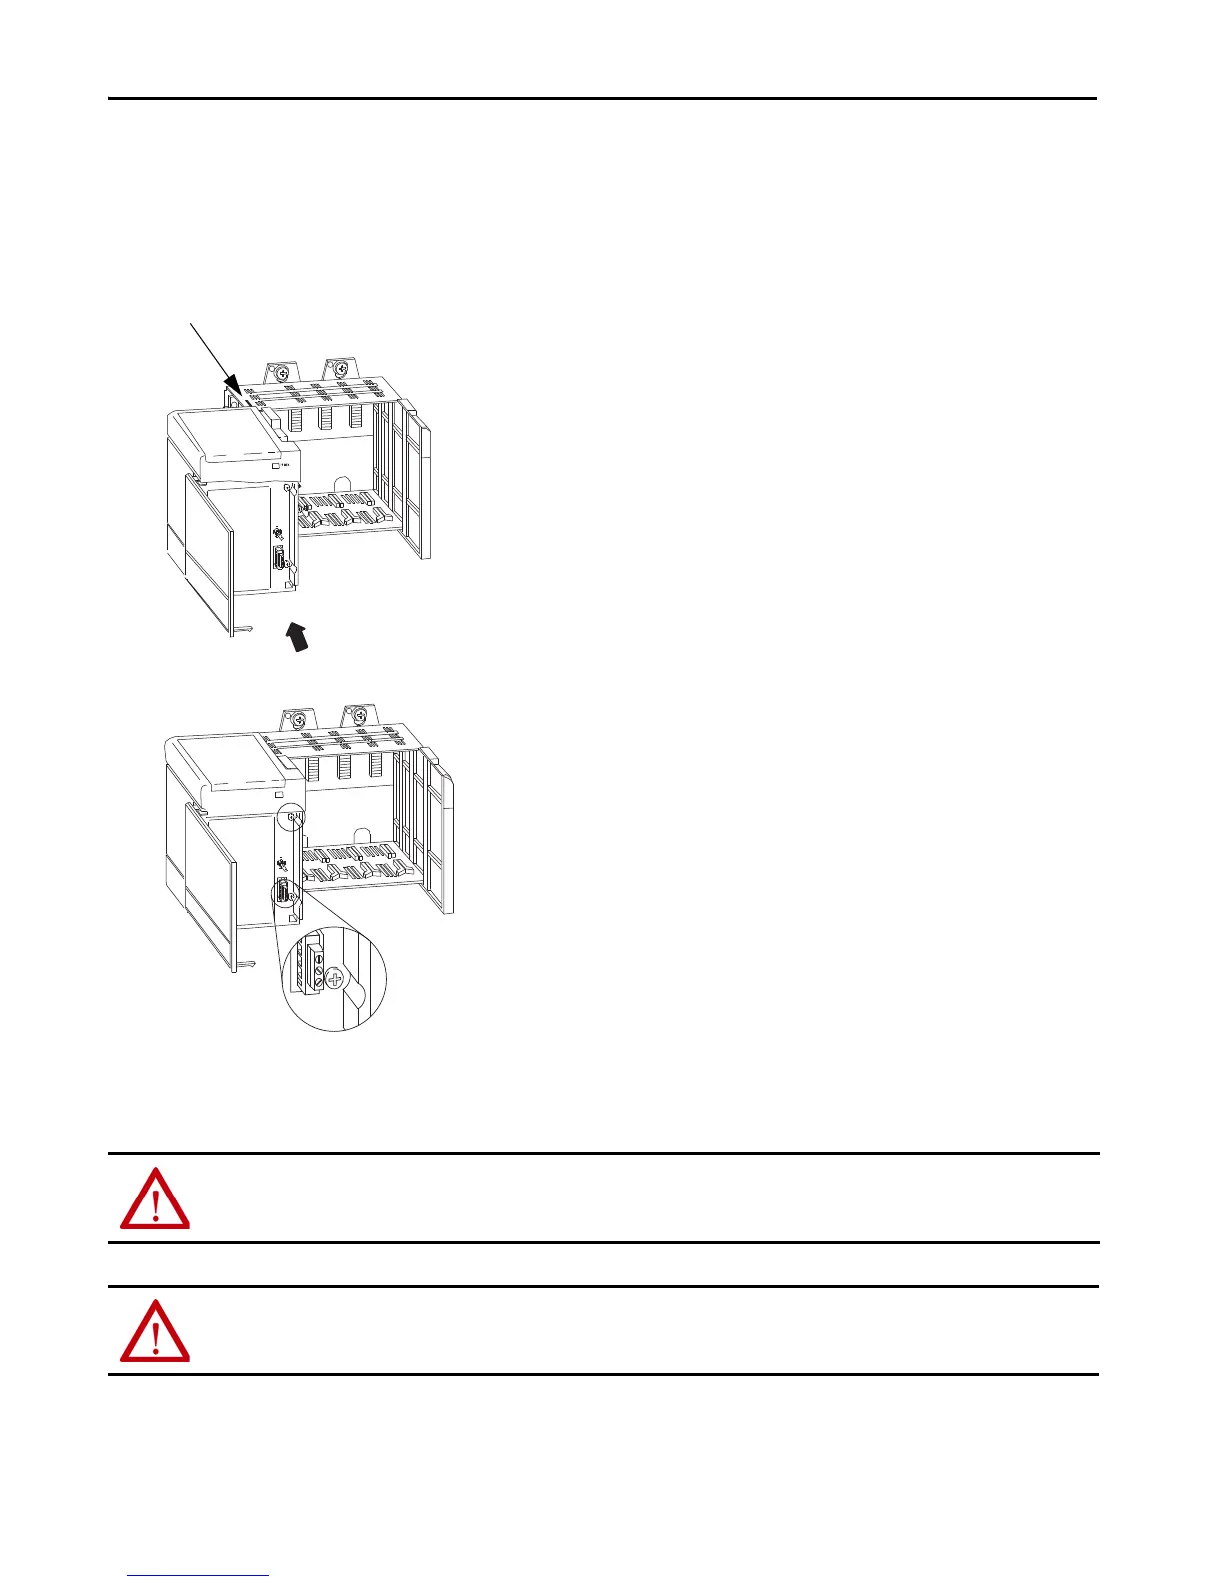
Install the Power Supply
1. Make sure that the chassis is installed and grounded correctly.
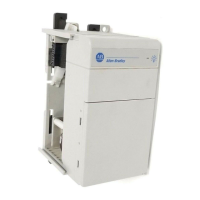
2. Align the power-supply circuit board with the card guides on the left side of the chassis.
3. Slide the power supply back until it is flush with the front of the chassis.
4. Tighten the top and bottom screws to fasten the power supply to the chassis.
Connect the Power
Use 2.5 mm (14 AWG) solid or stranded-copper wire that is rated at 90 °C (194 °F), or greater, 1.2 mm (3/64 in.) insulation maximum to connect
power. Tighten the terminals to a torque of 0.8 N•m (7 lb•in).
WARNING: If you connect or disconnect wiring while the field-side power is on, an electrical arc can occur. This can cause an explosion in hazardous location
installations. Be sure that power is removed or the area is nonhazardous before proceeding.
ATTENTION: Do not wire more than one conductor on any single terminal.
Use 15 A time-delay type fuse in all ungrounded power connections.
 Loading...