Page | 3
with LAN cable. You will know the device is connected to the
Internet once both WiFi and Up/Down arrows Icons turn green.
For WiFi connection please follow the steps below:
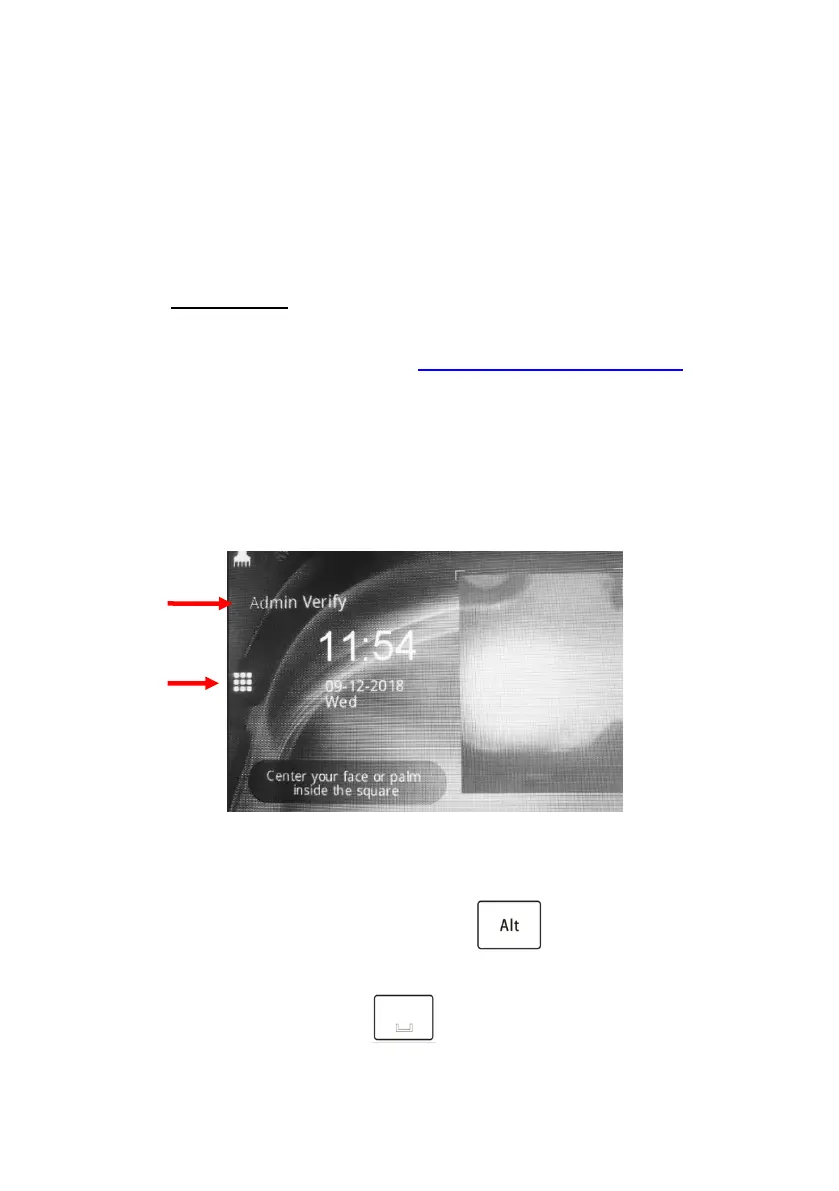
2.1 Go to WiFi Setup on the device MENU (click on Keypad icon –
this will get you to Setup MENU. NOTE: if you have employees
already downloaded to the clock, you will also need to select
Admin Verify to login like shown in image below to access the
MENU. (hint: if you forgot your enrolled Admin password,
contact us for assistance at support@cloudbiometry.com ).
Once logged in to device MENU, go to the System->Comm-
>WiFi. Make sure Enable = Yes. Click on Search, and wait for the
list of available wireless networks to populate. Locate your
company’s WiFi network and select to connect – you will be
prompted to enter your WiFi password.
2.2 You will be using keypad on the screen to enter your password.
You can refer to Appendix A on the last page for additional
information on using the keypad. Button switches
between 3 different keyboard types: small letters, capital
letters, and numbers. Button is used for special
characters (space, *, !, #, etc). You can select desired letter by
 Loading...