261Alvium USB Cameras User Guide V4.6.1
Installing the camera
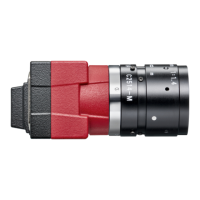
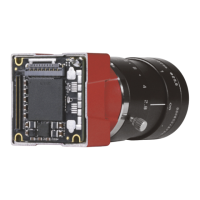
Schematic drawings in Figure 86 show Alvium USB bare board cameras. Only the
mounting area (gray) can be used for mounting. The sensor and electronics area
(red) must not be touched nor put at mechanical stress.
a = Mounting hole | b = Mounting hole and chassis ground
Mount the bare board with four M1.6 screws at 0.1 Nm maximum torque.
Mounting areas for Alvium USB 90° models are the same as for standard models.
NOTICE
Damage to the camera by improper mounting
• Allow mechanical contact only at the mounting area.
• Avoid any mechanical stress to the sensor and the electronics area.
• Avoid short circuits of the electronics components.
• Give 2 mm minimum clearance above board components.
• Tighten screws at 0.1 Nm maximum torque.
Sensor alignment for bare board cameras
The sensors in Alvium bare board cameras are not aligned to a lens mount. You
must align these cameras into housings individually, which can be difficult and
expensive. As a possible solution, Alvium Frame cameras provide alignment areas
and holes to fit into individual housings, see Alvium Frame - use your own optical
mount on page 19.
Figure 86: Mounting area of Alvium USB bare board cameras
connector side (left); sensor side (right)
Top
a
a a
b
b
a
a
a
 Loading...