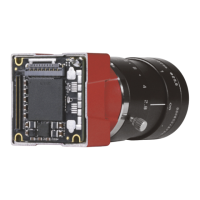
Preparing Cameras without
Sensor Cover Glass
Page 16 of 18
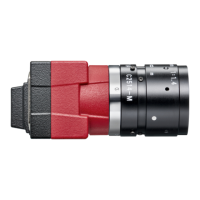
9.5. Reassembling Prosilica GT Large Format housing cameras
1. Position sensor unit (a) and lens mount (c), so that markers (b) align.
2. Fit the sensor unit (a) into the lens mount (c).
3. Put one drop of Loctite 290 threadlocker on the threads of the two M2 x 10 socket head cap screws (d).
Insert screws and spacers (d) and tighten screws at a maximum torque of 3.5 lbf-in (0.4 Nm).
4. Flip the front assembly (g) back to the body assembly (h) to approximately 45°.
5. Engage the flexible contact bar (f) to the mating contact bar.
6. Avoid bending or squeezing the ribbon cable (e):
Flip the front assembly (g) back to the body assembly (h) and close the camera.
Figure 28: Fitting the sensor unit into the lens mount
Figure 29: Inserting the two M2 x 10 socket head cap screws
Figure 30: Rejoining the front assembly with the body assembly
a
c
b
d
Camera top
e
f
h
g
 Loading...