Please read the below instructions carefully before beginning to set up your UV
steriliser system. DO NOT CONNECT THE UNIT TO THE MAINS UNTIL SET UP IS
COMPLETE.
1. Prior to installing the unit, examine the quartz sleeve and UV bulb to make
sure these have not been damaged in transportation (see maintenance section).
Handle with care. Do not hold UV bulb with bare hands as this can affect
performance.
2. Assemble your CUV unit as per the diagrams in the “Parts Diagram” section.
PLEASE NOTE: unlike other sterilisers, CUV units (excluding CUV-207 and CUV-
272) come with one inlet and two outlets - very useful if you want to run the
output to a two-fall waterfall, or indeed a waterfall and a filter. The steriliser is
also supplied with a separate glass viewport which can be used to replace one
of the hosetails for use as a one-in / one-out unit.
INSTALLATION & USE
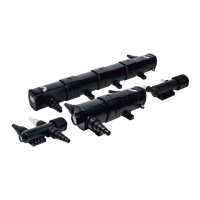
3. Add fixing brackets to your unit (CUV-211 model only). There should be one
at each end of the unit. You can then use them to secure the unit on flat surface.
PLEASE NOTE: CUV-207 / 209 / 218 / 224 / 236 / 272 models come with
preattached fixing brackets.
3. Clear hosetail - is interchangeable with the black hosetail. It has a spindle
that indicates the flow rate so you can use it on the inlet/outlet. Sometimes
you may notice the spindle stops rotating, this is
okay as long as the water runs through the unit.
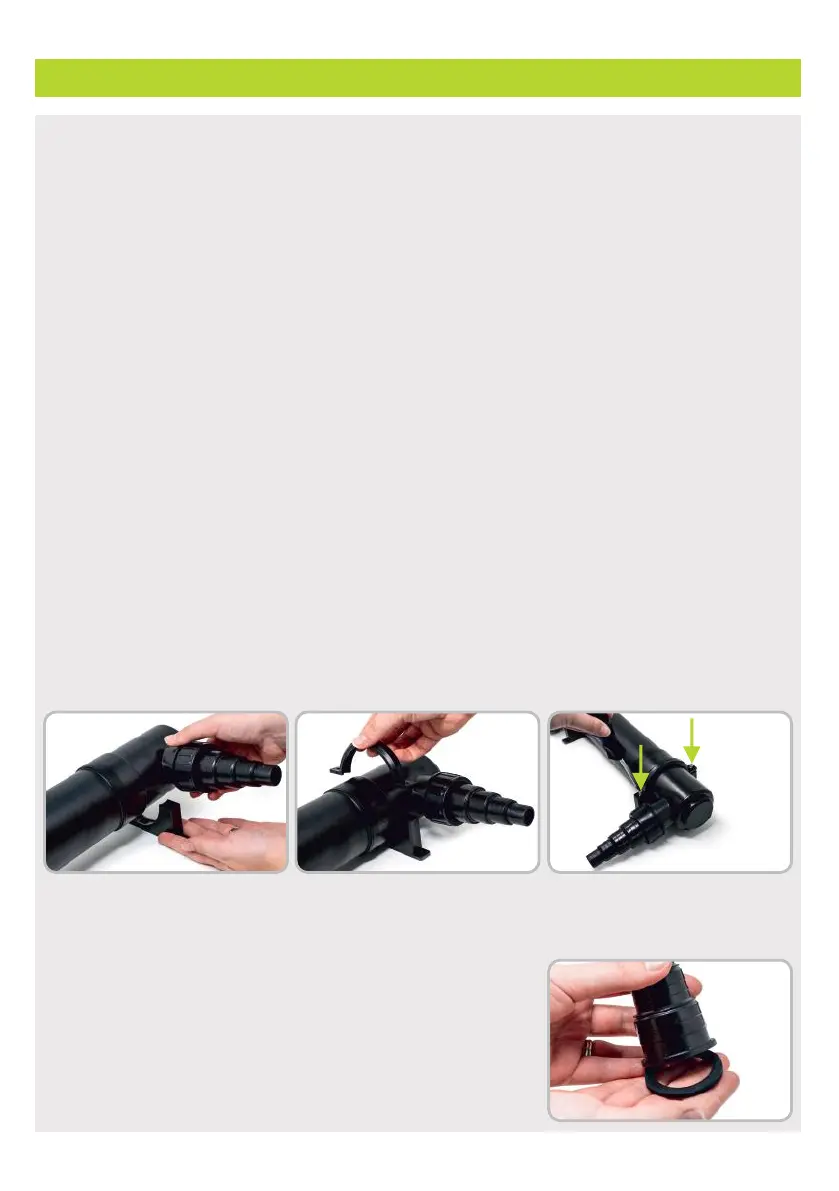
4. Make sure the O-rings are placed smooth side up
to the hosetail (see image on the right for reference).
This will prevent leakage.
 Loading...