10Remove the USB device from Alpine Head Unit.
14Check firmware version in Setup: Menu → Setup →
System → About → Firmware Version.
If “Firmware Version” number is displayed as
“1.1.270” in SETUP menu (see picture right) of the
Alpine Head Unit, this update procedure has been
successful.
Installing the Update Software (USB Stick)
9 The update is finished when the screen (see picture
right) is displayed. Press the “OK” button. The
Alpine Head Unit will reboot automatically.
8 Press “Yes” button when update message appears on the screen.
13 The Alpine Head Unit will reboot automatically.
ALPS ALPINE EUROPE GmbH, Alpine Brand
11Reset the Alpine Head Unit by clicking: Menu → Setup → System → About
→ Clear All Settings: Press the “Reset” button.
Attention: All personal audio settings will be deleted!
Update will be completed in around 3 minutes.
12 Press the "OK" button again when the message appears on the screen.
Installing the Update Software (USB Stick)
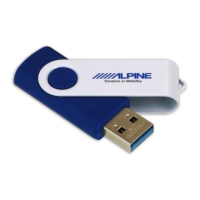
1 Store the downloaded and extracted files “iLX-F905D_USB-Stick.zip” on the empty USB
device in the Root Folder (see left figure).
2 Turn on the vehicle’s ignition to turn on the Alpine Head Unit.
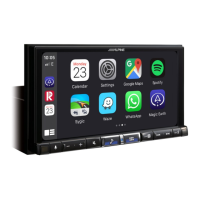
5 Connect the USB stick to the USB port: USB 1 2.4A Android Auto of your Alpine Head
Unit (see picture page before, below right). Press “OK” to start the update.
3 Press the “Menu” button (Hard Key) on the Alpine Head Unit to enter the settings.
Press the “Setup” button on screen and then press “System” on screen.
4 Now press the “Abo ut” button on the screen. In the About menu, you will see the current
Firmware Version and the “Update” button for executing the firmware update.
Now press the “Update” button.
“Checking the update file...”
can take up to 60 seconds.
6 After checking the update file on USB stick, a
screen with the pre-installed and the new firmware,
Current Version and New Version is displayed.
7 Press the “Update” button again to start the update.
iLX-F905D / iLX-F115D / iLX-705D / i905D Serie
Software Update Procedure
 Loading...