27-EN
EN
FR
ES
DE
SE
IT
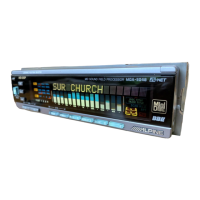
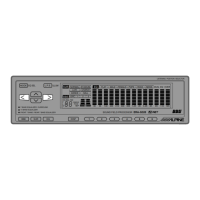
Display settings
The display’s contrast and LCD (negative/
positive) can be adjusted.
1 Press the SETUP button.
The setup mode is set.
2 Turn the Rotary encoder to select the “DISPLAY
SETUP” mode, then press the ENTER button.
3 Turn the Rotary encoder to adjust
“CONTRAST”, then press the ENTER button.
Adjust the contrast (color depth) between –8~+8
so that the display is easy to see.
4 Turn the Rotary encoder to perform the “LCD
MODE” setting, then press the ENTER button.
Set the display to “POSITIVE (Pos.)” or
“NEGATIVE (Neg.)” according to your tastes.
5 Once the settings are completed, press the
SETUP button repeatedly to quit the setup
mode.
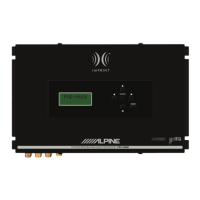
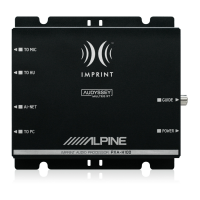
MX mode setting (Ai-NET connection)
Use this setting when using the PXA-H700 in
combination with an Ai-NET head unit equipped
with the automatic MX mode selection function
(for example, DVA-7996R).
When the MX mode is set to “Auto”, the MX
settings of the head unit (the MX modes for the
different music sources) are sent to the PXA-
H700.
1 Press the SETUP button.
The setup mode is set.
2 Turn the Rotary encoder to select the “MX
MODE”, then press the ENTER button.
3 Turn the Rotary encoder to select “Auto” or
“Manual”, then press the ENTER button.
Auto:
When the PXA-H700 is used in combination
with an Ai-NET head unit equipped with the
automatic MX mode selection function (for
example, DVA-7996R), the MX settings of
the head unit are sent to the PXA-H700.
In addition, the MX mode switches
automatically according to the music source
selected by the head unit.
Manual:
Perform the MX operations on the PXA-
H700.
4 Press the SETUP button repeatedly to quit the
setup mode.
 Loading...