HAPPY
CAMPING!
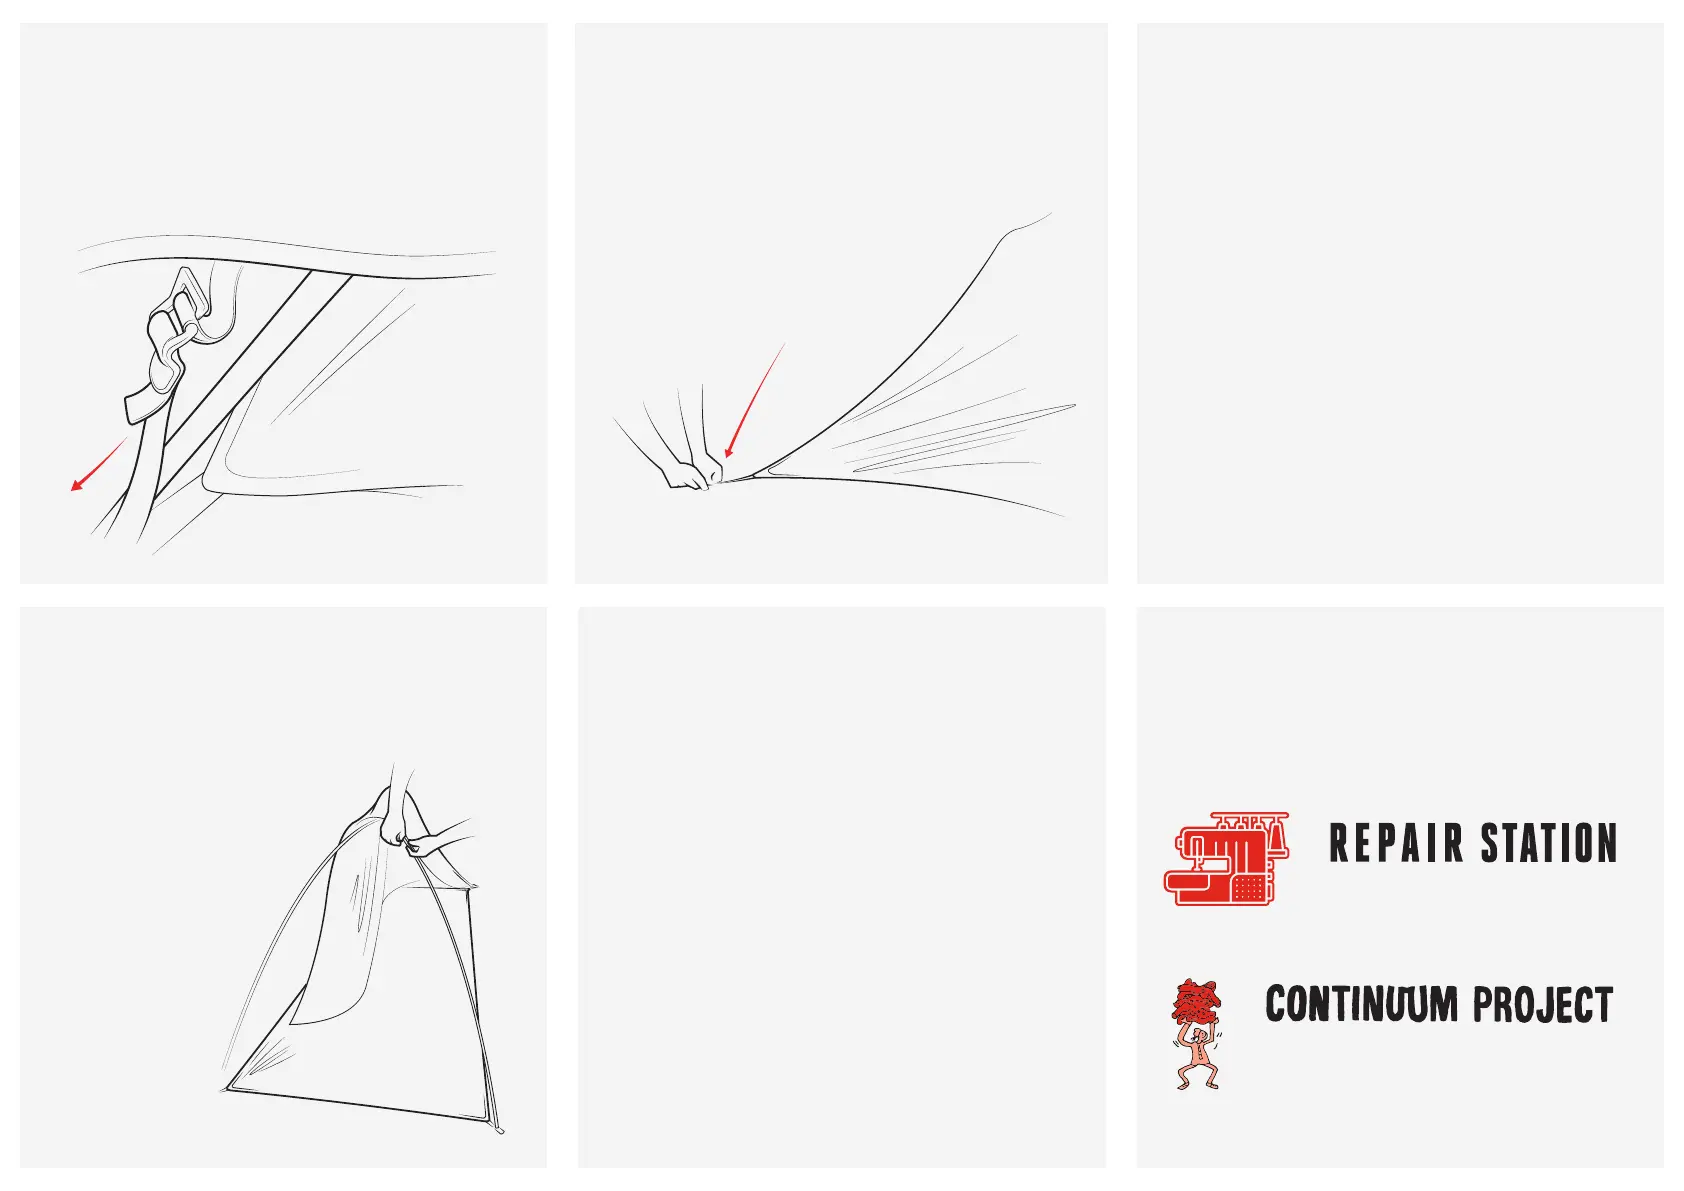
6. Tension the ysheet by adjusting the webbing lock at
the peg out points. For extra security loop the excess
webbing through the top hook to prevent slipping in windy
conditions. [Fig 3]
7. Peg out the tent, starting from the back two corners
moving forwards to the porch.
8. Adjust the guy lines to create space between the inner and
ysheet for greater ventilation and reduce condensation
build up. [Fig 4]
(3)
(4)
CARE AND MAINTENANCE
◉ Clean and dry tent thoroughly after each use.
◉ Never use a washing machine or tumble dryer to clean your
tent. Car washes are also frowned upon.
◉ Spot clean with mild detergent and warm water.
◉ Air dry only.
◉ Pack tent carefully to avoid punctures.
◉ Avoid prolonged UV exposure.
SPECIFICATION
Sleeps: 1
Outer: 20d Silicone coated ripstop Polyester with PU backer
(HH: 3,000mm)
Inner mesh: 20d Nylon Breathable ripstop
Floor: 20d ripstop Polyester PU (HH: 5,000mm)
Poles: 7001-T6 alloy
Pegs: 11 pegs, Alpkit Apex
CONTINUE THE JOURNEY
When your partnership with this product is over please don’t
leave it hidden in a cupboard, never to see another adventure.
Wash it, pass it on, give to a friend, sell it, donate it to charity,
make it into something else or recycle it and let someone else
live their dream.
PITCHING ‘TARP STYLE’
1. First, peg out the footprint. Ensure the ground is free
from sharp objects and rocks. In windy conditions it
is best to pitch Soloist inline with the wind.
2. Assemble all of the poles and insert pole
tips into the four corner eyelets on the
groundsheet. The poles should bend
upwards when pitching the last two
sections to create the tent shape.
3. With the tent structure in
place, unpack the ysheet
and place over the top of
the poles. Use the Velcro
tabs to ensure a secure
t in windy conditions.
Insert the pole ends
into the ysheet
corner eyelets and
peg the tent out.
HACK, PATCH & SEW
In store service for your kit: alpkit.com/stores
For more ideas on how you can extend the life of or donate
your outdoor products visit: alpkit.com/continuum
 Loading...