Bismarck
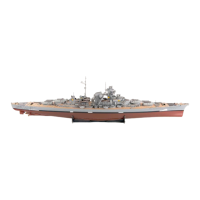
205
1172
1167
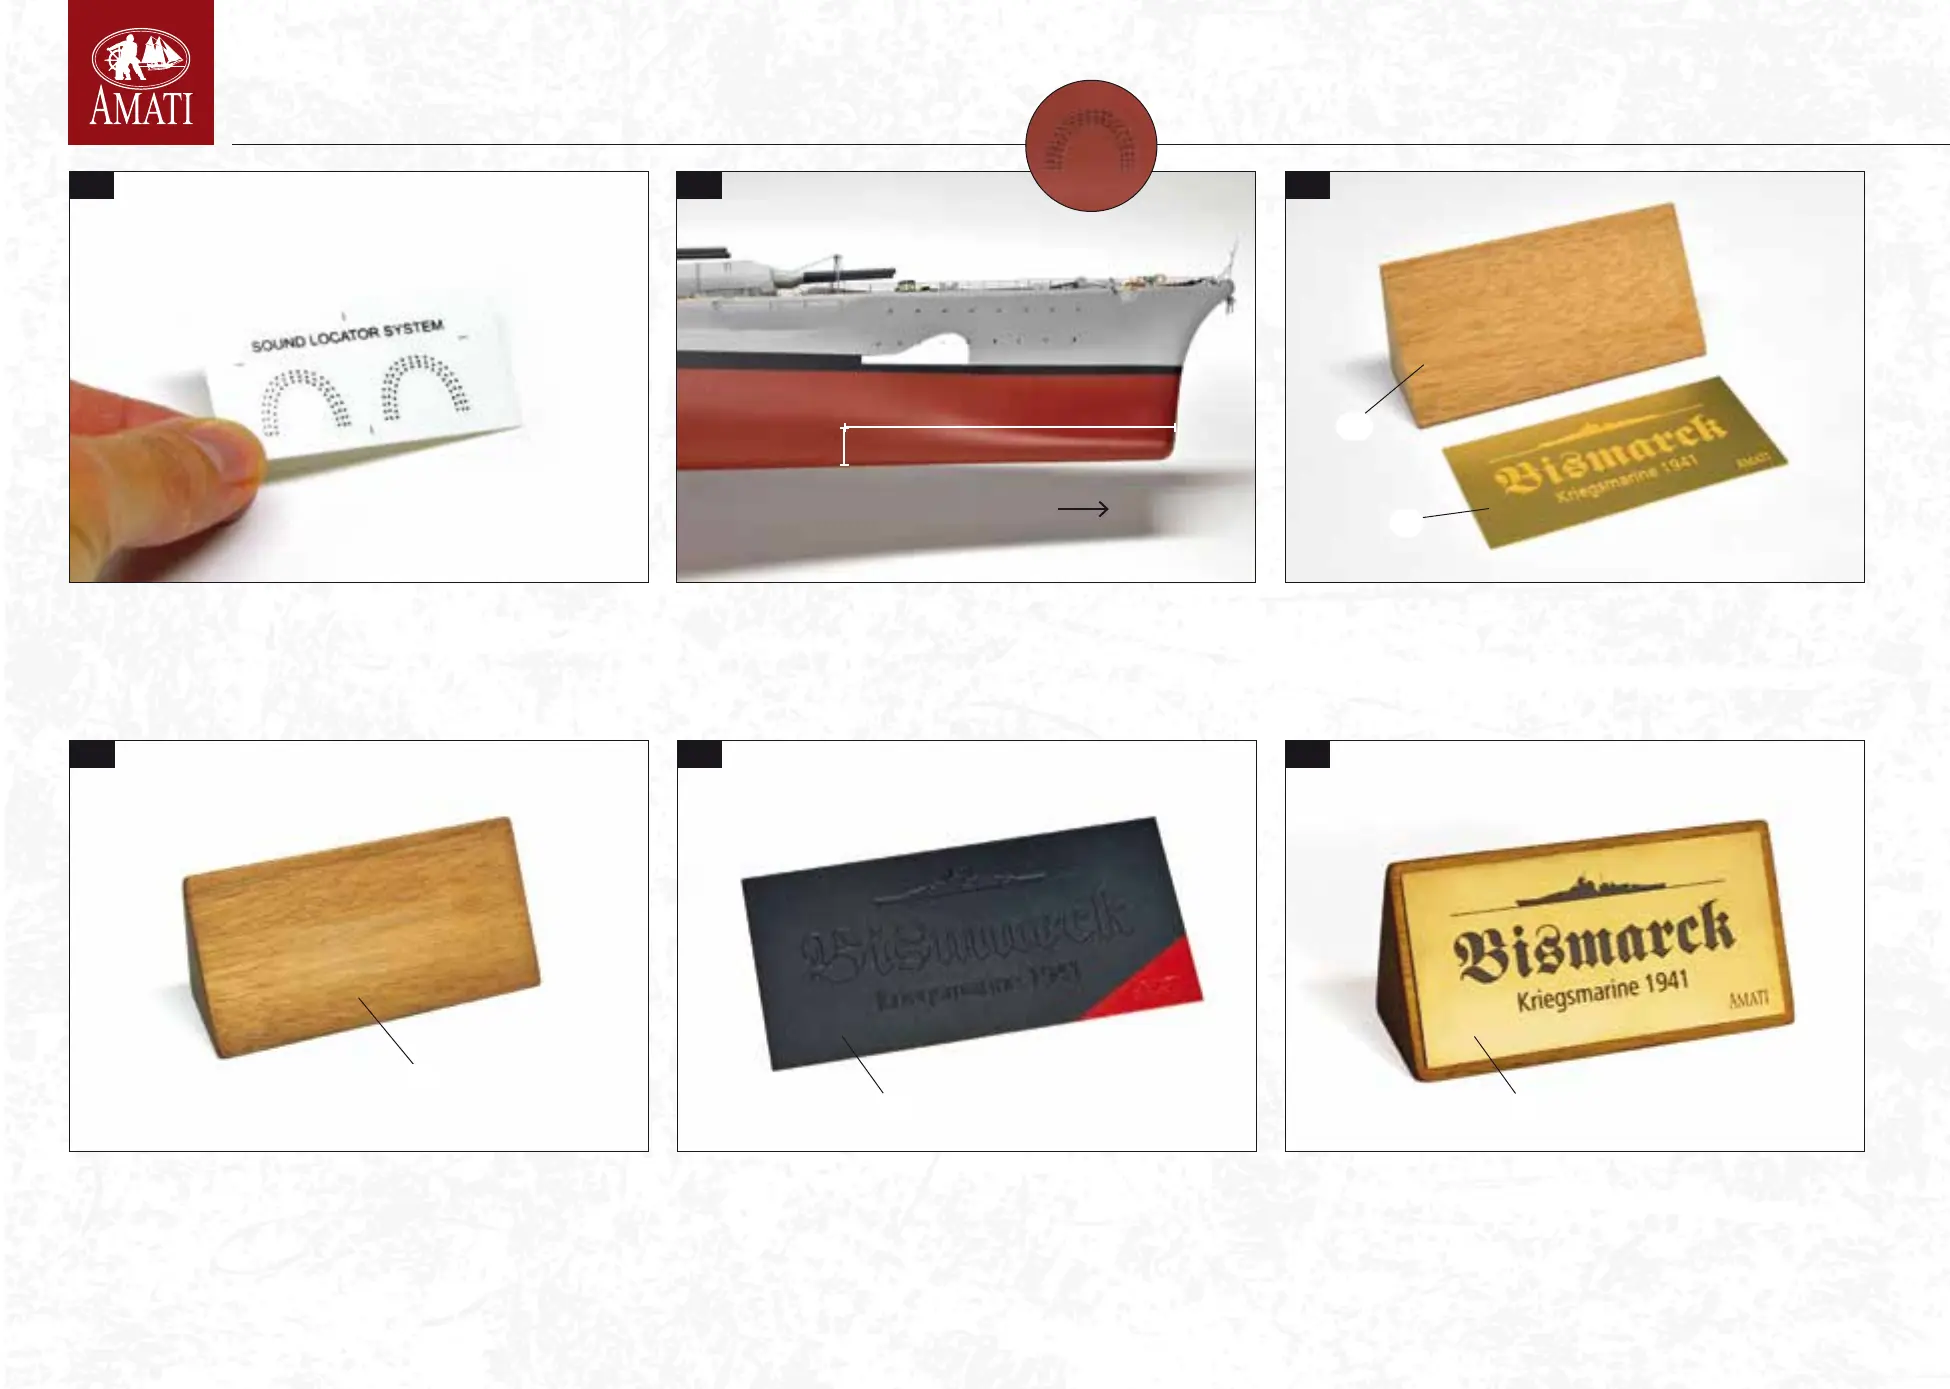
Take the sheet with the transfers of the Sound Locator System that you will have
to apply to the sides of the hull of the model. Cut out one of the two decals provided
with the SLS, leaving a little margin around the drawing. Immerse the rst transfer in
a tray of water.
1172
Using ne-grit sandpaper, remove the black and red paint from the parts in relief
on the plate. The engraved graphics will keep the two colours. Finally, glue the plate to
the centre of the inclined wall of the wooden support with superglue.
1169
Take wooden support 8039 and brass plate 1601 which you can nd on sheet
1563.
1171
Take sheet 1601 and paint the prole of the ship in matt black and the central
writings engraved on the plate masking the “Amati” logo at the bottom right. Once
dry, remove the adhesive tape and vice versa paint the logo in Ral 3003 red, masking
the rest of the plate. Let it dry very well and remove the tape from the plate.
1168
Mark the measurement of 186mm on the starboard side of the hull, starting
from the bow of the ship, and the measurement of 16mm starting from the lower
prole of the hull. Take the wet transfer and slide the drawing across the hull surface
aligned with the traced marks. Spread it with a brush and let it adhere well to the
surface. Repeat the same operation for the port side.
1170
With medium-grit sandpaper, sand the entire surface of the wooden support.
Apply a nut-brown stain of sufcient quantity, until you reach the shade you desire.
Once dry, sand again with ne-grit sandpaper. Finally, to enhance the wood, spread
the beeswax on the support.
1167
1170
1168
1171
1169
BOW
1601
1601
1601
8039
8039
186mm
16mm
 Loading...