SETUP
Follow the steps below to learn how to set your MIDI Splitter up.
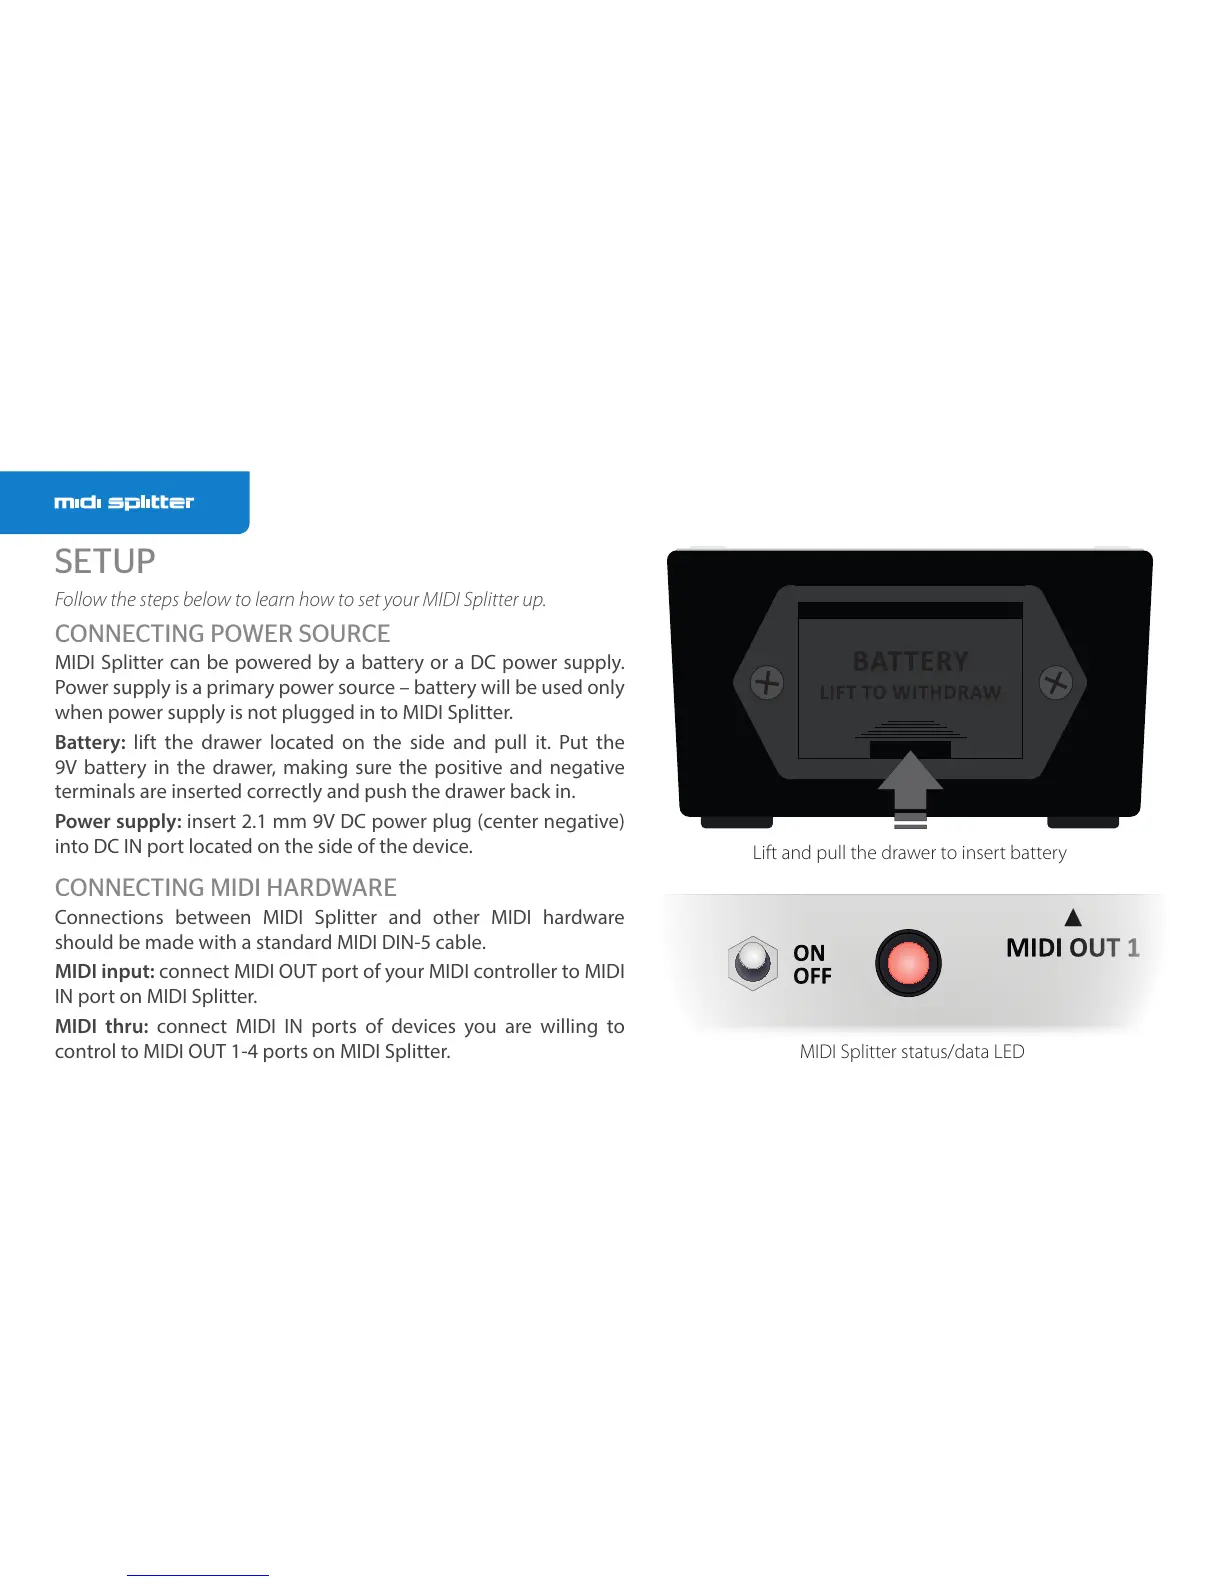
CONNECTING POWER SOURCE
MIDI Splitter can be powered by abattery or aDCpower supply.
Power supply is aprimary power source – battery will be used only
when power supply is not plugged in to MIDI Splitter.
Battery: lift the drawer located on the side and pull it. Put the
9V battery in the drawer, making sure the positive and negative
terminals are inserted correctly and push the drawer back in.
Power supply: insert 2.1 mm 9V DC power plug (center negative)
into DC IN port located on the side of the device.
CONNECTING MIDI HARDWARE
Connections between MIDI Splitter and other MIDI hardware
should be made with astandard MIDI DIN-5 cable.
MIDI input: connect MIDI OUT port of your MIDI controller to MIDI
IN port on MIDI Splitter.
MIDI thru: connect MIDI IN ports of devices you are willing to
control to MIDI OUT 1-4 ports on MIDI Splitter.
Lift and pull the drawer to insert battery
MIDI Splitter status/data LED