8
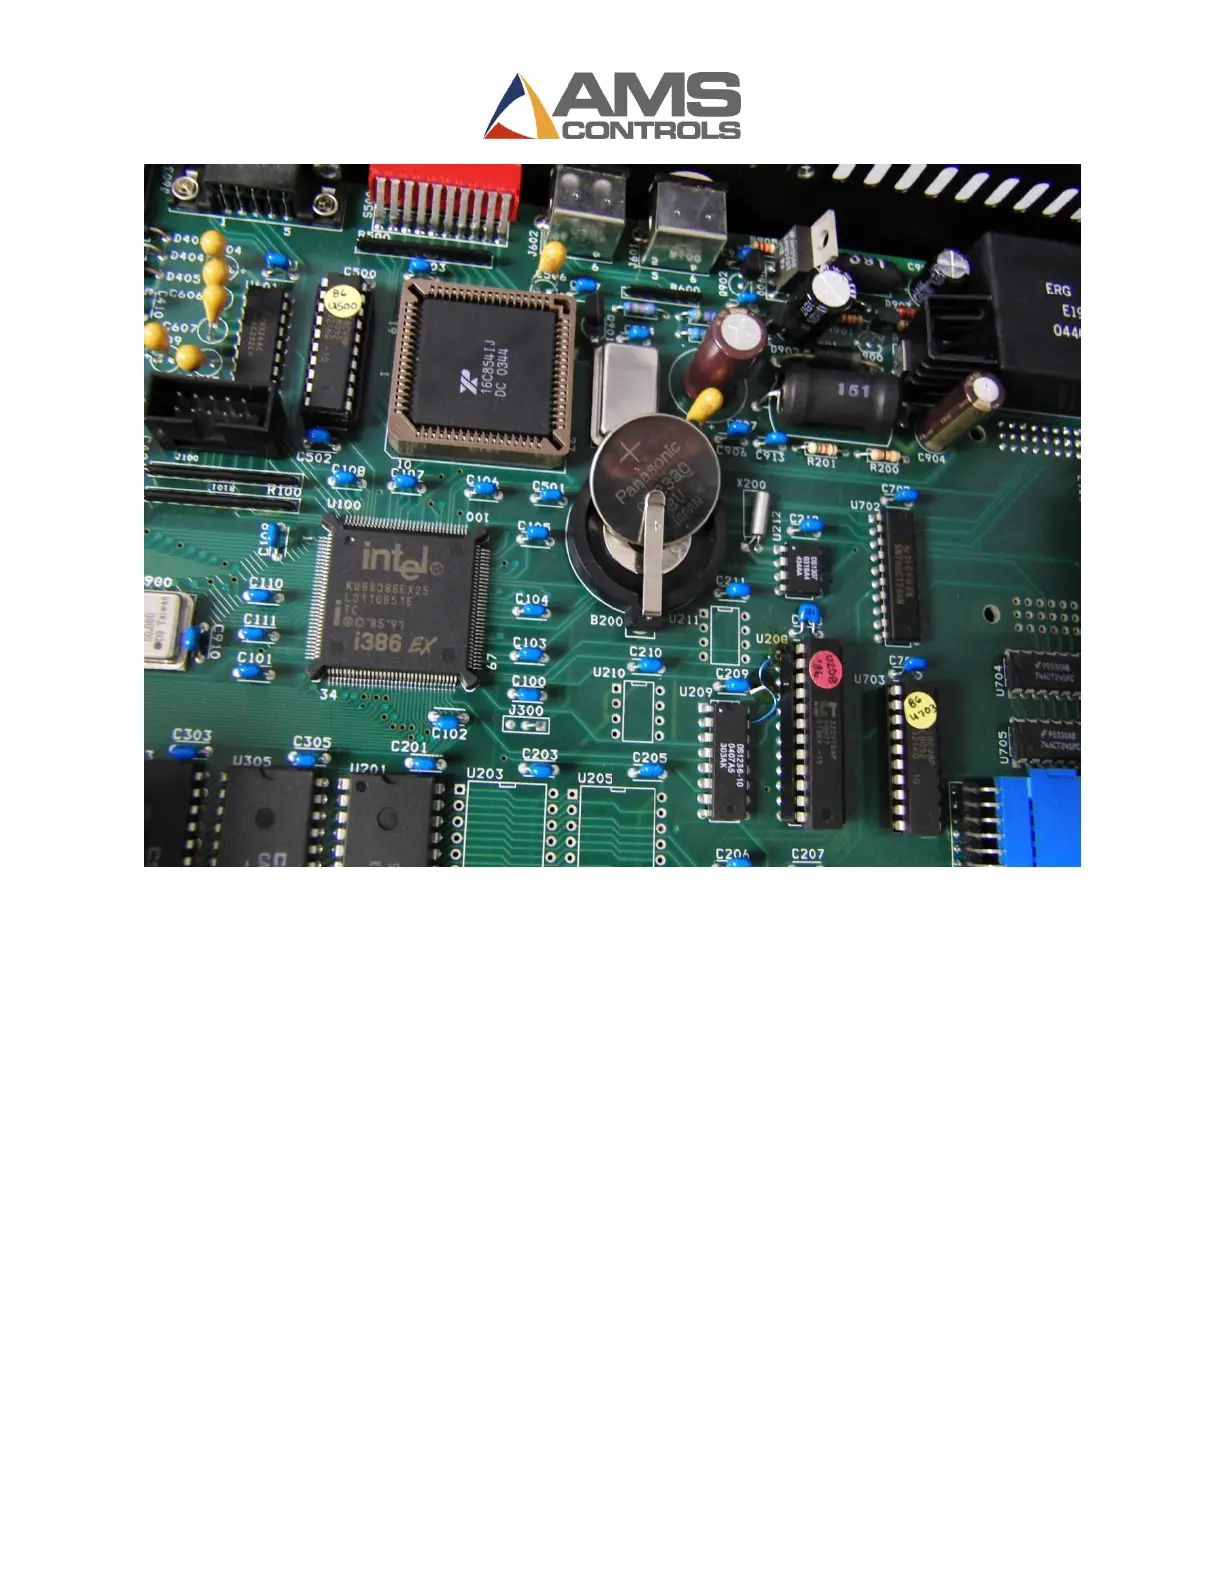
Figure 10 - Battery partially removed
11. Insert the new Panasonic CR2330 battery with the positive (+) side facing up by inserting it from
the top side and sliding it under the clip until it snaps into place.
12. Close the boards back on top of the front panel. While lowering the board, reconnect the wires
to the back of the front panel.
13. Screw on the 8 nuts removed in step 5.
14. Place the back cover over the circuit boards.
15. Put the 6 screws back into place that were removed in steps 2 and 3.
16. Congratulations, you have successfully replaced the battery in your XL200 Rev A/B.

 Loading...