B1: “MODE/SET” button
B2: “ ” button
B3: “ /! ” button
B4: “ALARM ON/OFF” button
B5: “RESET” button
B6: “SNOOZE” button
B7: Alarm mode slide switch
Part C:
C1: Wall Mount Hole
C2: Stand
C3: Battery Compartment
3. Getting Started:
3.1 Main Unit:
●
Slide open battery compartment cover [C3]
●
Insert 4 x AA size batteries observing polarity [“+” and“ –“ marks].
●
Replace battery compartment cover [C3]
4. Time and Alarm Setting
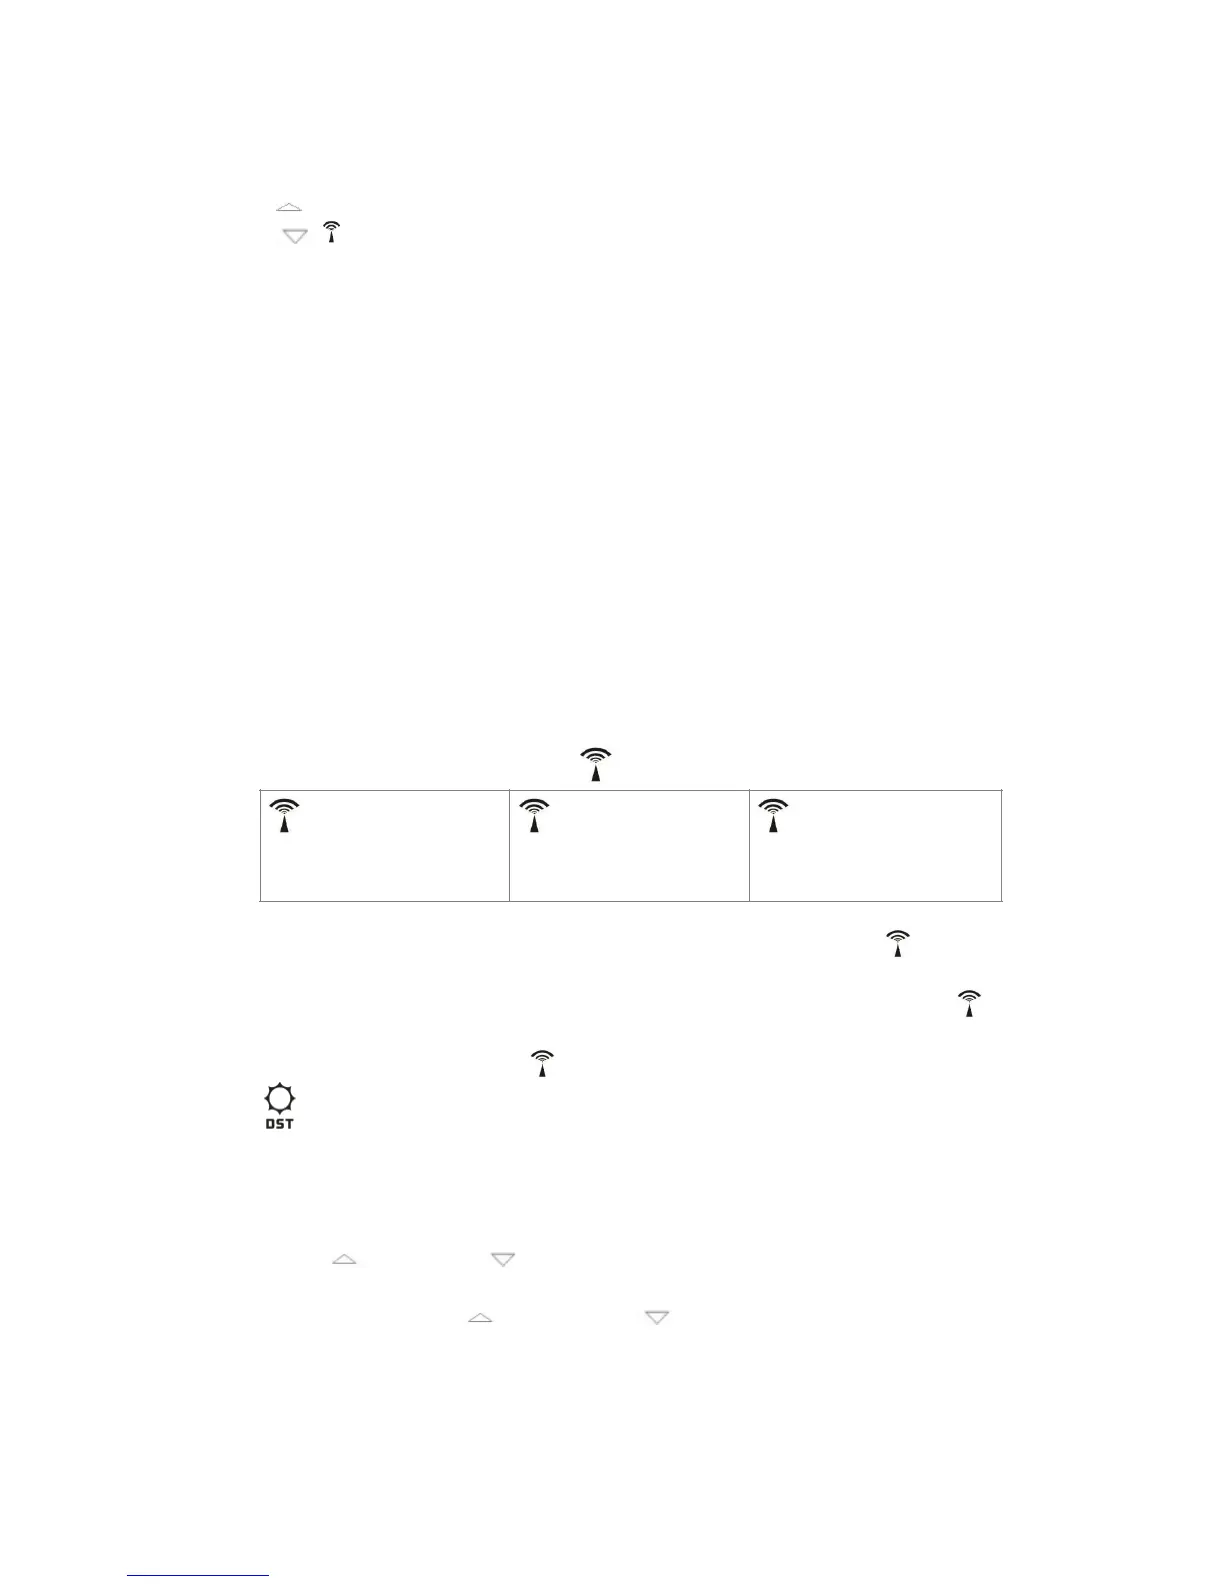
4.1 Radio Controlled Clock:
●
After batteries inserted, the clock automatically starts to scan the DCF
time signal. Radio Control Icon“ ” flashes on the LCD.
●
The clock automatically scans the time signal at 3.00 a.m. every day to
maintain accurate timing. If reception fail, scanning stops (“ ” on LCD
disappear)
●
The clock can be set to scan the time signal manually by holding “ ”
button (B3) for 3 seconds. Each reception takes about 5 minutes.
●
Stop scanning by holding “ ” button (B3) for 3 seconds.
●
“ ” shown on the LCD if it is in Daylight Saving Time Mode
4.2 Manual Time Setting:
●
In time display mode, hold “MODE” button (B1) for 3 seconds to enter
Clock/Calendar setting Mode.
●
Press “ ” (B2) or “ ” (B3) button to adjust the setting and press
“MODE” button (B1) to confirm each setting.
(By keeping the “ ” (B2) or “ ” (B3) button pressed, could
accelerate the process and reach the desired value more quickly)
●
The setting sequence is shown as follow: 12/24Hour, RCC on/off, Time
Zone, Weekday Language, Hour, Minute, Second, Year, Month, Date,
Te m p e r a t u r e U n i t , A l a r m s o u n d d u r a t i o n .

 Loading...