15
Read the safety instructions before use
Lesen Sie die Sicherheitshinweise vor Gebrauch
Lire les consignes de sécurité avant utilisation
Lea las instrucciones de seguridad antes de usar
Leggere le istruzioni di sicurezza prima dell’uso
Lees de veiligheidsinstructies voor gebruik
Читайте инструкции по технике безопасности
перед использованием
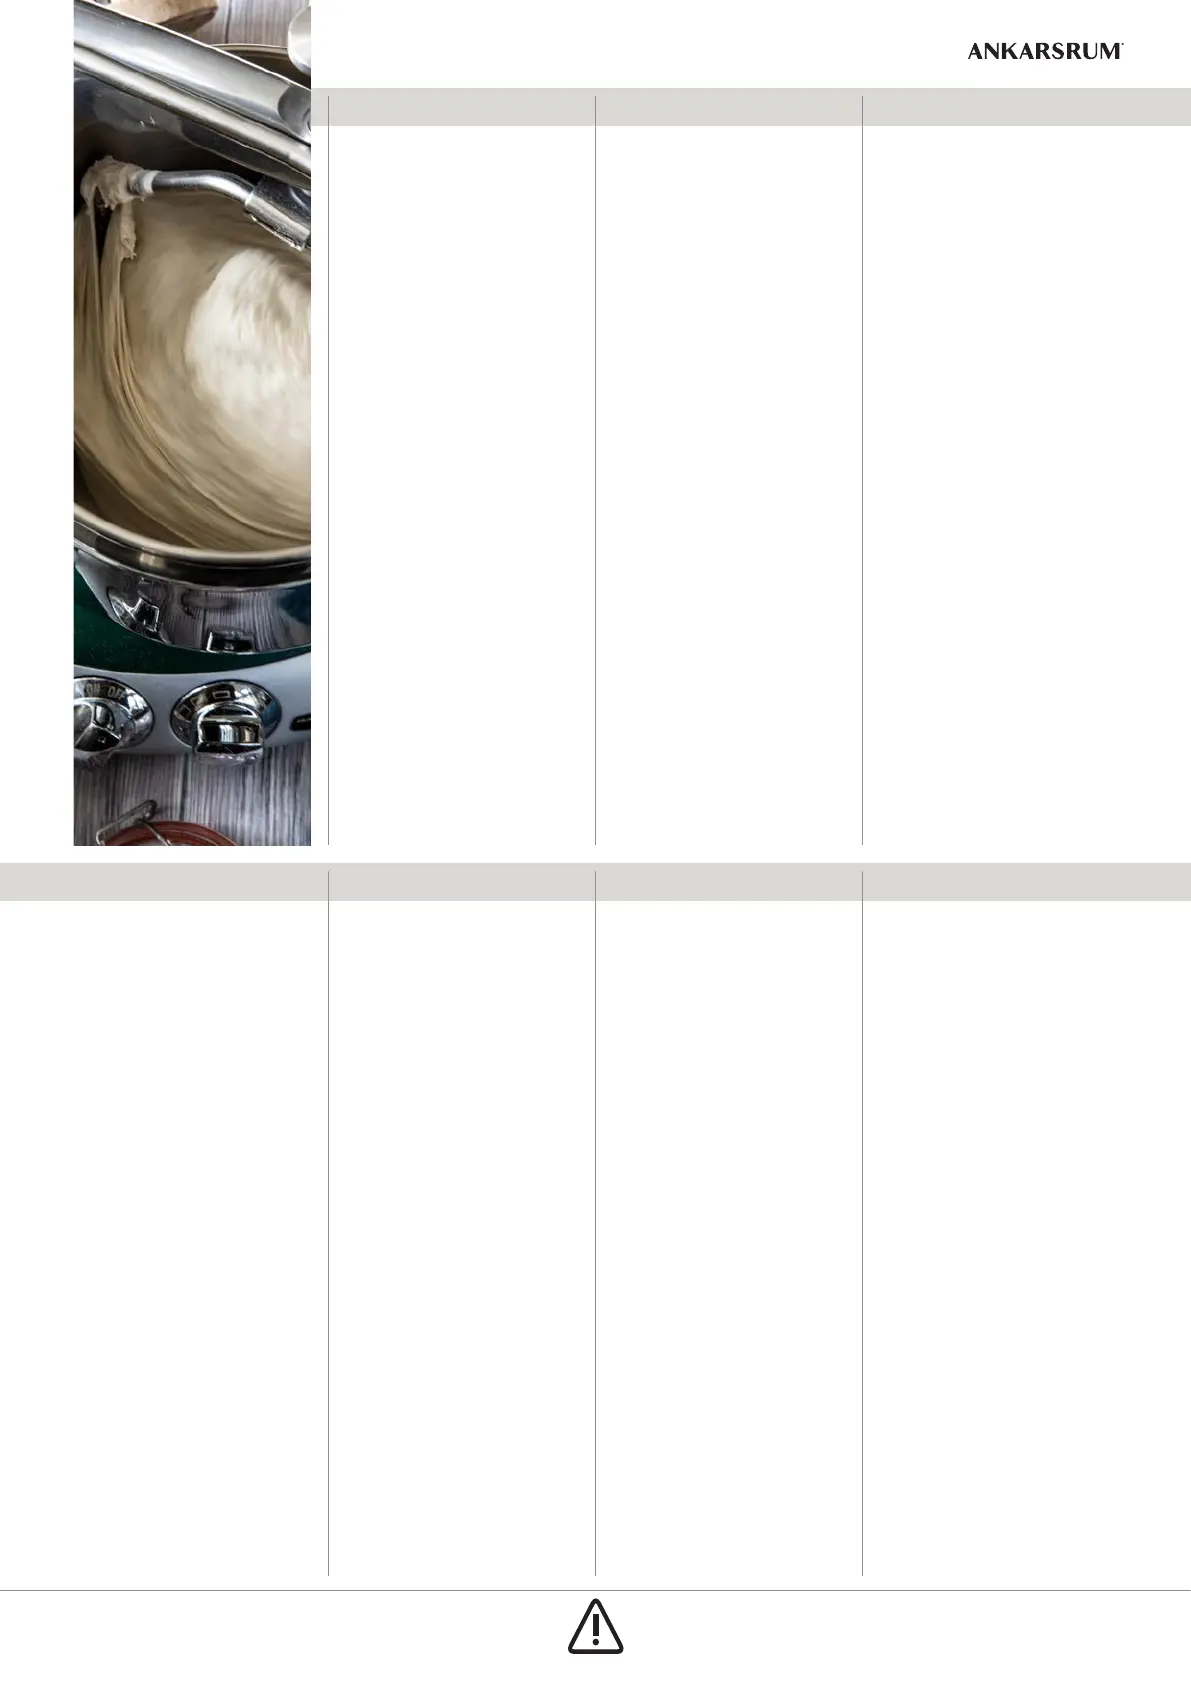
ENGLISH DOUGH HOOK
Assembly
| There is a risk of
crushing injuries between the
rotating bowl and the dough hook.
Never stick your hands or any
external objects into the bowl while
the machine is running.
1.
Secure the dough knife in the
small hole at the arm mounting.
2. Fix the dough hook in the arm
mounting.
3-5. The distance between the
bottom of the bowl and the
hook should be 4-5 mm to
avoid damage to the bowl.
Change the height if necessary
by adjusting the screw in
the arm attachment using a
screwdriver. Attach the dough
hook by bringing the arm over
the dough hook and pressing
the pin into the hole in the
dough hook.
Use | Use the dough hook with
wheat bread doughs and slack
bread doughs with 1-1.5 litres of
liquid ingredients. Start the machine
at low speed.
Cleaning
| The dough hook is
dishwasher safe.
DEUTSCH KNETHAKEN
Zusammenbau | Zwischen der
sich drehenden Schüssel und dem
Knethaken besteht Verletzungsgefahr
durch Ein klemmen. Achten Sie darauf,
dass Hände oder Gegenstände bei
lauf ender Maschine nicht in die
Schüssel geraten.
1.
Den Teigabstreifer in der kleinen
Öffnung am Fuß des Rührarms
be festigen.
2. Befestigen Sie den Knet haken in
der Öffnung.
3-5. Der Abstand zwischen Schüssel -
boden und Haken muss 4-5 mm
betragen, um die Beschädigung
der Schüssel zu verhindern. Bei
Bedarf können Sie die Höhe durch
Justieren der Schraube am be-
festigten Arm mit einem
Schrauben dreher ver ändern.
Fixieren Sie den Knethaken, indem
Sie den Arm über den Knethaken
führen und den Stift in die Öffnung
im Knethaken drücken.
Verwendung | Der Teighaken eignet
sich für Hefe teige und lockere Brot-
teige mit 1-1,5 Liter Flüssig keit. Die
Maschine mit niedriger Geschwindig-
keit einschalten.
Reinigung
| Der Knethaken ist spül-
maschinenfest.
FRANÇAIS CROCHET À PÂTE
Montage | Il y a un risque de blessure
par pince ment entre le cuve rotatif et
le crochet à pâte. N’introduisez jamais
vos mains ou d’autres objets dans le
cuve quand l’appareil est en marche.
1. Fixez le racloir à pâte dans le
petit trou à côté de la fixation du
bras.
2. Fixez le crochet à pâte dans le
trou prévu à cet effet.
3-5. La distance entre le fond du
cuve et le crochet doit être
4 à 5 mm afin d’éviter d’endom-
mager le cuve. Si nécessaire,
ajustez la hauteur en tournant
la vis placée sur le bras à l’aide
d’un tournevis. Fixez le crochet à
pâte en plaçant le bras dessus,
positionnez ensuite la cheville
dans le trou.
Utilisation | Utilisez le crochet pour
les pâtes de pain blanc et d’autres
pâtes légères, ou pour des pâtes
plus lourdes contenant 1 à 1,5 litres
d’ingrédients liquides. Démarrez
l’appareil à vitesse lente. En pré parant
des pâtes plus lourdes, ajoutez d’abord
une petite quantité de farine et faites
travailler avant d’ajouter le reste.
Nettoyage
| La crochet est lavable
en lave-vaisselle.
ESPAÑOL GANCHO DE AMASAR
Montaje | Existe el riesgo de lesiones
por aplas tamiento entre el recipiente
giratorio y el gancho de amasar. No
meta nunca las manos ni ningún obje-
to ex traño en el recipiente durante el
funciona miento de la máquina.
1. Fije el cuchillo para masa en el
pequeño orificio.
2. Encaje el gan cho de amasar en
el conector.
3-5. La distancia entre el fondo del
recipi ente y el gancho debe ser
de 4-5 mm para evitar que el
recipi ente sufra daños. Si es
necesario, cambie la altura
ajustando el tornillo situado en
el accesorio del brazo con un
desto rnilla dor. Acople el gancho
de amasar colocando el brazo
sobre el gancho y encajando a
presión la clavija en el orificio
del gancho de amasar.
Uso
| Utilice el gancho de amasar para
masas de pan de trigo y otras masas
de pan con 1 a 1,5 litros de ingredi entes
líquidos.Ponga la máquina en marcha
a baja veloci dad.
Limpieza
| El gancho es apto para el
lavavajillas.
ITALIANO GANCIO PER IMPASTARE
Montaggio | Esiste il rischio che
si verifichino infortuni dovuti allo
schiacciamento tra ciotola rotante e
gancio per impastare. Mai introdurre
le mani od oggetti estranei nella
ciotola quando la macchina è in
funzione.
1.
Fissare la spatola per impastare
nel foro piccolo presso l’attacco
del braccio.
2. Fissare il gancio nell’attacco.
3-5. La distanza tra il fondo della
ciotola e il gancio deve essere
di 4-5 mm per evitare danni alla
ciotola. Se necessario, variare
l’altezza rego lando la vite pre-
sente sul braccio di supporto
con un caccia vite. Attaccare il
gancio portando il braccio sul
gancio e premendo il perno all’
interno del foro presente
nel gancio.
Uso | Usare il gancio per gli impasti
di pane bianco e gli impasti liquidi di
pane rustico con apporto di 1-1,5 litri
di liquido. Avviare la macchina a bassa
velocità.
Pulizia
| Il gancio è lavabile in
lavastoviglie.
NEDERLANDS DEEGHAAK
Montage
| Er is een risico op
beknelling tussen de roterende kom
en de deeghaak. Plaats nooit uw
handen of vreemde voorwerpen in
de kom terwijl de machine draait.
1.
Zet het deegmes vast in het
kleine gat van de
armbevestiging.
2. Bevestig de deeghaak in de
armbevestiging.
3-5. De afstand tussen de onderkant
van de kom en de haak moet
4-5 mm zijn om schade aan de
kom te voorkomen. Indien nodig
kunt u de hoogte wijzigen door
de schroef in de armbevestiging
met een schroevendraaier te
verstellen. Bevestig de deeg-
haak door de arm over de deeg-
haak te plaatsen en de pin in het
gat van de deeghaak te drukken.
Gebruik | Gebruik de deeghaak
voor tarwebrooddeeg en slappere
brooddegen met 1-1,5 liter vloeibare
ingrediënten. Zet de machine om te
beginnen op een lage snelheid.
Reinigen
| De deeghaak is
vaatwasserbestendig.
РУССКИЙ ЯЗЫК
| -
,
.
-
.
1. -
.
2.
.
3-5.
4-5
.
, -
. -
,
.
|
,
, 1-1,5 ,
.
.
|
.
 Loading...