S19 Maintenance Guide
18
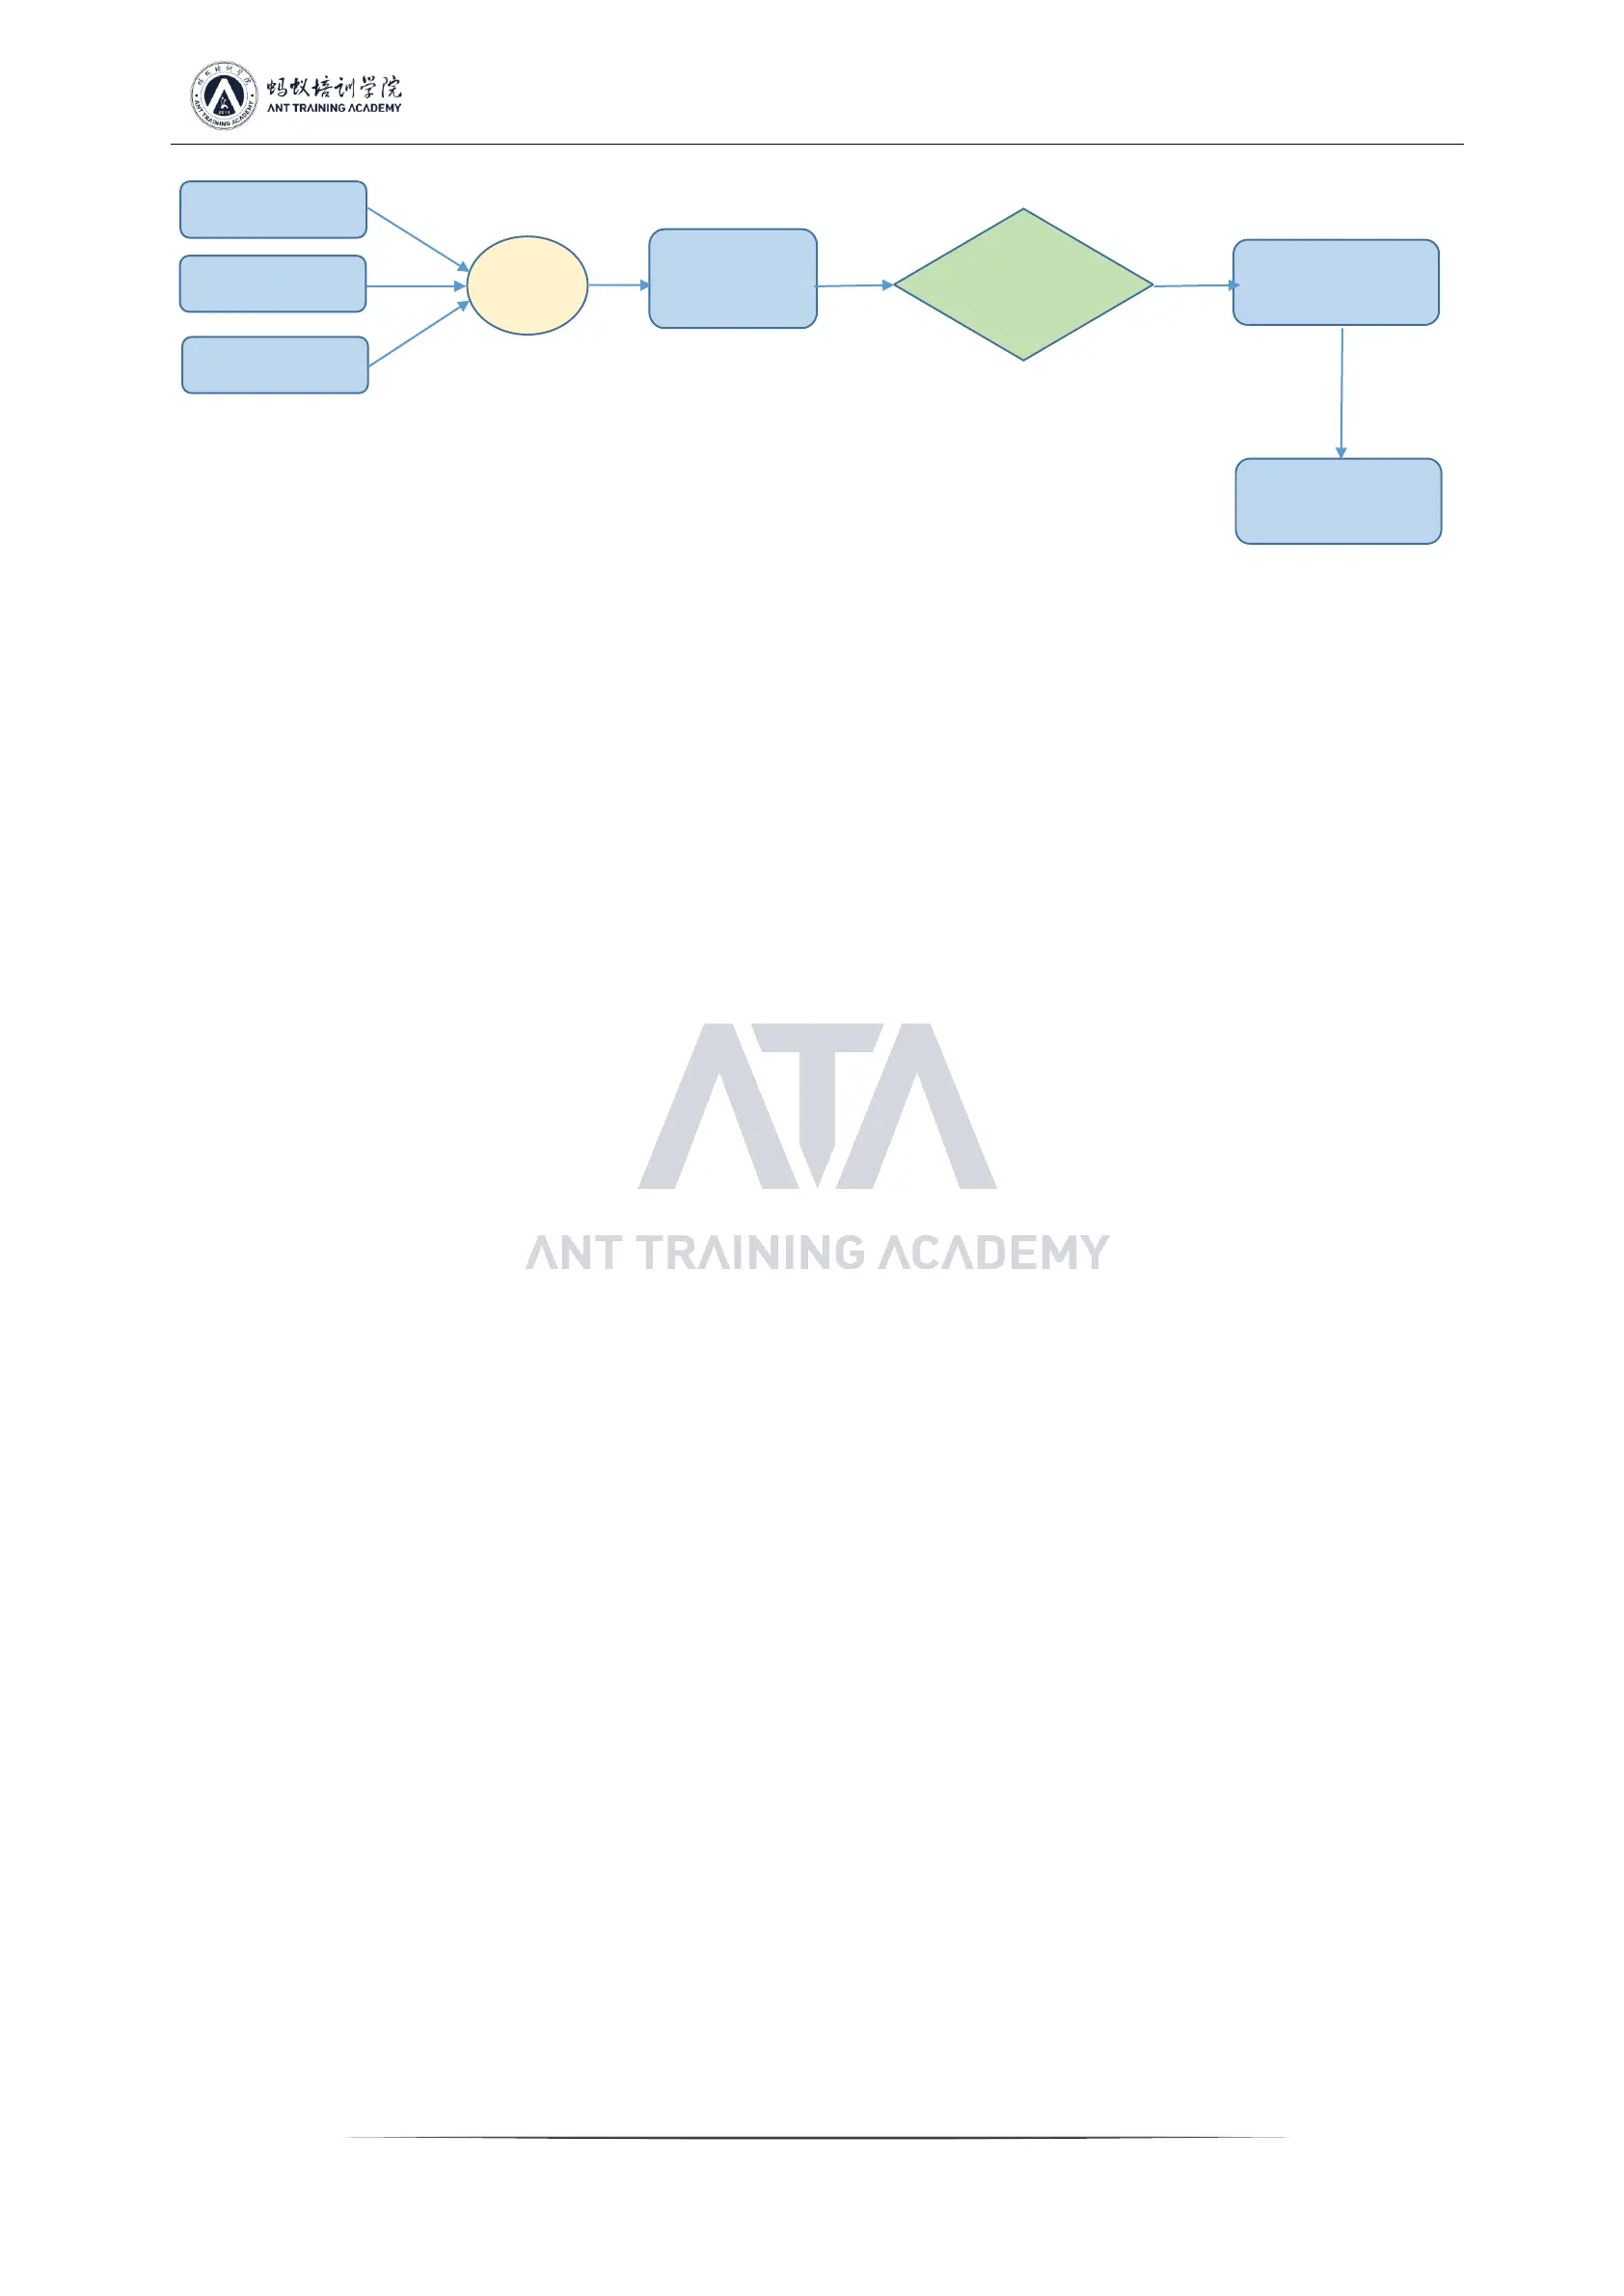
Figure 8-1 Maintenance flowchart
Routine inspection: First, visually inspect the hashboard to be repaired, observe whether there is PCB deformation or scorching. If
yes, it must be processed first; whether there are obvious burnt marks on the parts, offset parts or missing parts, etc.; secondly, after
the visual inspection is passed, the impedance of each voltage domain can be tested first to detect whether there is a short circuit or
an open circuit. If found, it must be dealt with first. Furthermore, check whether the voltage of each domain is about 0.36V.
After the routine test is passed (the short-circuit test of the general routine test is necessary to avoid the chip or other materials being
burnt due to the short circuit when the power is turned on), the chip test can be performed with the hashboard tester, and the
positioning can be determined according to the test result of the hashboard tester.
According to the displayed results of the hashboard tester detection, starting from near faulty chip, check the chip test points
(CO/NRST/RO/XIN/BI) and voltages such as VDD0V8 and VDD1V8.
According to the signal flow, except for the RX signal, reversely transmit the signal (from No. 76 to No. 1 chip), several of the
signals including CLK CO BO RST are forward transmission (1-76), and the abnormal fault point can be found through the power
supply sequence.
When locating the faulty chip, the chip needs to be welded again. The method is to add flux around the chip (preferably no-clean
flux), and heat the solder joints of the chip pins to a dissolved state to prompt the chip pins and pads to re-run in and collect the tin,
so as to achieve the effect of tinning again. If the fault remains the same after re-soldering, you can directly replace the chip.
The repaired hashboard can be judged as a good product with more than two passes when testing with the hashboard tester. For the
first time, after replacing the parts, wait for the computing board to cool down, use the hashboard tester to test, and after the test is
passed, set it aside and then cool it down. For the second time, after a few minutes when the hashboard cools down, test again.
 Loading...