Install A P1
INSTALL A P1:
Set the P1 underneath or on top of your Antipodes server. If using more than one Antipodes (eg. CX+EX or CORE+EDGE, etc), set the P1
underneath or on top of the Antipodes that stores your music les.
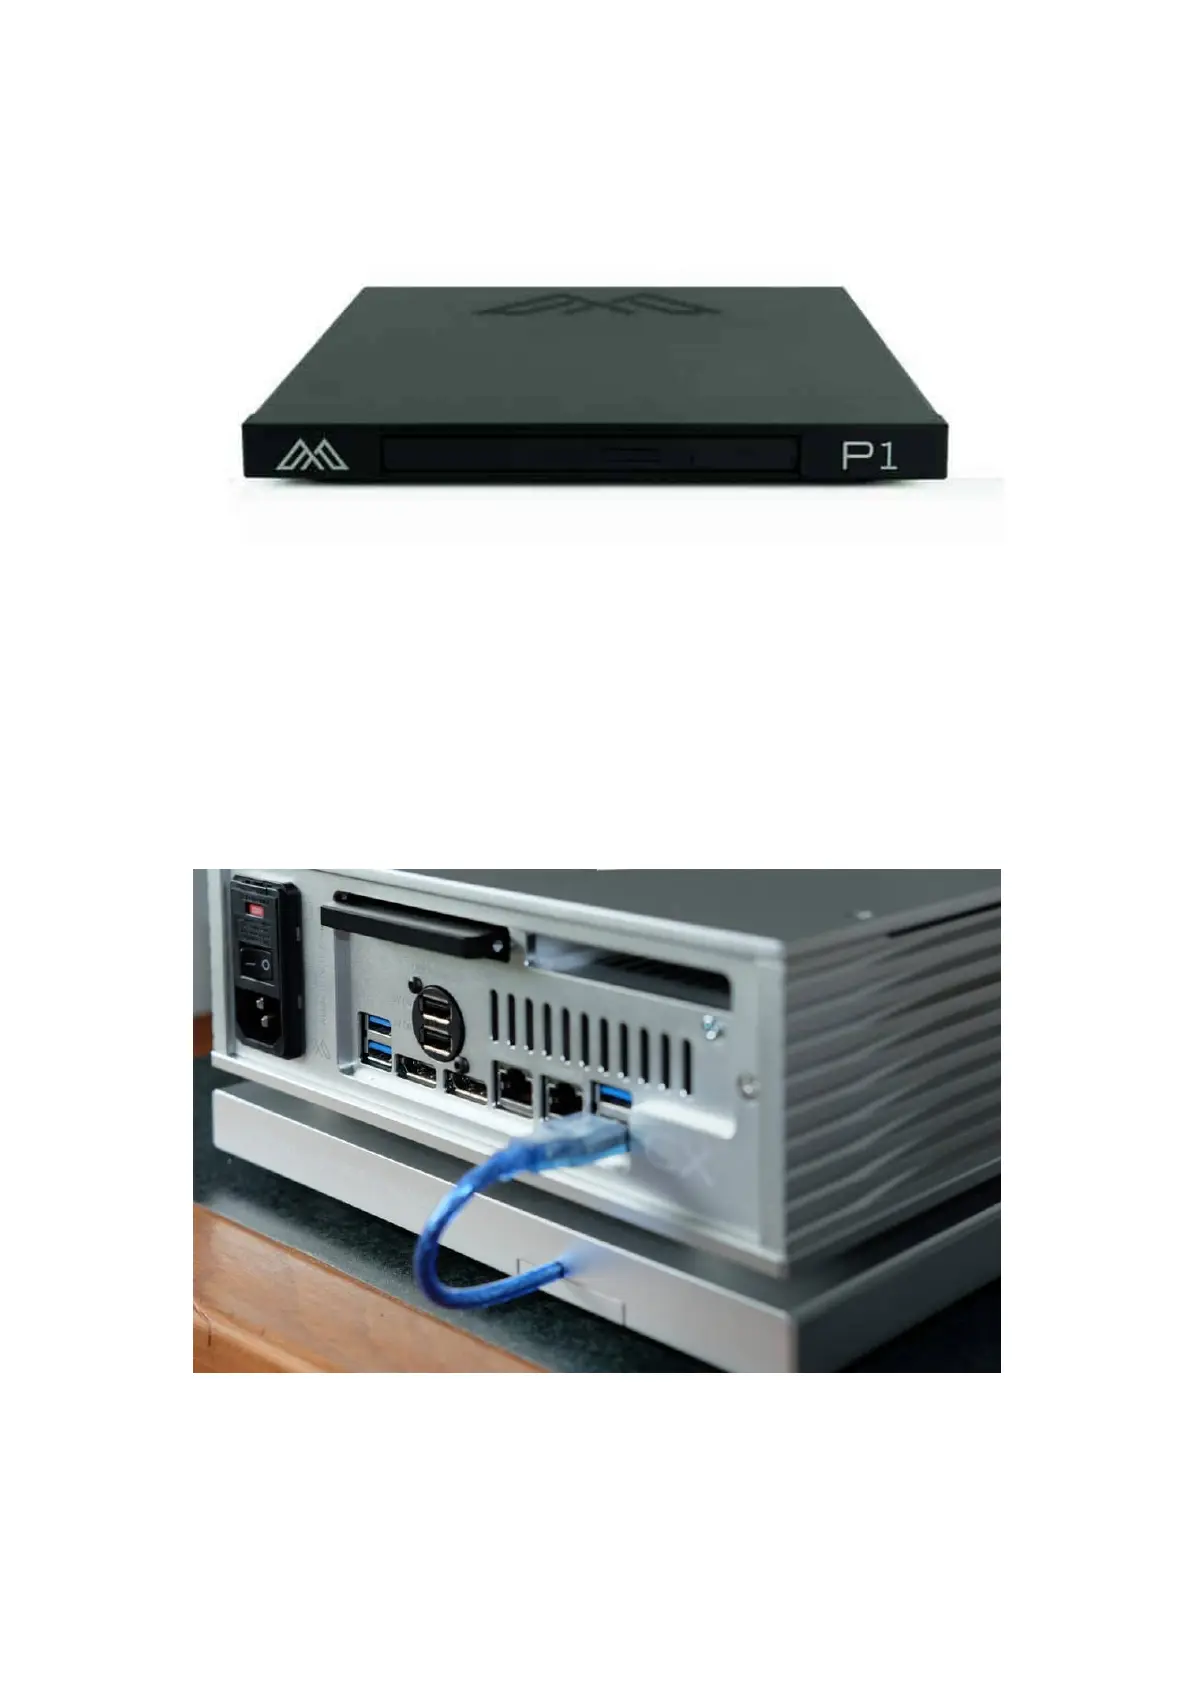
Connect the ying lead USB cable to one of the blue ports of a CX or EX. For earlier models connect to any USB port but not to the USB Audio
ports.
In the picture above, you will see that the USB cable is captive in the P1 and is a short length to tidily connect to a CX or EX. If you need a
longer length you should advise your dealer prior to purchase. Because the purpose of the connection is just a le transfer there is no need to
use a high quality USB cable – the bits will be transferred accurately.
The P1 has a button on the front bezel of the ripper that will open the tray so that you can insert the CD. Then slide the tray in till it clicks, and
ripping will start automatically. When the ripping is complete the tray will slide open.