Viewing, Using, and Sharing Photographs
|
187
To turn your iPad into an electronic picture frame, follow these steps:
1. From the Home screen, tap Settings. The Settings screen appears.
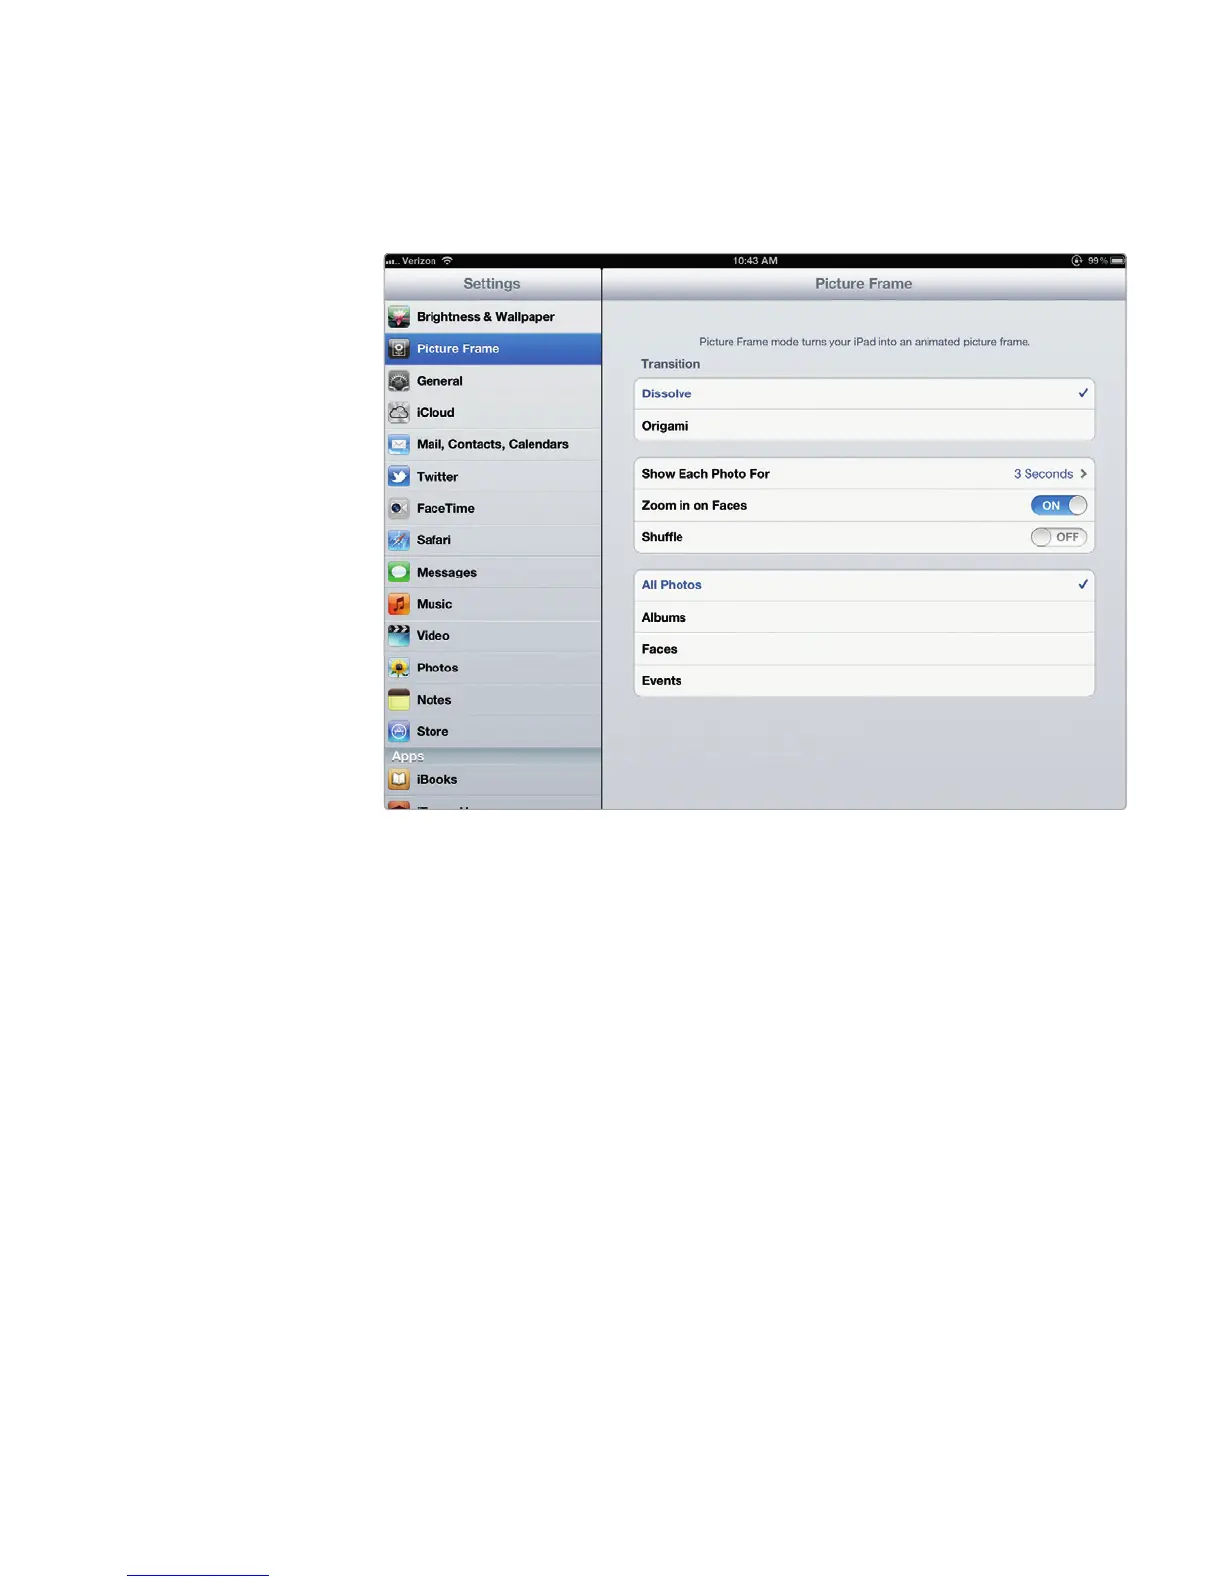
2. Tap Picture Frame. The Picture Frame screen appears, as shown in
Figure22-6.
3. Tap a transition in the Transition category, such as Dissolve or Origami.
4. Tap the Zoom in on Faces on/off switch.
5. Tap the Shuffle on/off switch.
6. Tap All Photos, Albums, Faces, or Events. If you choose Albums, Faces,
or Events, an additional list of items appears at the bottom of the screen,
as shown in Figure 22-7. (You may need to scroll down to see all the listed
items.)
7. If you chose Albums, Faces, or Events in the previous step, tap one or more
listed items to check (or uncheck) which groups of photos you want to dis-
play as part of your electronic picture frame.
8. Press the Sleep/Wake button at the top of your iPad to put it to sleep.
9. Press the Sleep/Wake button at the top of your iPad to wake it up. The Pic-
ture Frame icon appears at the bottom-right corner of the screen, as shown
in Figure 22-8.
10. Tap the Picture Frame icon. Your picture frame settings now display a slide-
show of your chosen pictures.
FIGURE 22-6: The Picture Frame screen lets you define how to display
pictures.