Viewing, Using, and Sharing Photographs
|
189
11. Tap the screen to pause your picture frame slideshow. The slider and Picture
Frame icon appear again.
12. Tap the Picture Frame icon again to turn off the picture frame slideshow.
Sending Pictures by Email
Before you can send a picture by email, you need to set up an email account and
make sure your iPad has an Internet connection. After you have set up an email
account, you can email single pictures or send a whole group of photos.
Sending a Single Picture by Email
To send a single picture by email, follow these steps:
1. From the Home screen, tap Photos. The Photos screen appears.
2. Tap one of the tabs at the top of the screen (Photos, Albums, Events,
Faces, or Places). If you tap Photos, you’ll see thumbnail images of all your
pictures. If you choose any of the other options, you’ll need to choose an
album, event, face, or place to view thumbnail images of your pictures.
3. Tap a picture that you want to send. Your chosen picture fills the screen.
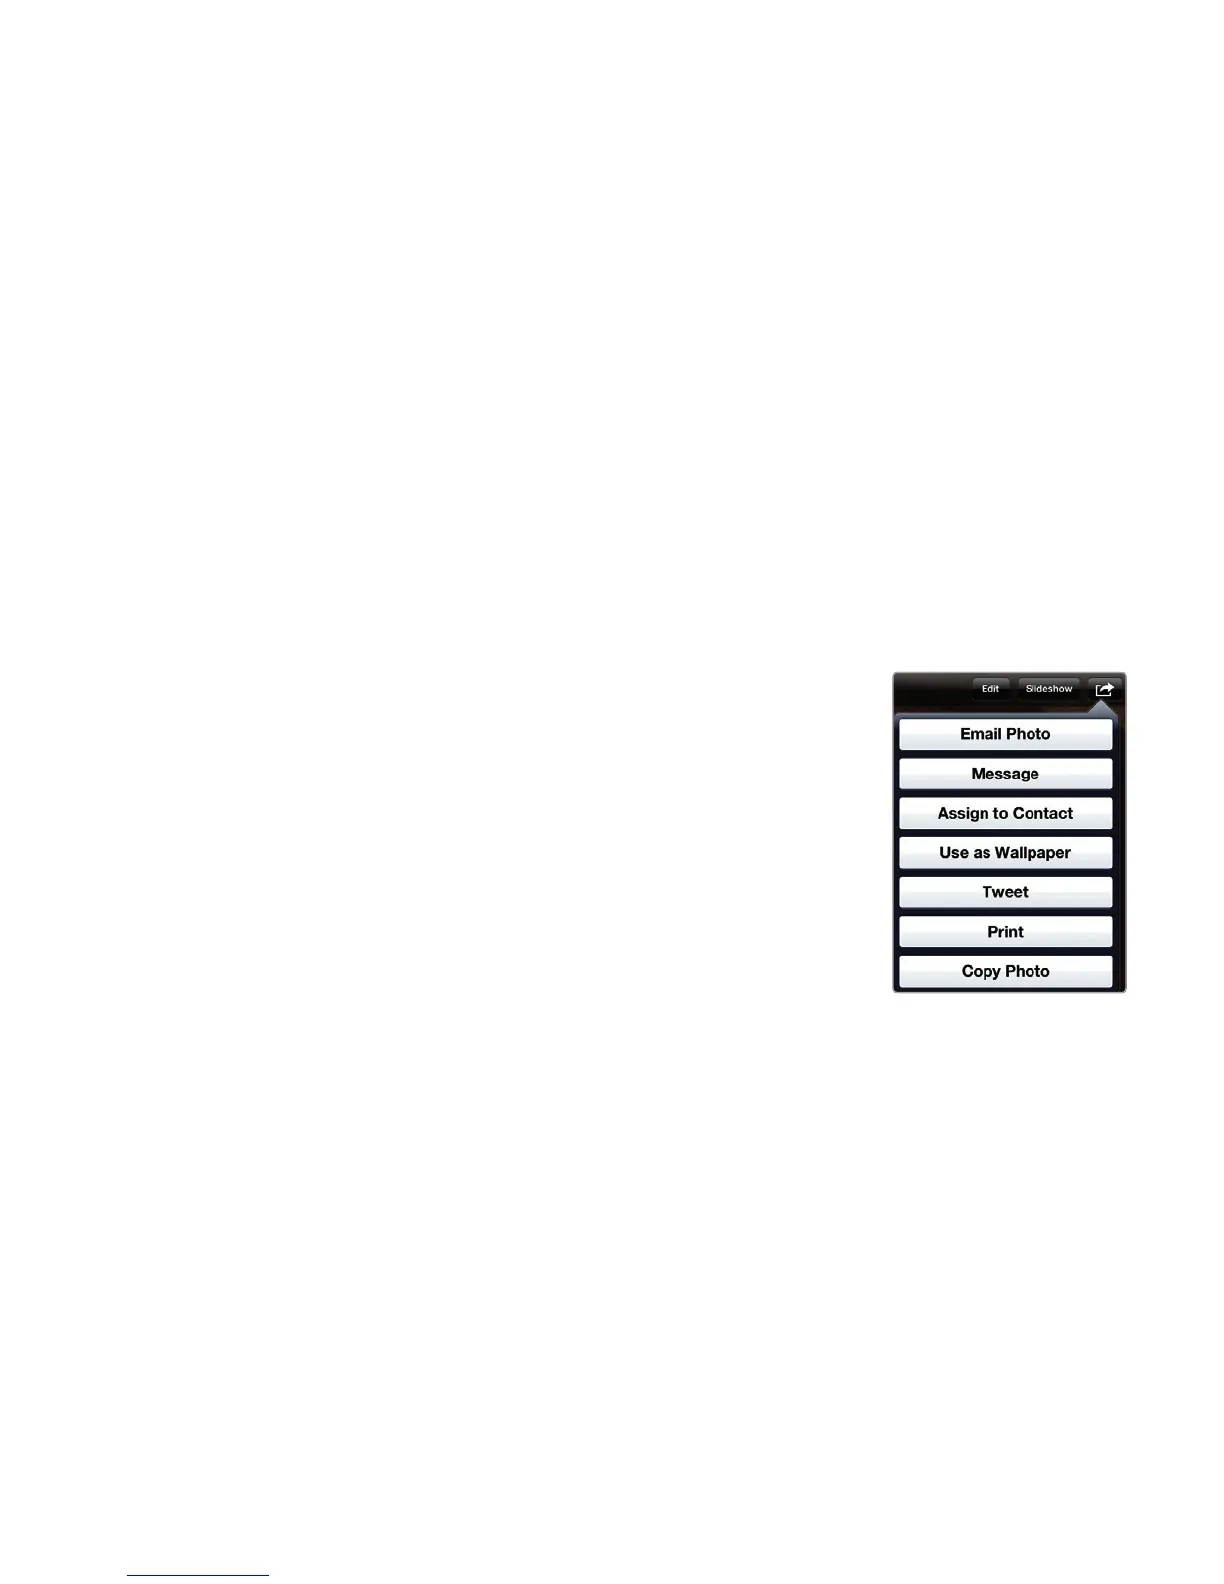
4. Tap the screen to display controls at the
top and bottom of the screen. Thentap the
Action icon that appears in the upper-right
corner of the screen. A menu appears, as
shown in Figure 22-9.
5. Tap Email Photo. (You can also tap Mes-
sage or Tweet to send your picture as a text
message or a Twitter tweet.) An email mes-
sage appears with the virtual keyboard at
the bottom of the screen, as shown in Fig-
ure22-10. Your chosen photo is included as
anattachment.
6. Tap the To text field, and type an email
address to receive your photo. (If you tap the
plus sign icon to the far right of the To text
field, a Contacts window appears, letting
you choose a name of someone whose email
address you have already stored in the Con-
tacts app.)
7. (Optional) Tap the Subject and Message text fields to type a subject and
any text you want to send along with your photo.
8. Tap Send to send your email message with your chosen photo.
FIGURE 22-9: The
Action icon displays
a menu of different
ways to share your
picture.