English 54 English
PACKAGE CONTENTS
SPECIFICATIONS
Operating Temperature Range 20°F – 140°F
Maximum Load on VENT and Gh Outputs 10 VA @ 30 VAC max
Input Voltage 18-30 VAC
Controller Power Consumption 2.0 VA
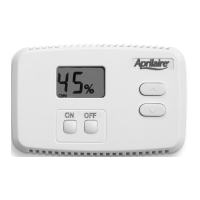
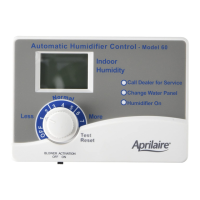
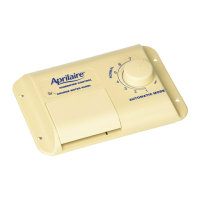
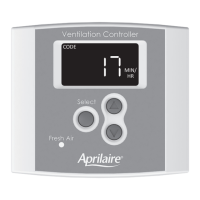
CONTROL
WALL PLATE
OUTDOOR TEMP SENSOR
INSTALLATION
MANUAL
#8 x 5/8" HEX HEAD
SHEET METAL SCREW (2)
#8 x 1/2" PAN HEAD
TYPE 25 SCREW (2)
DUCT BOARD BRACKET
90-2261
FRESH AIR DUCT
WALL PLATE
#8 HEX HEAD
SCREWS
5/8" DIA
HOLE
PILOT HOLES FOR SCREWS
6" MIN
90-2269
MOUNTING THE CONTROLLER AND OUTDOOR TEMPERATURE SENSOR
MOUNTING THE CONTROLLER TO THE RETURN DUCTWORK
NOTE: Mount the controller to the return ductwork at a location where the temperature and humidity
in the duct is most representative of the home. Keep the controller at least 6" upstream from the
point where the fresh air duct enters the return duct, and 6" upstream from a humidifier outlet.
Sheet Metal Installation
1. Remove the wall plate from the control and put the rest of the control in a safe location until
after wiring is completed.
2. Mark the location of the wall plate sensor hole on the duct. Use a step-drill bit to create a 5/8"
(.625") hole for the sensor.
3. Center the sensor hole in the wall plate over the hole in the duct, level the wall plate and mark
the locations of the two mounting slots. Drill a small pilot hole using a #36 (.106") or smaller
drill bit at the two mounting locations.
4. Use the supplied #8 standard hex head sheet metal screws to mount the wall plate to the duct.
 Loading...