MAINTENANCE
CLEANING THE FILTER
After initial installation the air lter and drain should be checked
and cleaned every 6 months.
1. Press the ON/OFF button on the user interface to turn the unit
OFF.
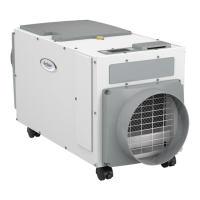
2. Loosen the retaining screw on the lter access door (see
FIGURE 1) from the drain side of the dehumidier until it
releases and then remove the lter door.
3. Slide the lter out of the dehumidier.
4. Rinse the lter with water to remove dust and collected
particles from the lter.
5. Shake off excess water from the lter.
6. Clean the drain as described in CLEANING THE DRAIN on
page 5.
7. Reinstall the lter. An arrow on the lter frame shows the
direction of airow and it should point into the dehumidier.
8. If the lter does not slide back in, make sure the drain insert
has been properly installed. See INSTALLING THE DRAIN on
page 9.
9. Replace the lter access door and tighten the retaining
screw.
10. Press the ON/OFF button to turn the dehumidier back ON.
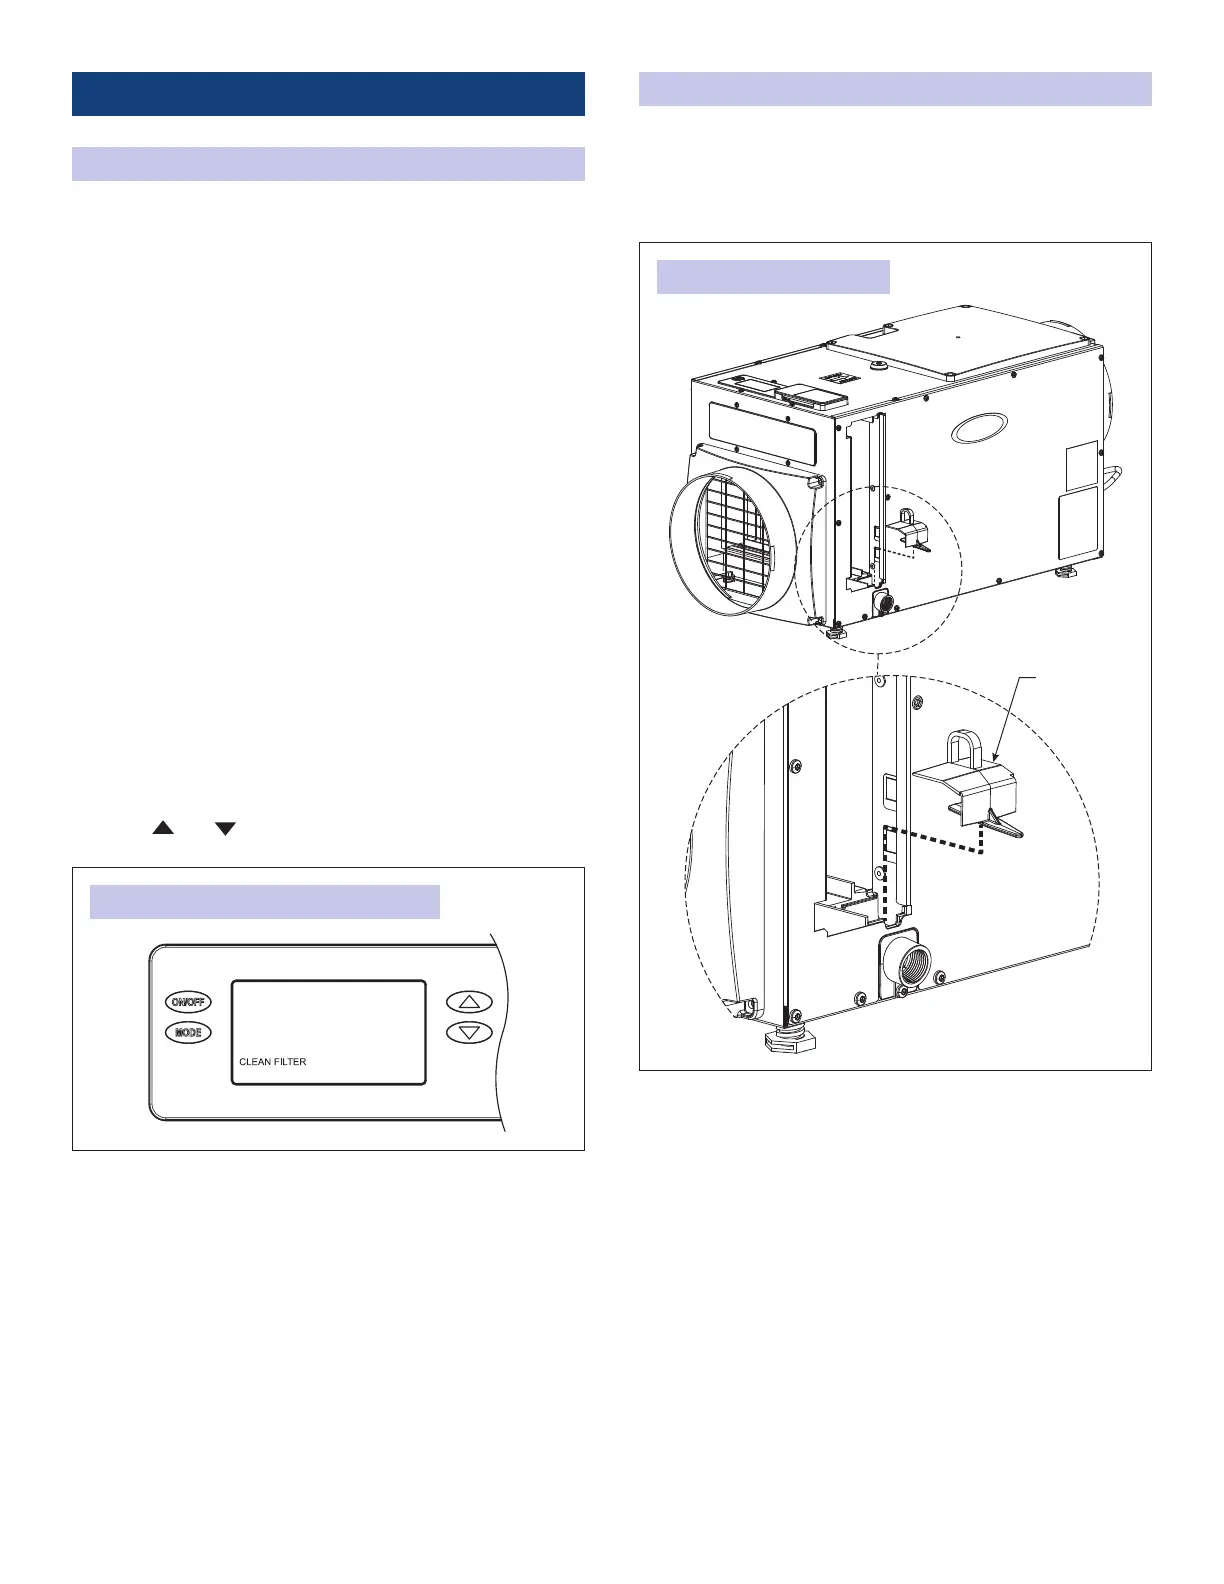
The CLEAN FILTER service reminder (see FIGURE 5) will display
on the control every 6 months. To clear the service message,
press the
and buttons simultaneously for 3 seconds.
FIGURE 5: CLEAN FILTER SERVICE REMINDER
CLEANING THE DRAIN
1. With the lter door on the drain side of the dehumidier
removed, reach in and pull out the drain insert using the
nger loop (see FIGURE 6).
NOTE: Drain insert must be installed before operating.
DRAIN
INSERT
FIGURE 6: DRAIN CLEANING
90-2607
5
 Loading...