4
3. Product Assembly
For the convenience of transportation and storage, main unit, floor brush, aluminum tube assy,
charger stand, 2in1 brush and crevice tool are packaged respectively on account of relatively large
size. Please be advised that users should follow the below steps for assembling when they use the
product for the first time.
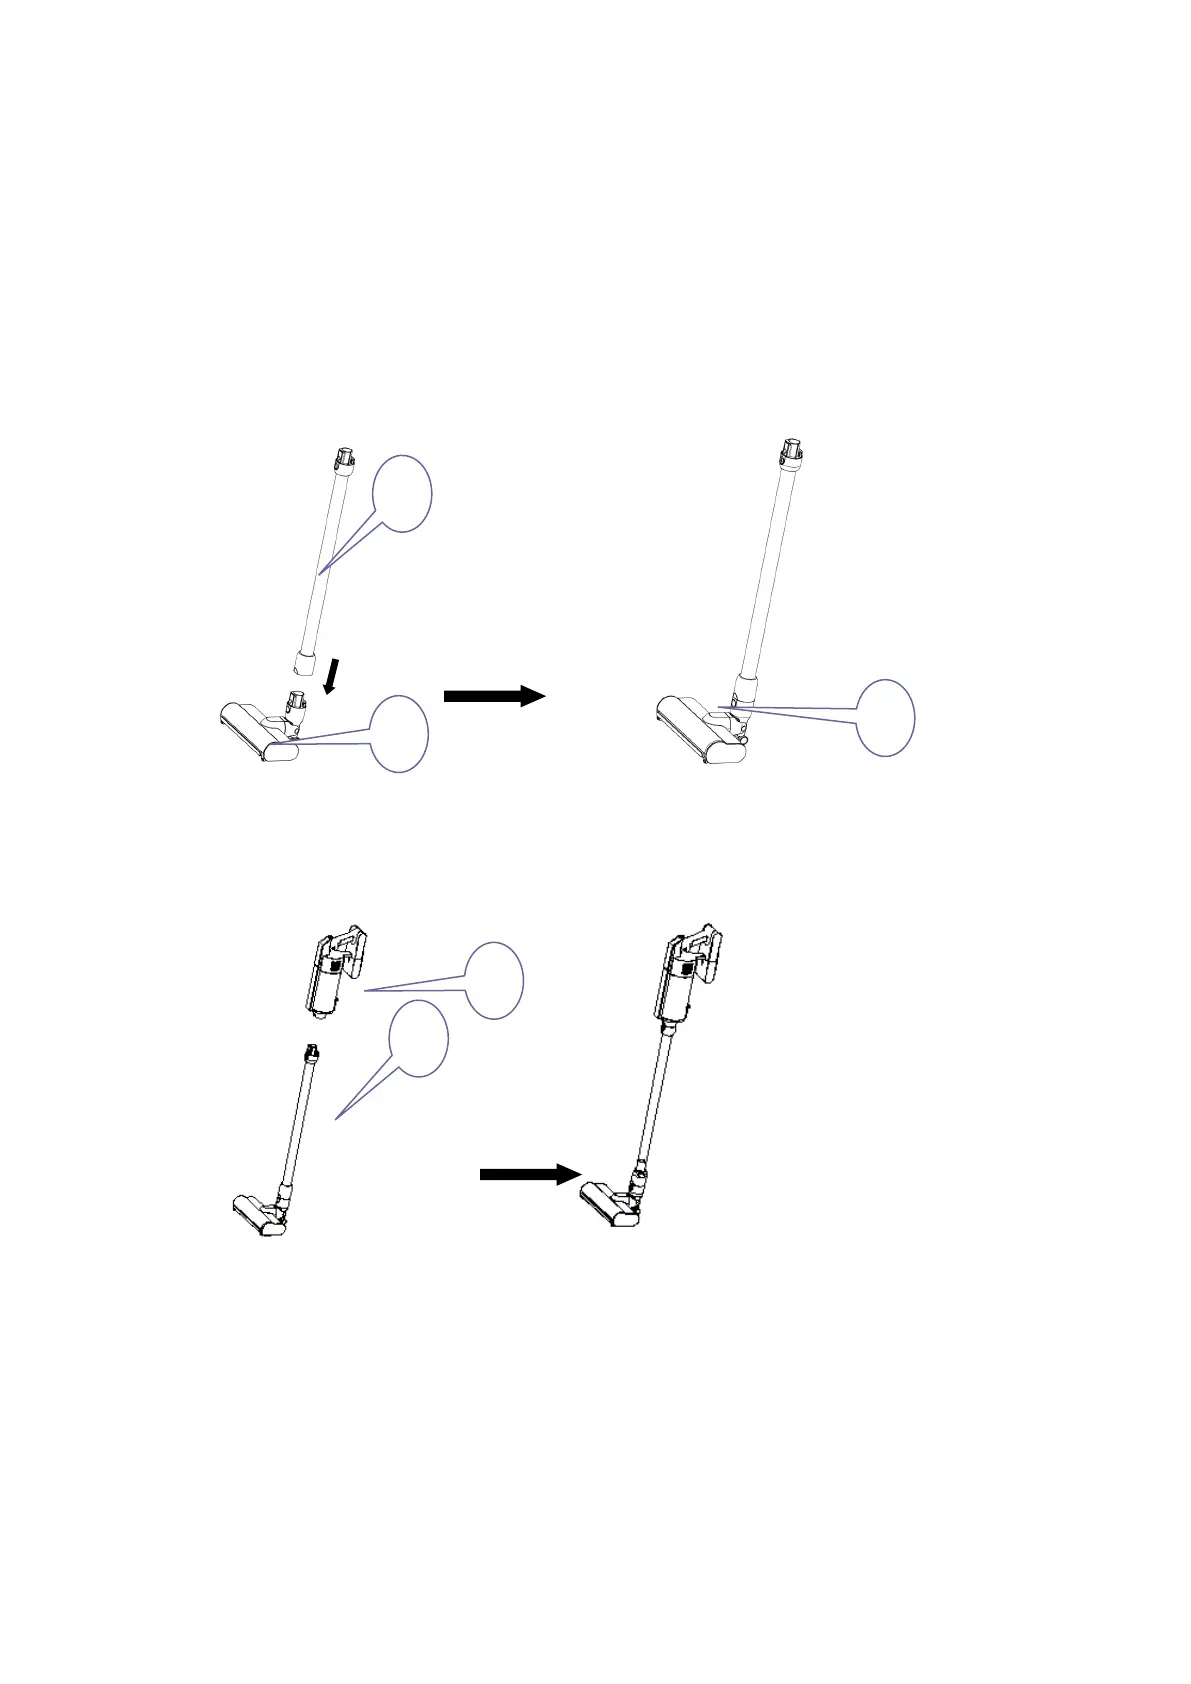
3.1 Aluminum Tube and Floor Brush Assembly
Attach the aluminum tube (NO.1) to the floor brush connector (NO.2), as shown below, unit release
key (NO.3) should click in place properly. See Figure 3-1 and 3-2.
3.2 Aluminum Tube and Main Unit Assembly
Slot aluminum tube (NO.1) together with floor brush assembly into air inlet nozzle of main unit (NO.2),
as shown below, until release key clicks in place properly. See Figure 3-3 and 3-4.
3.3 Installing Charger stand
Take down the charger stand bracket (NO.2). Place the charger stand (NO.2) on the selected wall
area. And then mount to the wall with 4 pieces of M4*30 taper screws. Insert the charger stand (NO.1)
downward into the charger stand bracket (NO.2). See Figure 3-5.
The charger plug (NO.4) is inserted into the charger stand (NO.1). The below Figure 3-6 shows the
status of the charger stand after mounted.
The charger power cord can also be winded around the back of the charger stand when not in use.
See Figure 3-7.
 Loading...