Installation
14 EN 06|2019
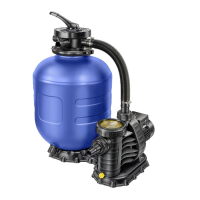
4 Installation
4.1 Installation instructions
4.1.1 Required tools
• Pipe wrench
• Screwdriver
• Rubber mallet
• Hand saw
• Cutting knife
4.1.2 Drain valve for Ø280, 330, 400 container
The drain valve (item 21-27) is mounted on the filter container (2).
To do so slide the o-ring (21) over the buttress thread and the
o-ring (24) over the thread G ¾“ on the valve (22). Then the valve
(22) is screwed on to the filter container (2) with the o-rings. Press
the flat seal (25) into the socket (26) and place this combination in
the screw nozzle G ¾“ (27). This complete unit must then be
screwed onto the inch thread of the drain valve (22).
21
22
24
25
26
27
2
WG23.400.003-P
Drain valve for Ø500 container
The drain valve (item 21-25) is mounted on the filter container (2).
To do so slide the flat seal (22) onto the drain valve (21). The
drain valve (21) must be pushed through the filter container (2)
from inside. Push the second flat seal (22) over the thread on the
drain valve (21) from outside. Screw the nut (23) on the thread of
the drain valve (21) and tighten it. Lay the flat seal (24) in the seal
 Loading...