15
Instructions for use
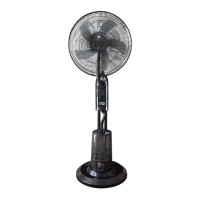
Place the fan on a at, dry and stable surface, and insert the plug of the
fan in a socket; the unit will emit a short “BIP” sound.
For your convenience the unit can be operated by using control panel in
the main body or using remote control included.
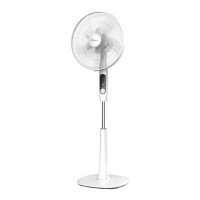
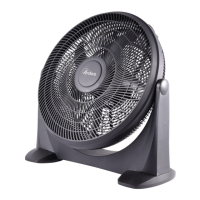
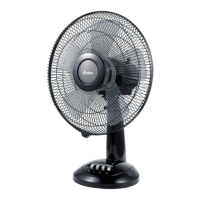
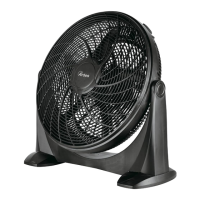
1. Front grille
2. Lock ring of the fan
3. Fan
4. Lock ring of the back grille
5. Back grille
6. Motor shaft
7. Control panel
8. Base rod
9. Plastic base
10.Weight of the plastic base
11.Nut of the base
12.Safety screw of the fan
Assembling
(see image at last page)
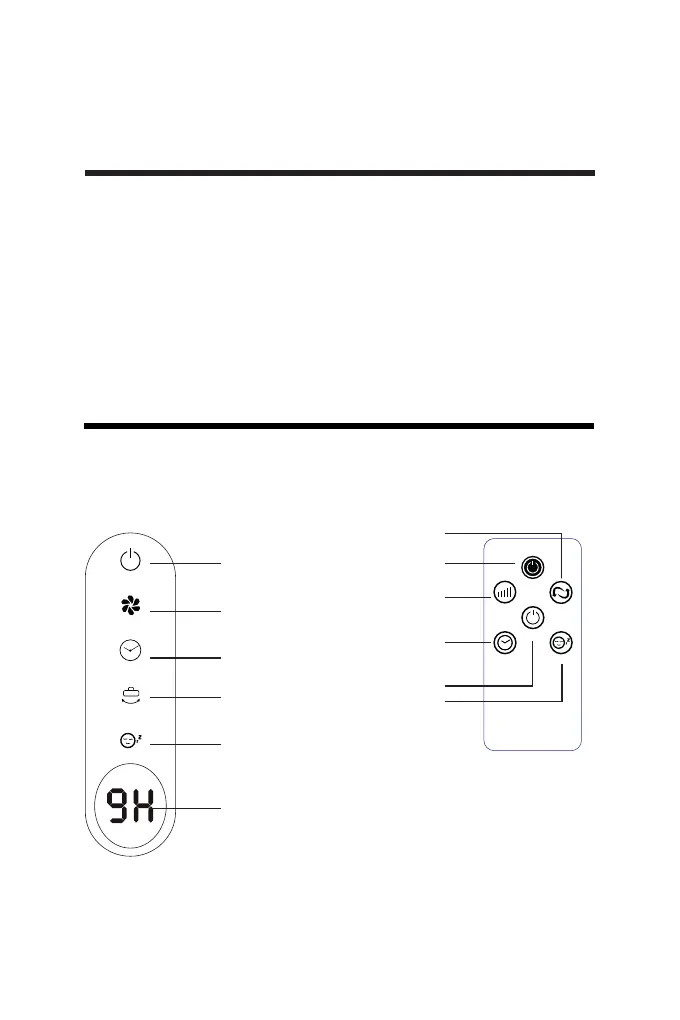
Control panel Remote control
Pushbuttons
A. On/O
B. Speed
C. Timer
D. Osc
E. Sleeping
F. Display
545,,
96++*
:/3+8
59)
92++6/4-
A
Display
D
C
B
E
A
C
LED
ON / OFF
SPEED OSC
DISPLAY
TIMER SLEEPING
E
B
D
F