INSTALLATION &
DUCTING
Essential precautions to respect before in- stalling the appliance are the following:
1) Prepare the power supply.
2) Prepare a hole for the exhaust of the air both in the filtering and in the exhau sting version.
Use an exhausting pipe whose maximum length does not exceed 5 meters.
3) Do not use screws to fix the outlet pipe to the cooker hoods.
4) Limit the no. of elbows in the piping , since each elbow reduces the aspiration efficiency of 1
linear meter. (Ex.: if you use no. 2 x90 ° elbows, the length of pi ping l must not exceed 3
meters)
5) Avoid abrupt direction changes.
6) Use a 150 mm or 200 mm constant dia meter pipe for the whole length.
7) Use piping approved by standards in force.
10) At this point, insert the range hood inside the
8) To have made a cut-out on the bottom of the cabinet which is suitable to hold the appliance
in position (Fig. 2).
AGITUM 520 505mmX270mm
AGITUM
700
685mmX270mm
AGITUM
8
50
835mmX270mm
9) Right now, after drilling the kitchen cabinet please follow carefully the instructions above,
calibrate the fixing spring depending on the depth of cabinet. (Fig.. 3).
kitchen cabinet until the fixed springs will be
hooked into.
11) Fix the range hood to the cabinet, in the front and rear sides, using by the screws equipped
(Fig. 4).
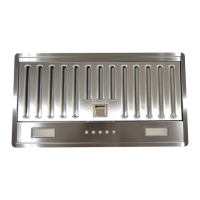
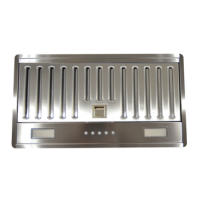
12) At the end, place the grease filters that were removed before.
W
arning!
Before connecting the flexible exhausting pipe to the motor, make sure the stop valve,
which is on the air outlet of the motor, can swing.
Exausting version
Connect the flange to the exhausting hole with an appropriate pipe. Connect the appliance
with the electrical mains through the supply cord.
F
iltering version
Connect the flange with a pipe suitable to convey the air to the top of the cabinet. Connect the
appliance with the electrical mains through the supply cord.
9) Right now, after drilling the kitchen cabinet please follow carefully the instructions above,
calibrate the xing spring depending on the depth of cabinet. (Fig. 3).
10) At this point, insert the range hood inside the kitchen cabinet until the xed springs will be
hooked into.
11) Fix the range hood to the cabinet, in the left and right sides, using by the screws equipped
(Fig. 4).
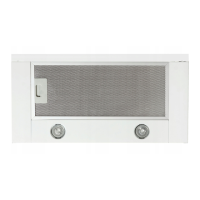
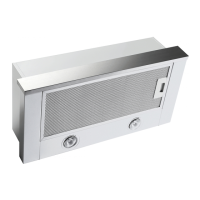
12) At the end, place the grease lters that were removed before.
 Loading...