REPAIR MANUAL
Page: 2
2. TOP PANEL
Fig. 2-4
• To remove the Top Panel, first remove the two (2) Phillips screws located at the rear corners of the panel (Fig. 2-1). With the two
screws removed lift the rear of the panel up approximately three (3) inches and then slide the panel back, moving it away from the
Control Panel (Fig. 2-2)
Fig. 2-2
Fig. 2-1
1
2
Fig. 2-3
• With the Top Panel removed you can see the four (4) alignment slots on top of the Control Panel (Fig. 2-3) that correspond to the
four (4) alignment tabs on the bottom of the Top Panel (Fig. 2-4). When re-installing the panel make sure to align the tabs and
slots and then slide the panel back into place.
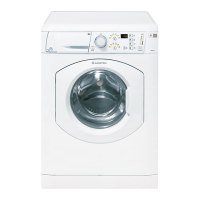
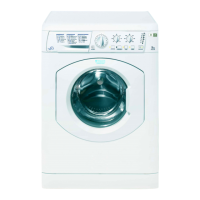
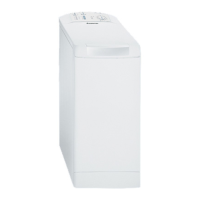
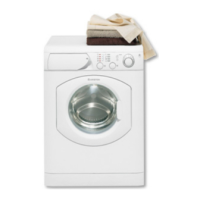
AW 120 / AW 122 / AW 125
AWD 120 / AWD 121 / AWD 129

 Loading...