REPAIR MANUAL
Page: 3
3. CONTROL PANEL
• To remove the Control Panel, first remove the two Phillips screws located on the top corners of the Control Panel (Fig 3-1).
Fig. 3-1
• Next, remove the wiring from each Switch and the Program Selector. To remove the Switch wiring simply press the Locking Tab
forward and slide the Wiring Connector up and out (Fig. 3-5). Now release the two (2) remaining Control Panel Locking Tabs
located on the bottom rear of the Control Panel (Fig. 3-6) and the complete Control Panel Assembly can be removed.
Fig. 3-5
Fig. 3-6
Fig. 3-2
Fig. 3-4
Fig. 3-3
• Next, remove the Soap Dispenser by grasping it firmly and sliding it out from its housing (Fig. 3-2). Now, remove the Dispenser
Door and Program Guide by lifting out the Hinge Pin (Fig. 3-3) the pin will easily slide up and out. With the Soap Dispenser and
Door completely removed you can remove the two (2) remaining Phillips Screws.
TECH NOTE: When re-installing the Control Panel make sure the bottom edge of the Soap Dispenser Housing rests on top of the
Control Panel opening as shown in the box of Fig. 3-4.
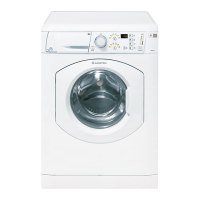
AW 120 / AW 122 / AW 125
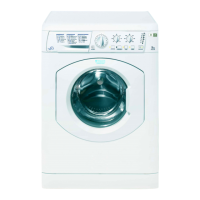
AWD 120 / AWD 121 / AWD 129

 Loading...