12
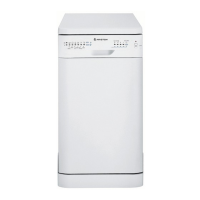
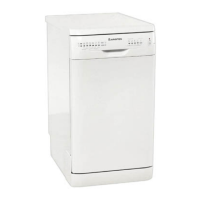
ARISTON DISHWASHER - Instructions for installation and use
D
ISHWASHER
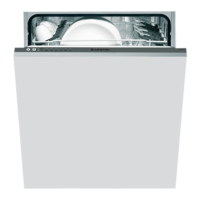
Control panel at your orders
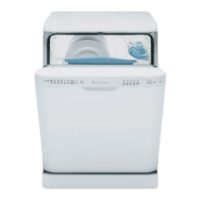
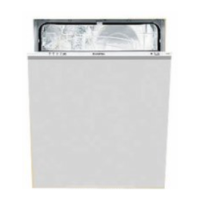
How is it made?
E. Upper rack
F. Top sprayer arm
G. Rack height adjuster
H. Lower rack
I. Bottom sprayer arm
J. Salt container cap
K. Washing filter
L. Detergent and rinse aid
dispenser
Technical Characteristics
This dishwasher
conforms to the
following European
Community Directives:
73/23/EC
(Low Voltage Directive)
and subsequent
amendments;
89/336/EEC
(Electromagnetic
compatibility) and
subsequent
amendments.
97/17/CE
(Labelling)
2002/96/EC
(Waste Electrical
and Electronic
Equipment)
Learn to get to know the parts which make up your dishwasher,
you will use it better for it.
A. On-Off button
Press this button to switch
the appliance on.
B. ON-OFF Indicator light
This light informs you that
the dishwasher is on.
C. Door opening handle
Use this handle to open the
dishwasher door.
D. Delayed start select
button
This button delays the
start of the wash cycle
you selected by 12, 9, 6
or 3 hours.
E. Cycle indicator light
This light informs you
which cycle you have
selected or the one in
progress.
Technical characteristics
Width cm. 45
Depth cm. 60
Height cm. 85
Capacity 9 standard place settings
Mains water pressure 4,3 psi - 145 psi 30KPa÷ 1MPa (0,3 ÷10 bar)
Power voltage See data plate
Total absorber power See data plate
Fuse See data plate
S. Low salt indicator light
To tell you that its time to
add more salt.
T. Low rinse aid indicator
light
This light warns you that
it is time to add more rinse
aid
P. Cycle select button
Each time this button is
pressed, one of the cycle
indicator lights E will come
on in sequence.
R. Start/Reset Button
With Start, the wash cycle
begins, whereas all the
settings are cleared with
Reset.
Let's open up your dishwasher together
G. Cycle phase and
delayed start indicator
lights
These indicator lights
inform you which cycle
phase is under way
(pre-wash, wash, rinses,
drying) and, if you
have set a delayed start;
they also indicate the
amount of time left
until the wash cycle
starts.