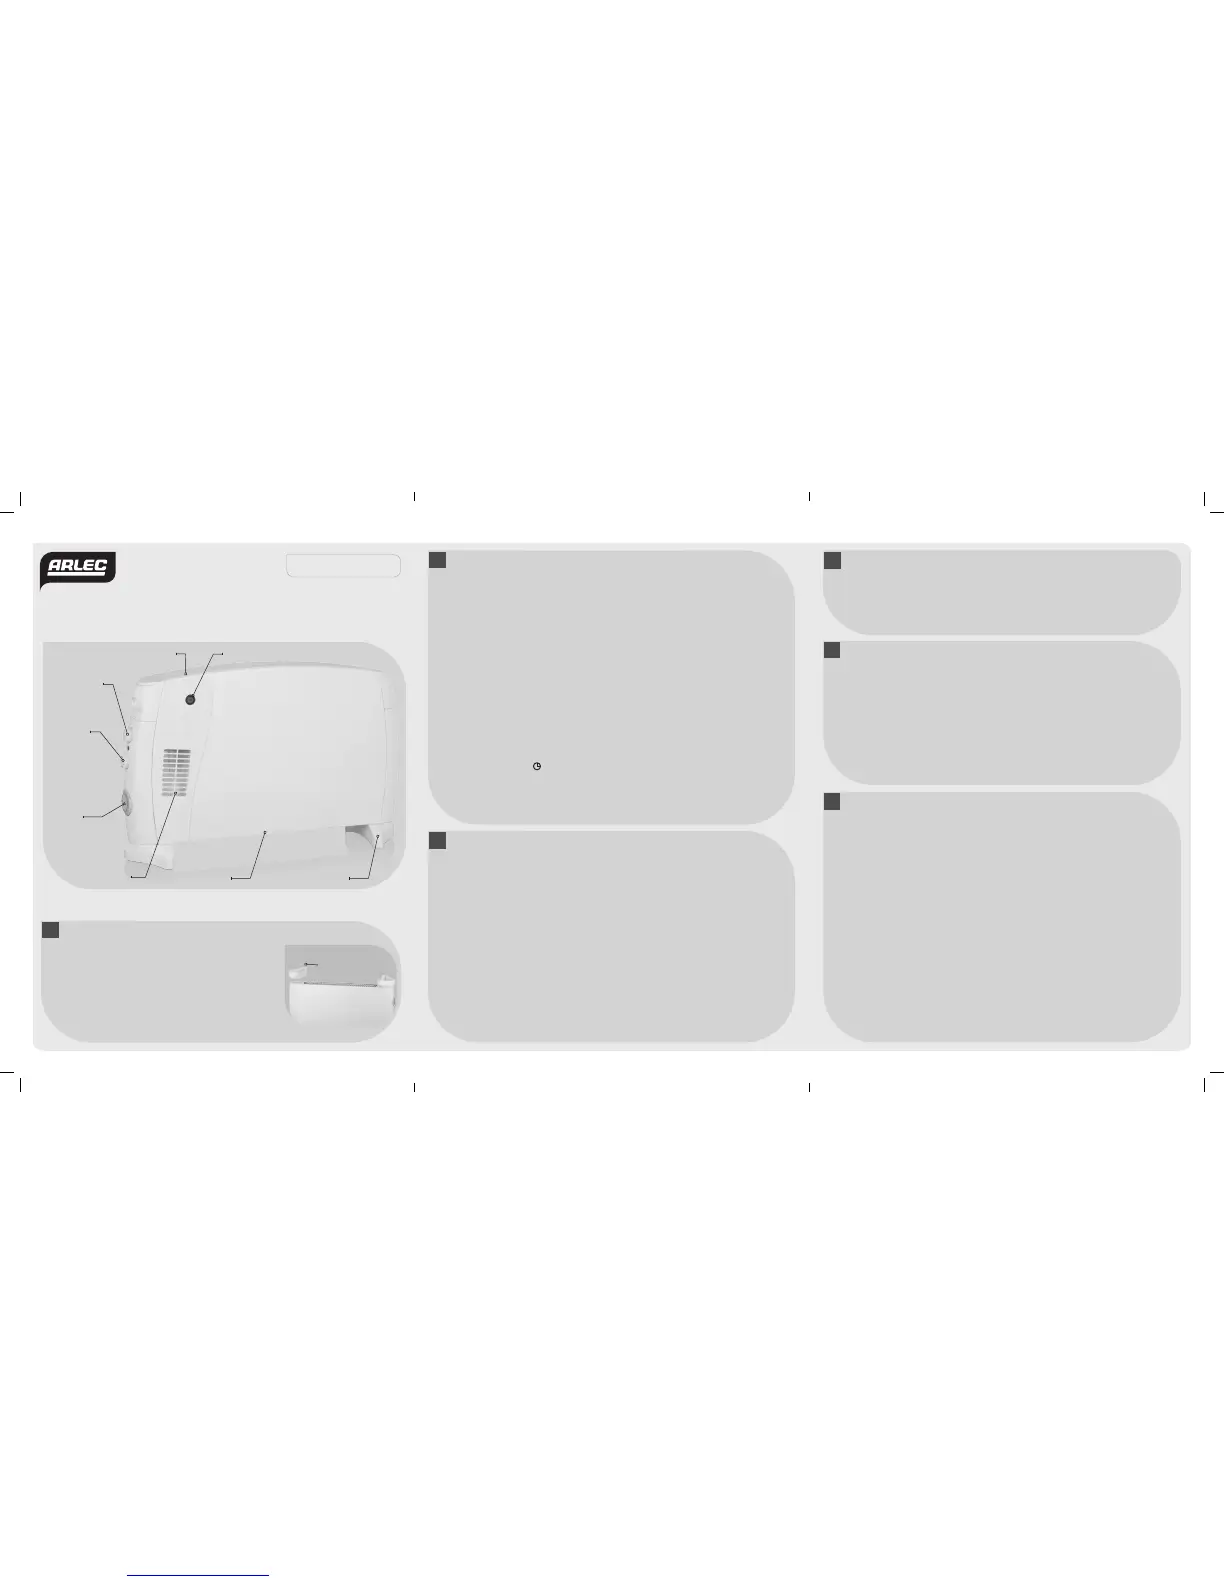
IDENTIFICATION
2
USER MANUAL
i. POWER CONTROL KNOB
With the power control knob to position “o” the heating element is off. When the rotary
knob is set to • the heater power is 750W (low range). When the knob is set to •• the heater
power is 1250 (mid range). When the knob is set to • •• the heater power is 2000 (high range)
ii. TURBO FAN SWITCH
The heater is equipped with a Fan which helps to distribute heat in the room. The fan draws
some of the convection heat from inside of the unit and blows it from the front turbo fan
outlet grille. The heater can be used with or without the fan which is selected by the switch
on the front of the heater body.
iii. THERMOSTAT SWITCH
The rotary knob is to regulate the heat in order to maintain a desired temperature. When
the room temperature is lower than the temperature setting on the knob, the heater will
function and heat up the room until the desire temperature is attained. When the ambient
temperature reaches the set temperature, heat setting will be turned off automatically.
Turn the knob more clockwise for higher heat settings.
iv. TIMER CONTROL
The heater will be always On when the slide switch is in “On” position (I).
The heater will be always off when the slide switch is in “Off” position (O).
The heater will be controlled by the times set on the timer when the slide switch is
in TIMER position
To set the timer, rotate the clock dial clockwise, until the current time is aligned with
the indicator arrow at the centre. When you wish the heater to switch ON, push the
corresponding time segment outwards from the centre. Each segment represents
around 15 minutes. For example, if you want the heater continuously ON for 2 hours,
push 8 segments outwards the centre face.
The heater must always be used with feet assembled and in
upright position. At tach the feet to the heater body in the order
given below:
i. Place the convector heater on a flat desk or carton.
ii. Locate the feet in position, make sure the mounting holes
on the leg mounts align with the fixing holes on the heater
body. Make sure the leg mount with the cord entry slot is
attached at the mains cord end.
iii. Using 4 screws for each feet attachment secured the feet
to the heater body.
ASSEMBLY
1
Fasten feet with
supplied screws
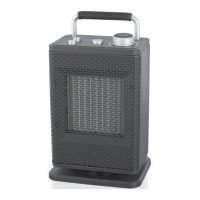
2000W
convection
HeAteR
WITH TImer and Turbo fan
›Luxor‹
CH2 06 Convection Heater with Turbo Fan is equipped with three heat settings and a thermostat
to ensure your precise heating needs are met. In addition the heater has a fan turbo option
which assists with circulating warm air through your room
Hot Air Outlet
Timer
Control
Turbo Fan Switch
Turbo Fan
Air Outlet
FeetAir Inlet
Power Control
Knob
Thermostat
Knob
MAINTENANCE & CLEANING
4
i. Before cleaning, turn off the heater, unplug the power cord and allow the
heater to cool.
ii. Do not immerse cord, plug or heater into water or other liquid or pour water
or other liquid over the heater.
iii. Use a vacuum cleaner to remove dust and dirt from air openings.
iv. Clean exterior surfaces using a solution of water and mild detergent with wrung out
damp sponge. Use and wring out the damp sponge and wipe the exterior surface again.
Finally wipe with a dry cloth. Allow sufficient time to dry before plugging electrical cord
into outlet.
v. Any other servicing should be performed by an authorized service representative.
Do not use the heater if it has malfunctioned or become damaged in any way.
OPERATION
3
OPERATION
CAUTION: There may be some odour coming from the heater for the very first time you use this
heater. This is normal during the break-in period or after long term storage. Make sure the heater
is in well ventilated area and continue running it until the smell goes away.
Before First Use
Remove all the packaging material along with any promotional material. Unwind the cord to its
full length and place the heater on a firm level surface in a stable, upright position.
Visually inspect he air inlets and outlets to ensure that there are no blockages.
• Set the power control knobs to off position.
• Plug the heater into a 10 amp wall socket
• Ensure the heater is on a flat surface
• Set the power to desired position Low, Medium or High range. Check the time setting and
adjust it to the desired time setting. Turn the thermostat knob until the heater turns on .The
power on led above the knob will glow. Slowly turn the thermostat knob anti clockwise until
the heater shuts off. The heater will automatically maintain this temperature. For a lower
temperature rotate the knob further anti clockwise. For higher temperature, rotate the knob
clockwise.
• Select the fan as desired.
NOTE: If operated at the Low heat setting, the heater will not provide as much heat output
as in the High heat setting, however the low set ting will not require as much electrical
power to operate. To avoid overloading a circuit, do not plug the heater into a circuit that
already has other appliances working. When the heater is not in use switch off and unplug.
IMPORTANT SAFEGUARDS
5
CAUTION
• This heater is to be operated only in upright position.
• When the heater is not in use, store in a cool dry location.
• Do not store until the heater cools down.
WARNING
• This appliance is not intended for use by young children or infirm persons unless
they have been adequately supervised by a responsible person to ensure that
they can use the appliance safely.
• Young Children should be supervised to ensure that they do not play
with the appliance.
• The heater must not be located in front of a socket outlet.
• Do not use this heater in the immediate surroundings of a bath, shower
or swimming pool.
HELPFUL ADVISE BERFORE USE
• Please retain all packaging until you have checked and counted all the parts and the
contents of the fixing pack against the parts list.
• The fixing pack contains small items which should be kept away from young children.
• We suggest that you open the fixing pack and place all the contents into a container,
therefore reducing the risk of losing any small pieces.
CH206_CPIN002296-3.indd 2-4 8/11/13 3:55 PM
 Loading...