27
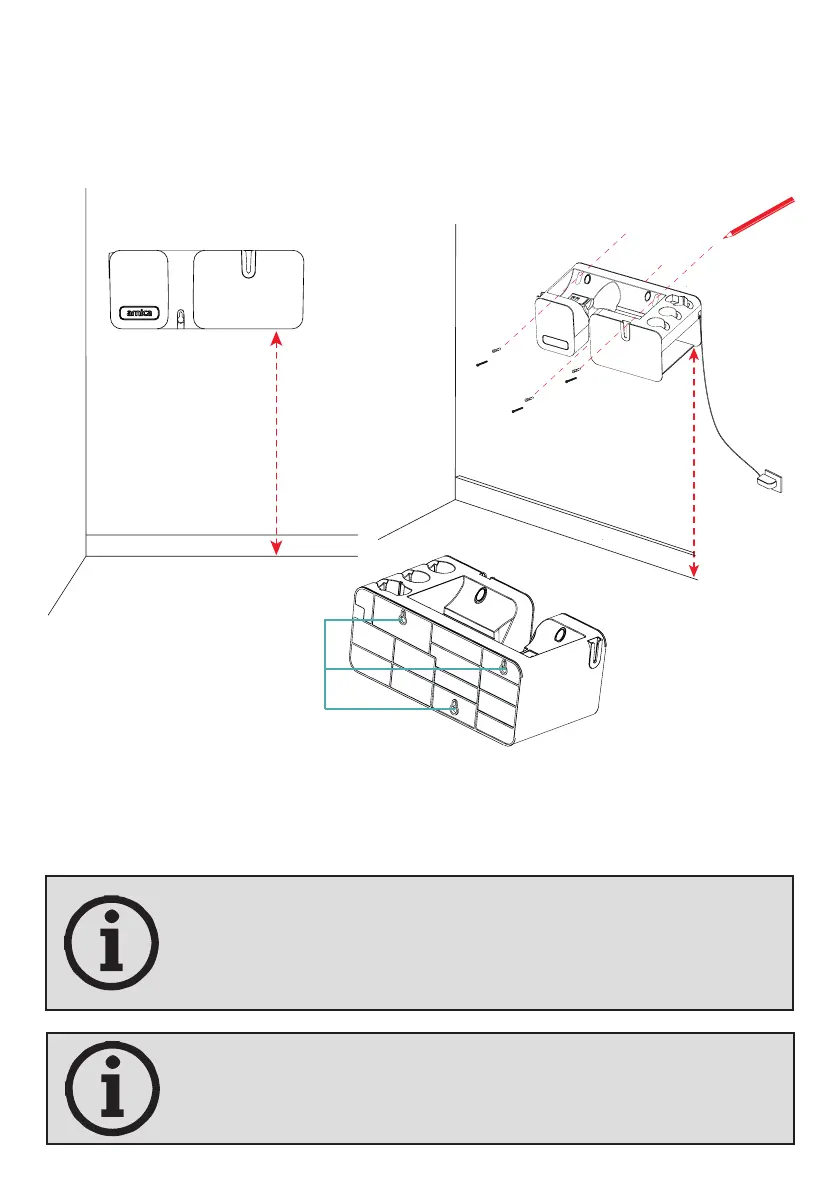
90cm
x
x
90cm
x
If you want to fix the charging unit to the wall, place the charging unit so
that its bottom line is 90 cm above the oor. Mark the screw holes with
a pencil. Bore holes into the marked points with a drill with a 6 mm tip
and insert the dowels. Fix the charging unit to the wall by tightening the
screws.
If you want to remove the charging unit from the wall, simply loosen the
screws for a few turns and move the charging unit upwards.
You should charge your appliance for at least 4 hours
before initial use.
To fix the charging unit to the wall, select a dry and cool
place near an unused electrical socket. Make sure that
there is no electricity line or water line in the wall you will
screw into.
Wall connection holes


 To Next Page