Do you have a question about the Asus PRIME X299 and is the answer not in the manual?
Precautions before installing motherboard components or changing settings.
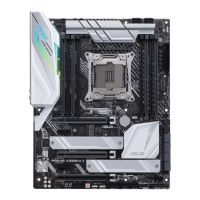
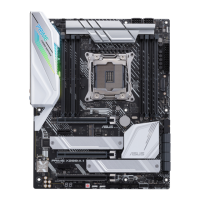
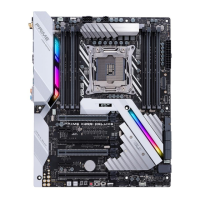
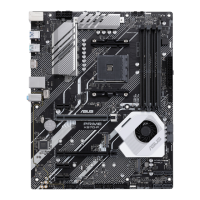
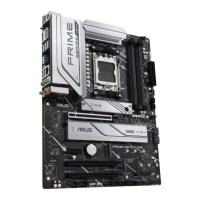
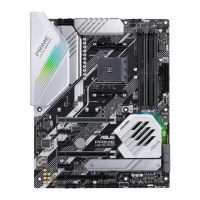
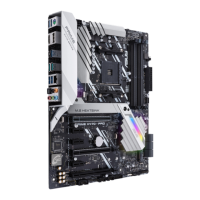
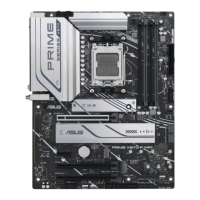
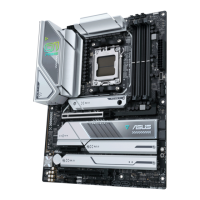
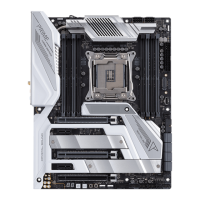
Diagram and identification of motherboard components and connectors.
Details on the LGA2066 socket and CPU installation guidelines.
Information on DIMM slots and DDR4 memory module compatibility.
Details on PCIe slots and recommended VGA configurations.
Description of power, FlexKey, and Clear CMOS buttons.
Explanation of the CPU Over Voltage jumper functionality.
Information on Q LEDs and USB BIOS FlashBack™ LED indicators.
Details on SATA, USB, fan, power, and other internal connectors.
Diagrams for reference; installation steps are the same for all models.
Ensure correct CPU installation to prevent damage.
Instructions for installing CPU heatsink, fan, or AIO cooler.
Steps for mounting the motherboard into the PC chassis.
Guide on how to install and remove memory modules.
Instructions for connecting the ATX power supply to the motherboard.
How to connect SATA hard drives and optical drives.
Connecting front panel audio, USB, and other chassis connectors.
Guide for installing PCIe x16 and PCIe x1 expansion cards.
Steps for installing M.2 SSD modules.
Instructions for connecting the Wi-Fi antennas.
Guide for connecting Thunderbolt 3 displays.
Using USB BIOS FlashBack™ to update the BIOS.
Connecting rear panel I/O ports and audio devices.
Details of rear panel connectors like LAN, USB, DisplayPort.
Diagrams for connecting headphones, microphones, and speakers.
Initial power-on sequence and POST checks.
Procedures for properly shutting down or putting the system to sleep.
Introduction to the ASUS UEFI BIOS interface and its functions.
How to enter and navigate the BIOS setup program.
Overview of the basic system information in EZ Mode.
Accessing and navigating the advanced BIOS settings.
Set fan profiles or manually configure fan operating speed.
View AI Overclocking guide and recommended setup procedures.
Easily set RAID in your system using this feature.
Personalizing the BIOS screen by saving favorite items.
Overview of system information and basic settings in Main menu.
Configuring overclocking-related items and CPU features.
Changing settings for CPU and other system devices.
Displays CPU-related information detected by BIOS.
Adjust the PCH PCIe speed.
Set SATA configuration and RAID options.
Configure PCIe Lanes and onboard devices.
Change USB-related features and control ports.
Displaying system temperature/power status and fan settings.
Configure system boot options and priorities.
Access special functions like BIOS flashing and secure erase.
Update the latest BIOS through the Internet or USB.
Safely clean your SSD, restoring it to factory performance.
Options for saving changes, discarding, or loading defaults.
Procedures for updating the motherboard BIOS.
Overview of Intel Rapid Storage Technology for RAID setup.
Explanations of RAID 0, RAID 1, RAID 5, and RAID 10.
List of diagnostic Q-Codes and their meanings.
FCC compliance, RF exposure, and other regulatory information.
License terms for included Google software.
Warning about cancer and reproductive harm.
| Chipset | Intel X299 |
|---|---|
| Socket | LGA 2066 |
| Memory Support | DDR4 |
| Form Factor | ATX |
| Memory Slots | 8 x DIMM |
| Maximum Memory Supported | 128GB |
| USB Ports | 1 x USB 3.1 Gen 2, 6 x USB 3.1 Gen 1, 4 x USB 2.0 |
| Audio | Realtek ALC1220A |
| LAN | Intel I219V |
| Memory Speed | DDR4 4133(O.C.)/4000(O.C.)/3866(O.C.)/3733(O.C.)/3600(O.C.)/3466(O.C.)/3400(O.C.)/3333(O.C.)/3300(O.C.)/3200(O.C.)/3000(O.C.)/2800(O.C.)/2666/2400/2133 MHz Non-ECC, Un-buffered Memory |
| RAID Support | RAID 0, 1, 5, 10 |
| PCIe Slots | 3 x PCIe 3.0 x16, 2 x PCIe 3.0 x1 |