Installation
Installing on a stand
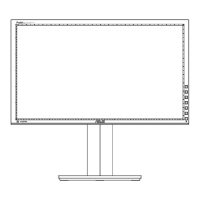
(Standing position)
Placement on the variable stand
Placetheunitonthesuppliedvariablestand.
Caution
• Thevariablestandisdesignedforplacementoftheunitin
thelandscapeorientation.Itcannotbeusedfortheportrait
orientation.
• Whenconnectingthestand,spreadasoftclothonastable
levelsurfacesuchasadesk,andgentlyplacethemonitor
onitwiththescreenfacingdown.
• ApplyingexcessivepressuretotheLCDpanelwithyour
handsmayresultindamagetotheunit.
• Becarefulnottogetyourngerscaughtwhenadjustingthe
angle.Thereisariskofinjury.
1. Place the variable stand on the rear of the monitor,
insertthexingscrewsandtightenbyhandtoposition
the stand.
2. Securelytightenthexingscrewsusingthesupplied
hexagonalwrench.
3. Place the monitor in the standing position, and adjust
the angle of the stand.
Holdthetopofthedisplaywithonehandsothatitdoesnot
fallover,holdtherearlegofthestandwithyourotherhand,
andadjusttheangleofthestand.
Thelegscanextendabout20to75degreesinrelationto
theatsurface.
20°
75°

 Loading...