44
44
4
Quick Start Guide Quick Start Guide
Quick Start Guide Quick Start Guide
Quick Start Guide
English
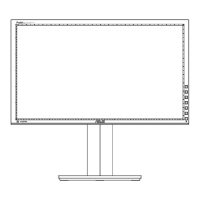
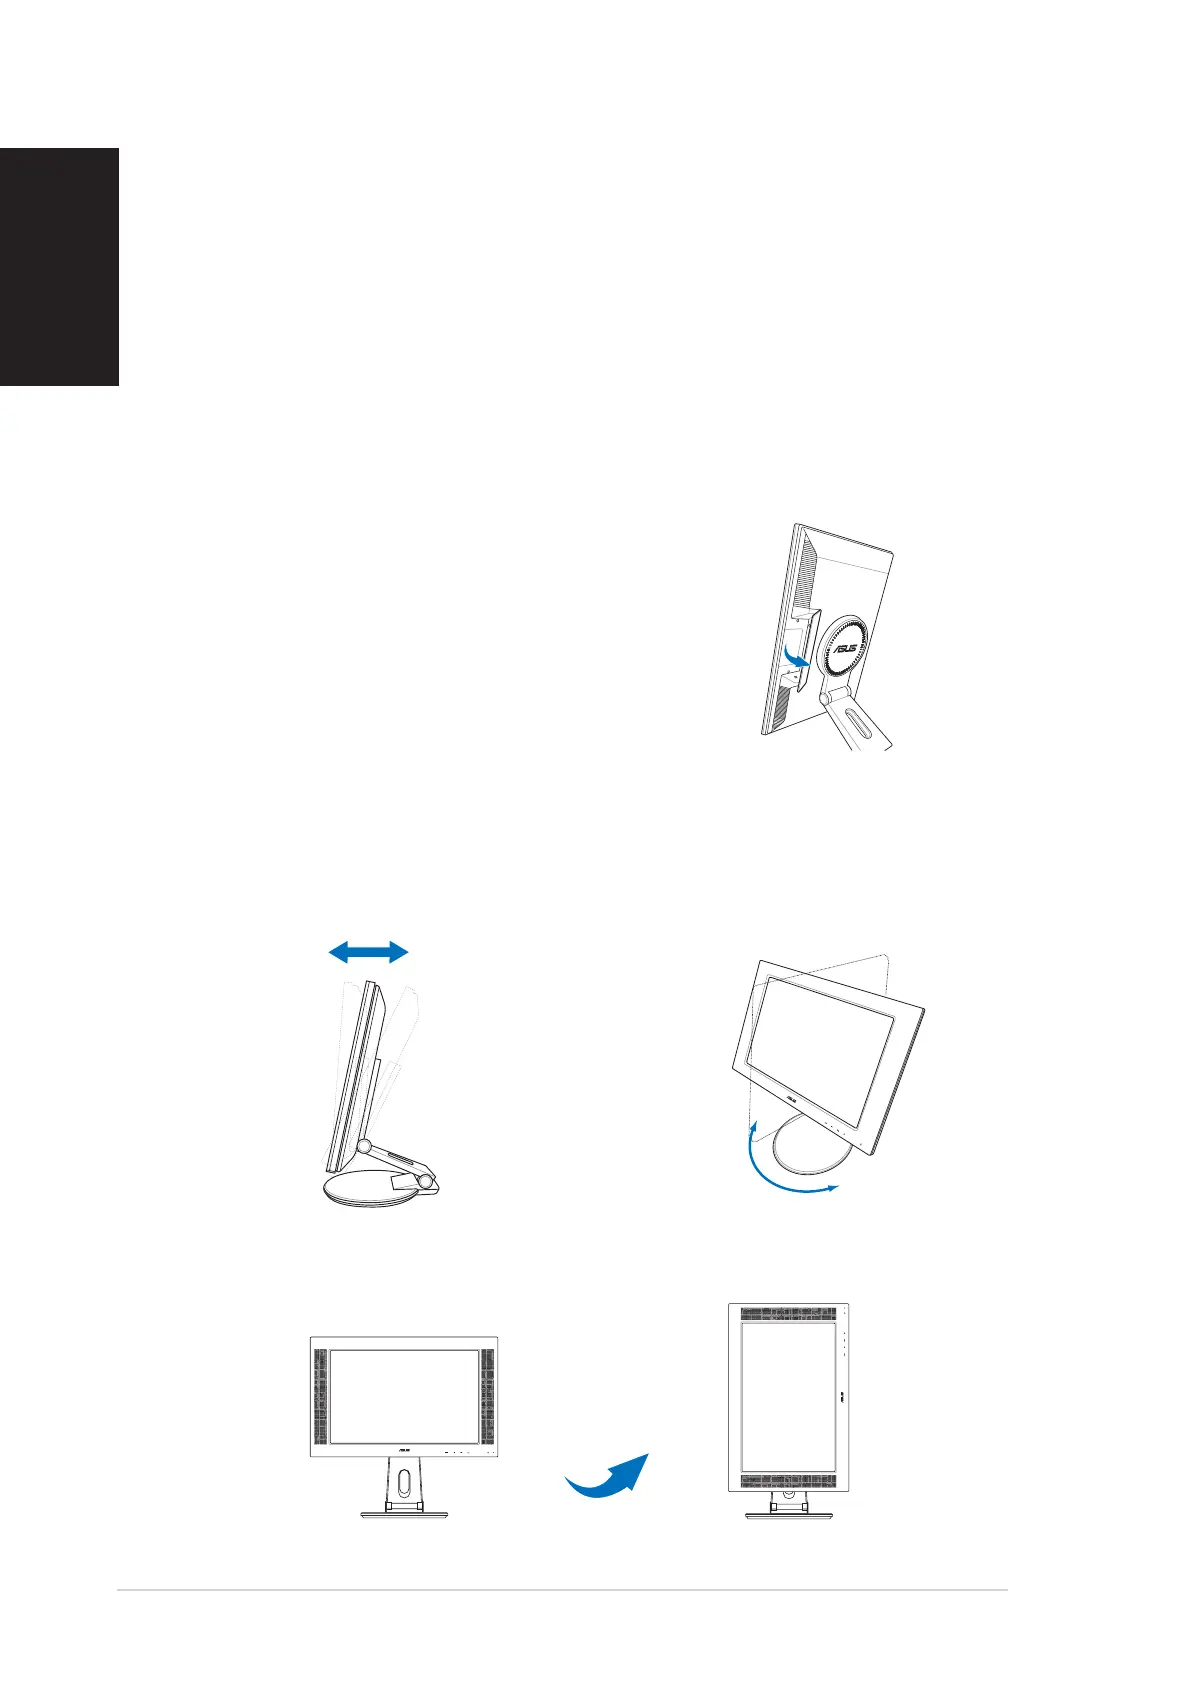
4. Close the rear connector cover.
Align the cover to the three slots
near the ports and close the cover
carefully. A click indicates that the
cover has been closed successfully.
•
To connect the audio cable: To connect the audio cable:
To connect the audio cable: To connect the audio cable:
To connect the audio cable: connect one end of the audio cable to
the monitor’s Audio-in port, and then connect the other end to the
computer multi-media (or audio) card’s audio output.
•
To connect the power adapter: To connect the power adapter:
To connect the power adapter: To connect the power adapter:
To connect the power adapter: first, connect the adapter cord
securely to the monitor’s DC-in port. Then, connect the power plug to
the adapter port with the other end to a power outlet.
•
To connect the VGA cable:To connect the VGA cable:
To connect the VGA cable:To connect the VGA cable:
To connect the VGA cable:
a. Plug the VGA/DVI connector to the LCD monitor’s VGA/DVI port.
b. Connect the other end of the VGA/DVI cable to your computer’s
VGA/DVI port.
c. Tighten the two screws to secure the VGA/DVI connector.
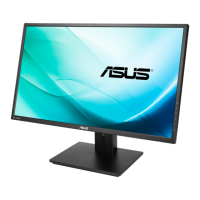
Adjusting the monitor
-5º~25º
120º
90º
• You can adjust the monitor’s
from -5º to 25º.
• You can also turn the monitor
90º counterclockwise.
• The stand allows you to turn the
monitor left/right up to 120º.
 Loading...