1-10
Chapter 1: Product Introduction
Chapter 1
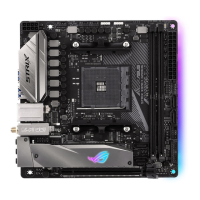
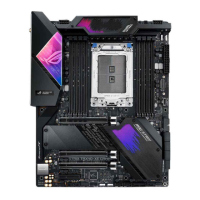
3. 3D Mount holes
Secure3Dprintedpartstothese3DMountholesforapersonalizedmotherboard.
Formoredetailsregardingtheinstallationofthe3Dprintingpartonyourmotherboard,
pleaserefertotheproductpageofyourmotherboardontheASUSwebsiteat
http://www.asus.com.
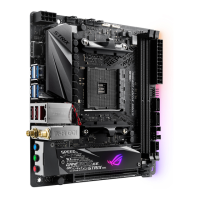
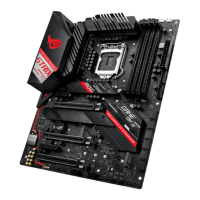
2. Power-on button
Themotherboardcomeswithapower-onbuttonthatallowsyoutopoweruporwake
upthesystem.Thebuttonalsolightsupwhenthesystemispluggedtoapowersource
indicatingthatyoushouldshutdownthesystemandunplugthepowercablebefore
removingorinstallinganymotherboardcomponent.
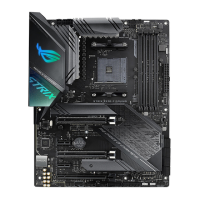
STRIX X399-E GAMING
ROG STRIX X399-E GAMING Power on button
PWR_SW
STRIX X399-E GAMING
ROG STRIX X399-E GAMING 3D Mount
3D_MOUNT
3D_MOUNT
 Loading...